

Most garage golf setups fail for the same boring reason. Somebody bought a screen, threw it against the back wall, and then spent a winter wondering why the picture looked washed out and why their car had a ball mark in the door trim. The fix is not a better projector. It is a proper golf simulator enclosure — a frame, an impact screen, side containment and blackout fabric that turns one bay of your garage into a room that holds a ball and holds an image.
We spent weeks going through owner reviews, build journals and forum threads on garage simulator enclosures to find out which kits actually survive a real two-car garage. This guide covers all ten in our shortlist: how they fit, what they cost you in build time, where they are weak, and which one to buy first if the car still has to sleep in there at night.
Before we get into the kits, one piece of vocabulary. A net catches balls and nothing else — it is open on all sides and the projected image lives on your garage door. An impact screen is a tensioned fabric surface that absorbs ball speed and gives you a flat, projectable picture. An enclosure is the full structure: frame plus impact screen plus side and top netting plus blackout fabric, which is what kills ambient light. If you want a screen image in a garage, you want an enclosure. Getting the projector right afterwards is a separate job, and we covered that in our golf simulator projector guide.
Table of Contents
Top 3 Picks for Best Golf Simulator Enclosures in 2026

GoSports Enclosure Kit 10 x 8 ft
- True blackout fabric
- Multi-layer HD impact screen
- One-hour assembly


HOMEVOL 2-in-1 Net and Screen
- Screen and target cloth
- Top and side nets
- Mat and balls included
The GoSports kit wins on the combination that matters most in a garage: real blackout fabric, a layered impact screen, and the largest body of owner feedback in this group. The ANYTHING SPORTS cage is the one to buy if you want the projector mount and shank nets in the box on day one. The HOMEVOL system earns its spot by doing two jobs — practice net and simulator screen — in a single frame.
The Shortlist: All 10 Golf Simulator Enclosures Compared in 2026
| Product | Specifications | Action |
|---|---|---|
| GoSports Golf Simulator Enclosure Kit 10 x 8 ft |
|
Check Latest Price |
| ANYTHING SPORTS Complete Simulator Cage |
|
Check Latest Price |
| HOMEVOL 2-in-1 Net and Screen System |
|
Check Latest Price |
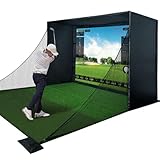 Durbles Enclosure Kit 10 x 8 ft Durbles Enclosure Kit 10 x 8 ft |
|
Check Latest Price |
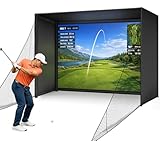 Diandian Enclosure Kit 10 x 8 ft Diandian Enclosure Kit 10 x 8 ft |
|
Check Latest Price |
 IDEATRY Golf Simulator Enclosure IDEATRY Golf Simulator Enclosure |
|
Check Latest Price |
 Sturdum Enclosure Kit with Steel Frame Sturdum Enclosure Kit with Steel Frame |
|
Check Latest Price |
 ZivPlay Enclosure 10 ft 7 in Wide ZivPlay Enclosure 10 ft 7 in Wide |
|
Check Latest Price |
 ANYTHING SPORTS Fold Up Enclosure ANYTHING SPORTS Fold Up Enclosure |
|
Check Latest Price |
 YSDDAOG 10 x 8 x 6 ft Enclosure Kit YSDDAOG 10 x 8 x 6 ft Enclosure Kit |
|
Check Latest Price |
1. GoSports Golf Simulator Enclosure Kit 10 x 8 ft – Best All-Rounder
GoSports 10 x 8 ft Golf Simulator Enclosure Net – Complete Set with Frame and HD Impact Screen Kit
10 x 8 ft
Blackout enclosure
79 lb
10x8 / 12x9 / 14x8 options
Pros
- True blackout fabric boosts projector brightness
- Screen holds up after thousands of impacts
- About an hour to assemble for one person
- Works with all major launch monitors
Cons
- No front baffles to stop wedge shots
- Supplied padding is thin
- Shank nets sold separately
The GoSports kit is the one I keep coming back to for a working two-car garage. It arrives as a numbered set of poles, joints, a layered HD impact screen and a dyed blackout wrap, and the whole thing goes together in about an hour if you are doing it alone.
What surprised me was how much the frame firms up once the fabric and screen are tensioned. Judged as bare poles it feels light, but installed it holds its shape well. The blackout dyeing is the real story here — it measurably improves how a modest projector reads in a garage with the door down.
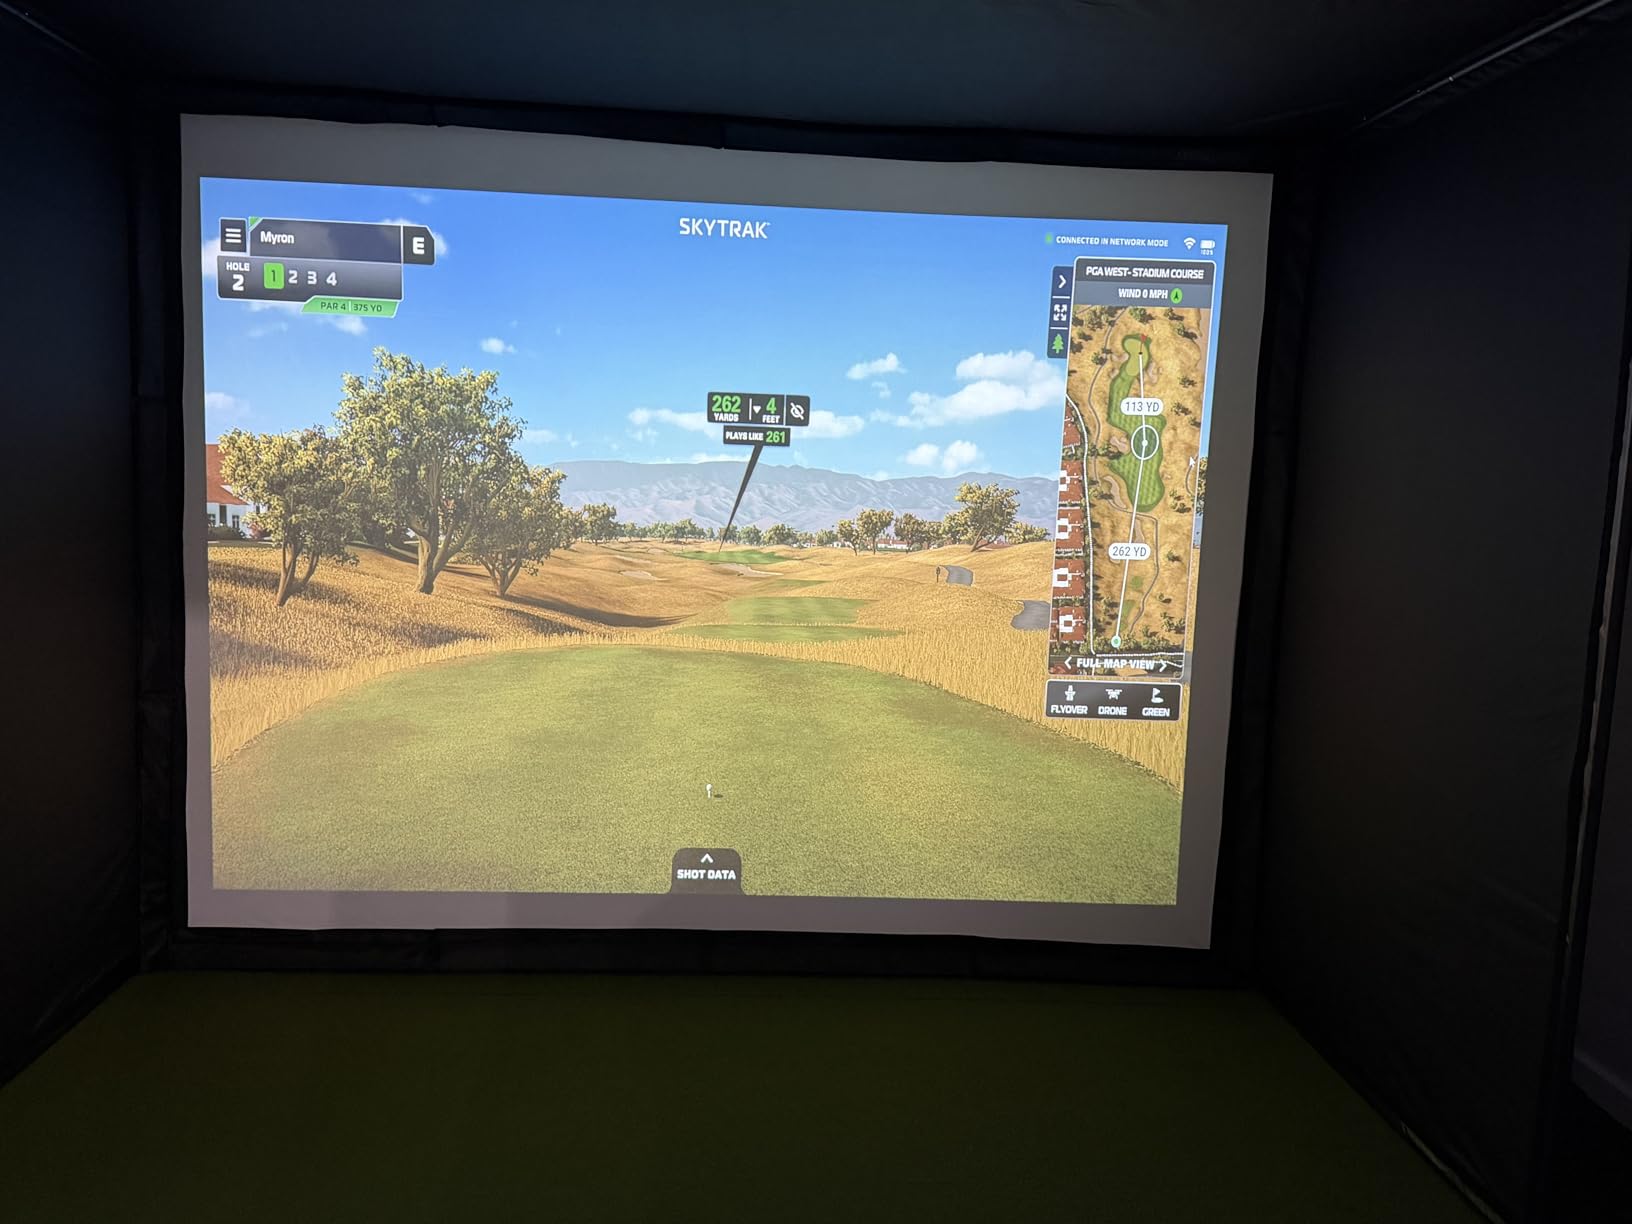
The screen is where the money goes and where it performs. Owners report thousands of impacts with no visible degradation, and the image quality holds up even with entry-level projector hardware. Foam padding around the screen edge reduces rebound, though it is thinner than we would like.
The two things to know before you buy: there are no hanging baffles in front of the screen, so steep wedge shots can come straight back, and the shank nets are a separate purchase at this level. Both are fixable with a couple of accessories, but budget for them.
How it handles a real garage bay
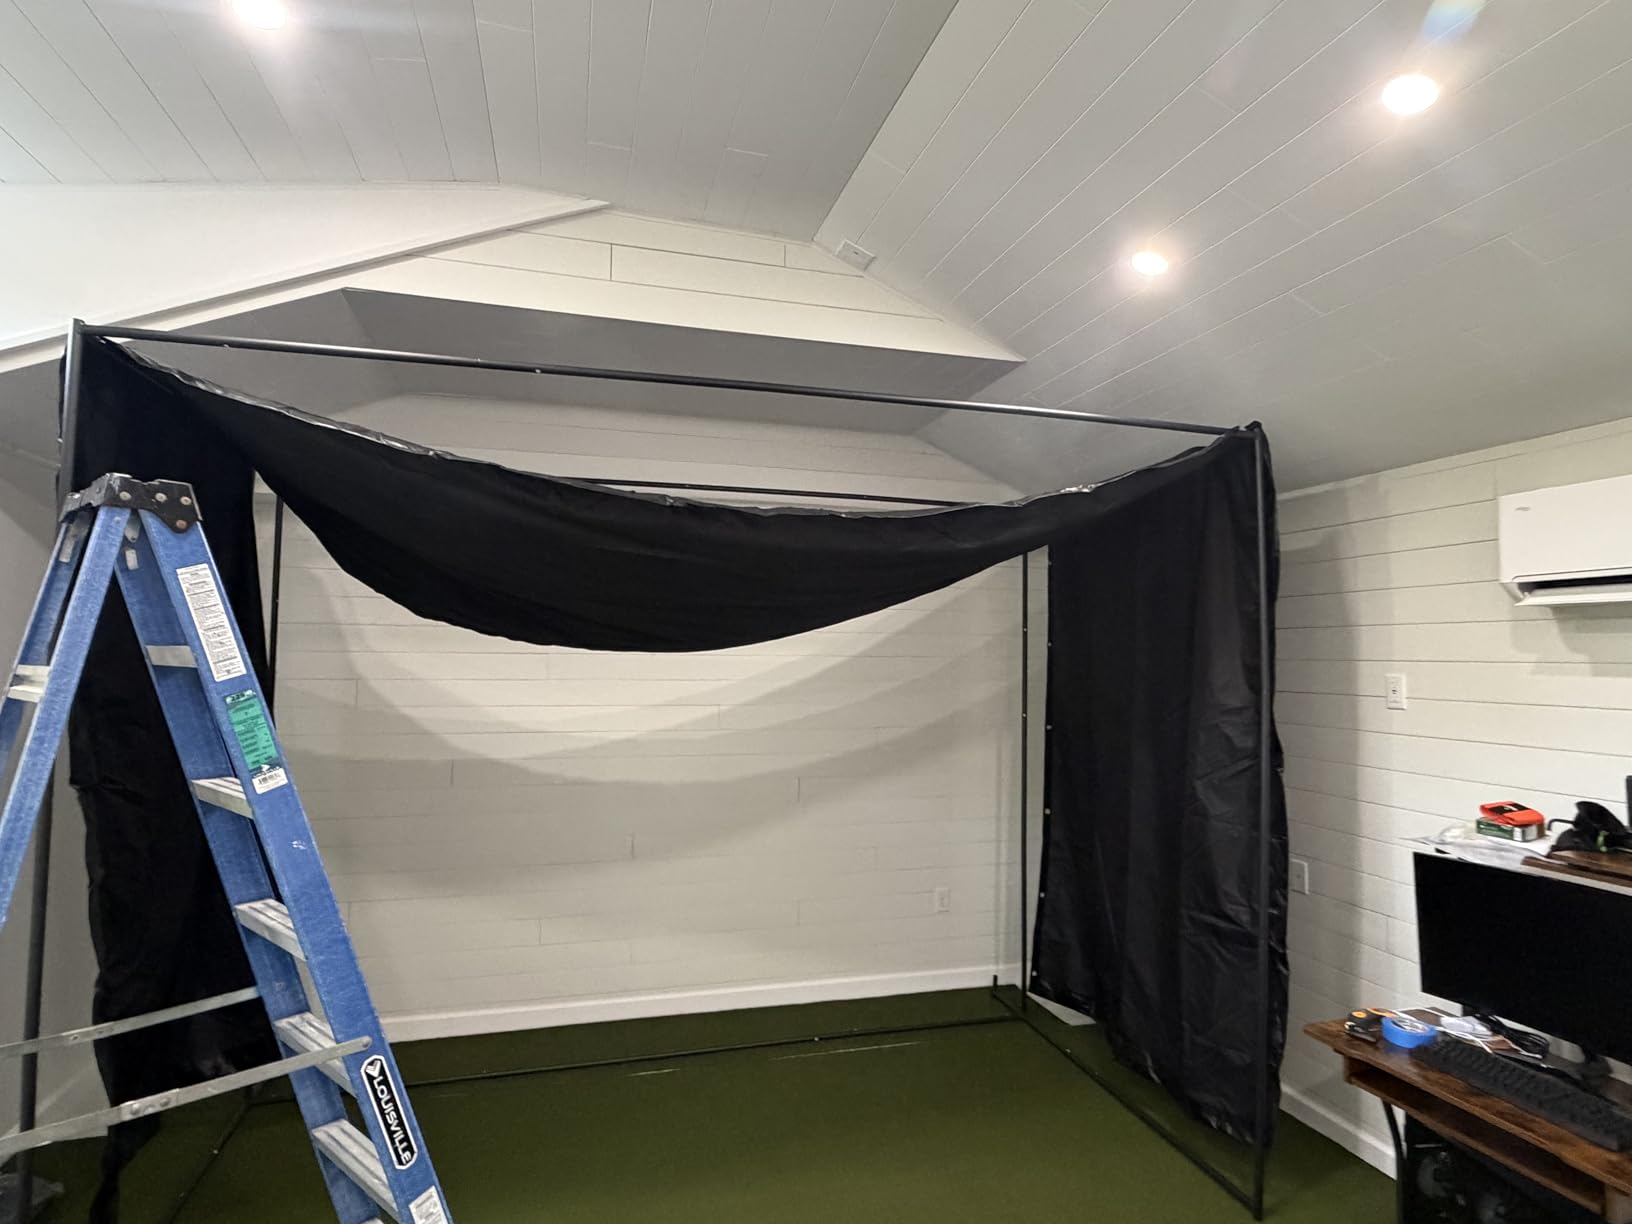
At 10 x 8 ft it sits comfortably in one bay of a standard two-car garage and leaves the second bay clear. The 12 x 9 ft and 14 x 8 ft variants exist for wider rooms, and the 14 x 8 ft version can droop a little along the top if you do not tension it away from the projector position.
Users who have had one for a while note that the enclosure fabric may need re-tightening as the material relaxes with use. That is normal for any tensioned system and takes a few minutes with the included hardware.
Where it falls short
The padding is the weak point. Balls can ricochet off the frame at pace, and without a front baffle a shanked or steep wedge can reach the person swinging. If you share the bay with anyone standing to the side, add a top baffle.
It is also a bare enclosure — projector, mat, launch monitor and turf are all separate decisions. That is true of most kits here, but it is worth saying plainly before you plan the budget.
2. ANYTHING SPORTS Complete Simulator Cage – Best All-In-One Value
Complete Golf Simulator Enclosure Package – 4K-Ready Impact Screen with Blackout Cage, Projector Mount, Frame Poles, Side Shank Nets | Indoor & Garage Practice | Easy Setup | 12-Month Warranty
Metal poles
Projector mount included
Three cage sizes
12-month warranty
Pros
- Metal poles are heavy enough to stand unweighted
- Included projector mount beats budget alternatives
- Blackout rear panel genuinely blocks light
- Responsive support
Cons
- Written instructions are the weakest part
- Included pads are thin covers
- Top rear crossbar is unpadded
This is the kit I would hand to someone who wants one box to open and nothing to source separately. The ANYTHING SPORTS cage includes the poles, joints, impact screen, hardware, a projector mount and two side shank nets with fillable weight bags.
Size options run 12 x 9 ft 4 in, 11 x 8 ft 4 in and 8 ft 4 in square, so there is a footprint for a narrow bay. The metal poles are the quiet hero — they are heavy enough that you do not need to ballast the frame to keep it planted through a full swing.
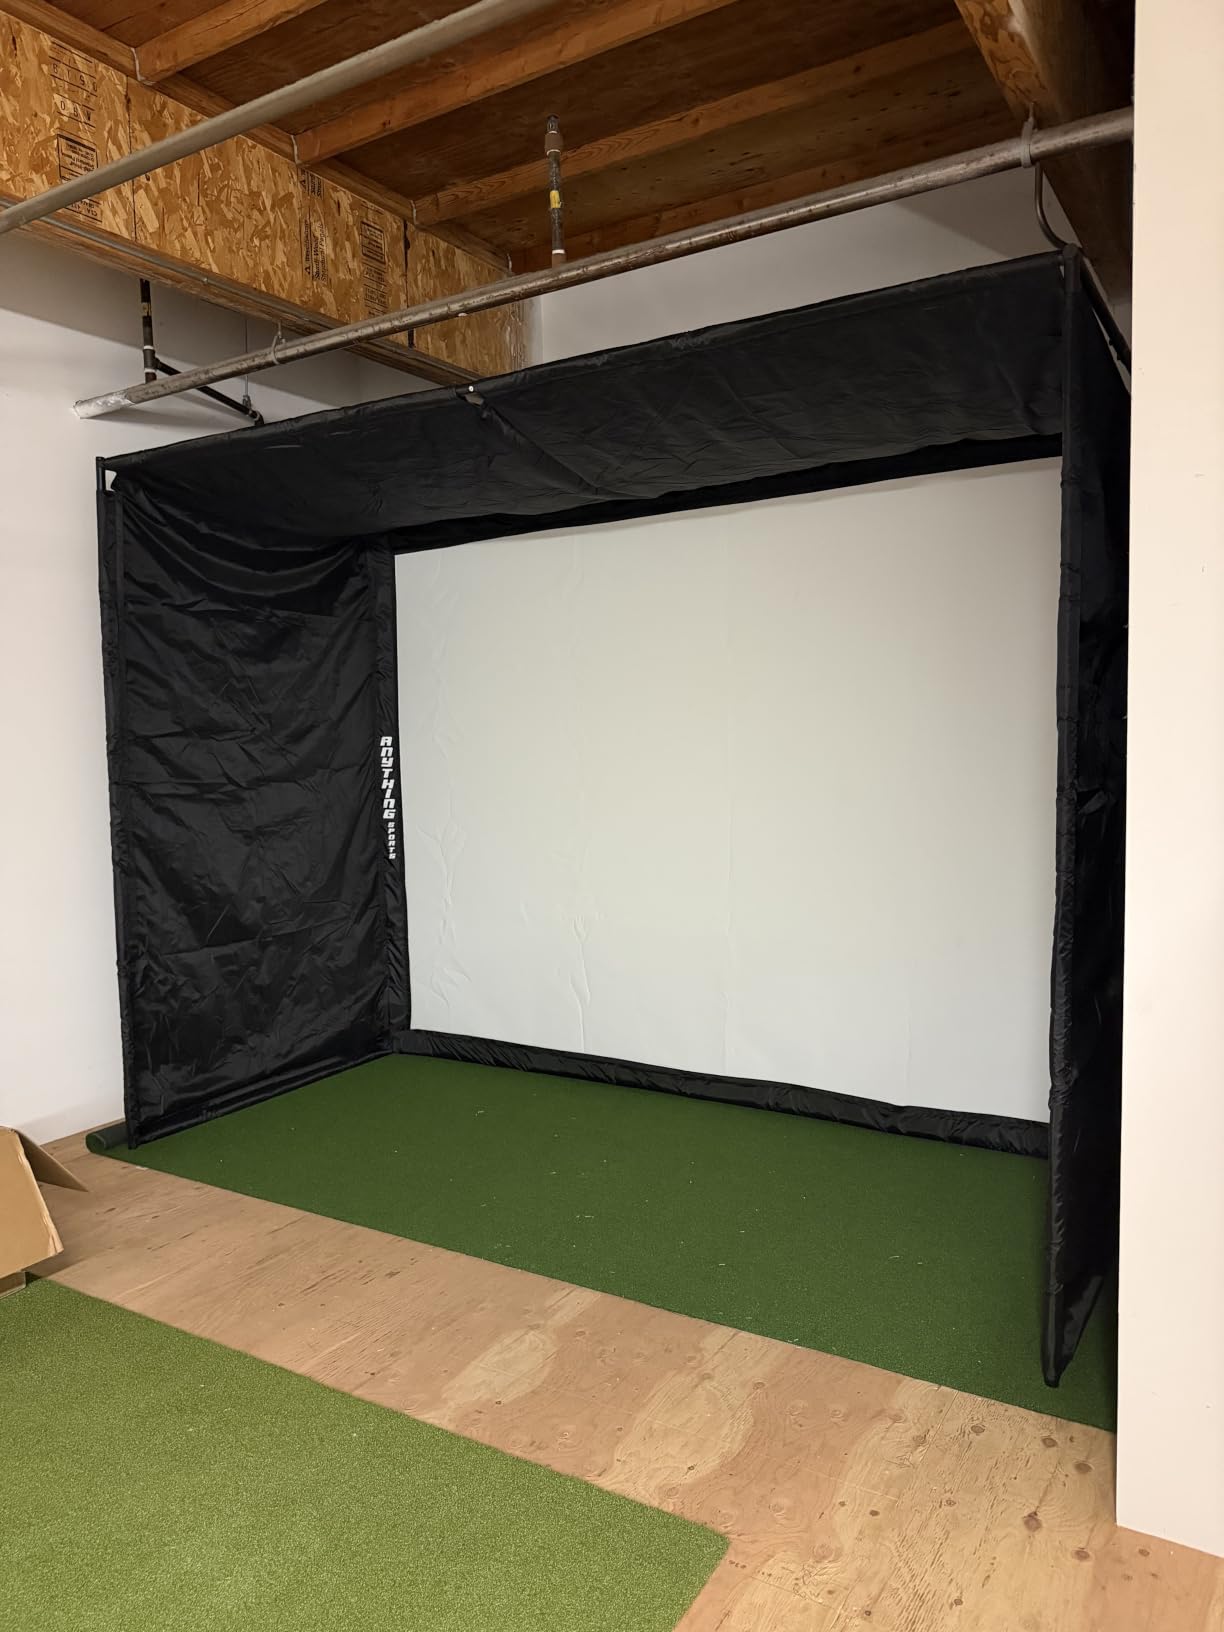
The screen is sized one inch smaller than the frame, which is a smart detail. It gives a tight hitting area with very little light bleed around the edges, and reviewers consistently call the material thicker and softer than expected for the price.
Owners running regular practice report 18 months of use with no visible wear. Support is fast too — several buyers had screen issues resolved within a day.
Garage fit and setup reality
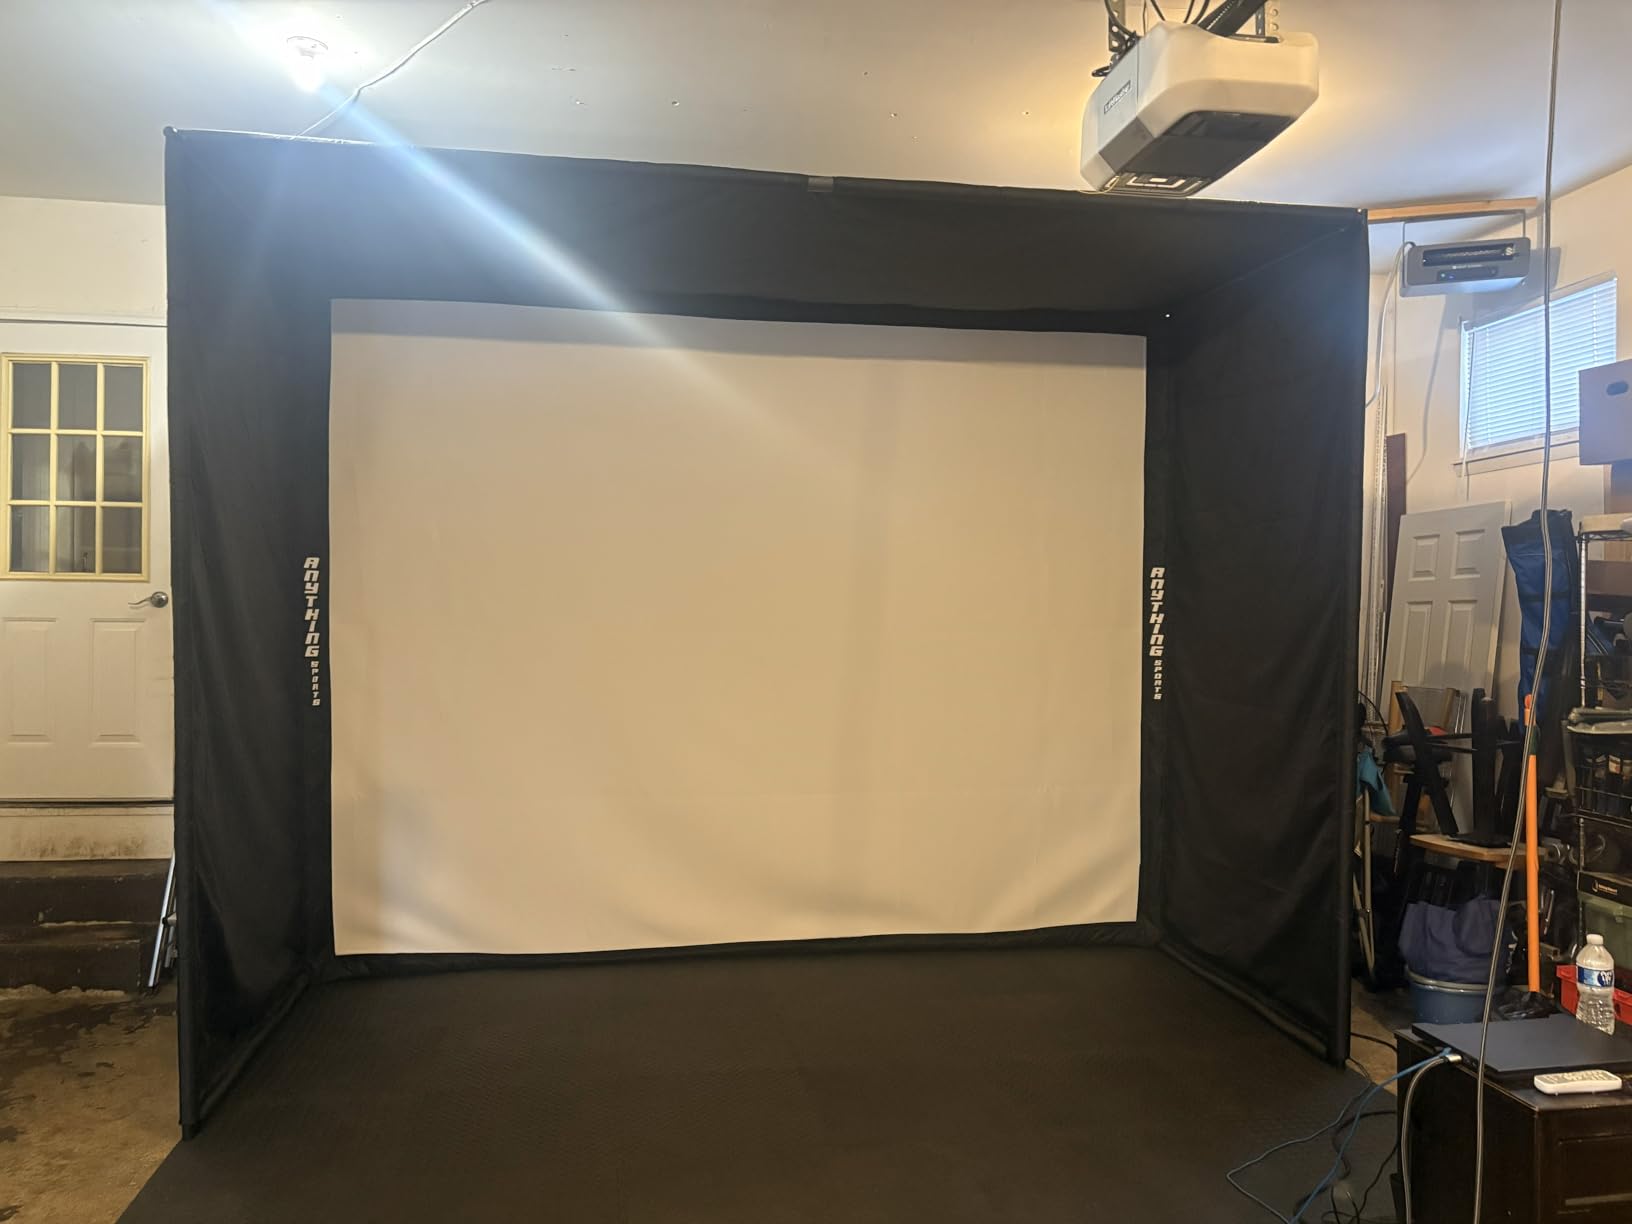
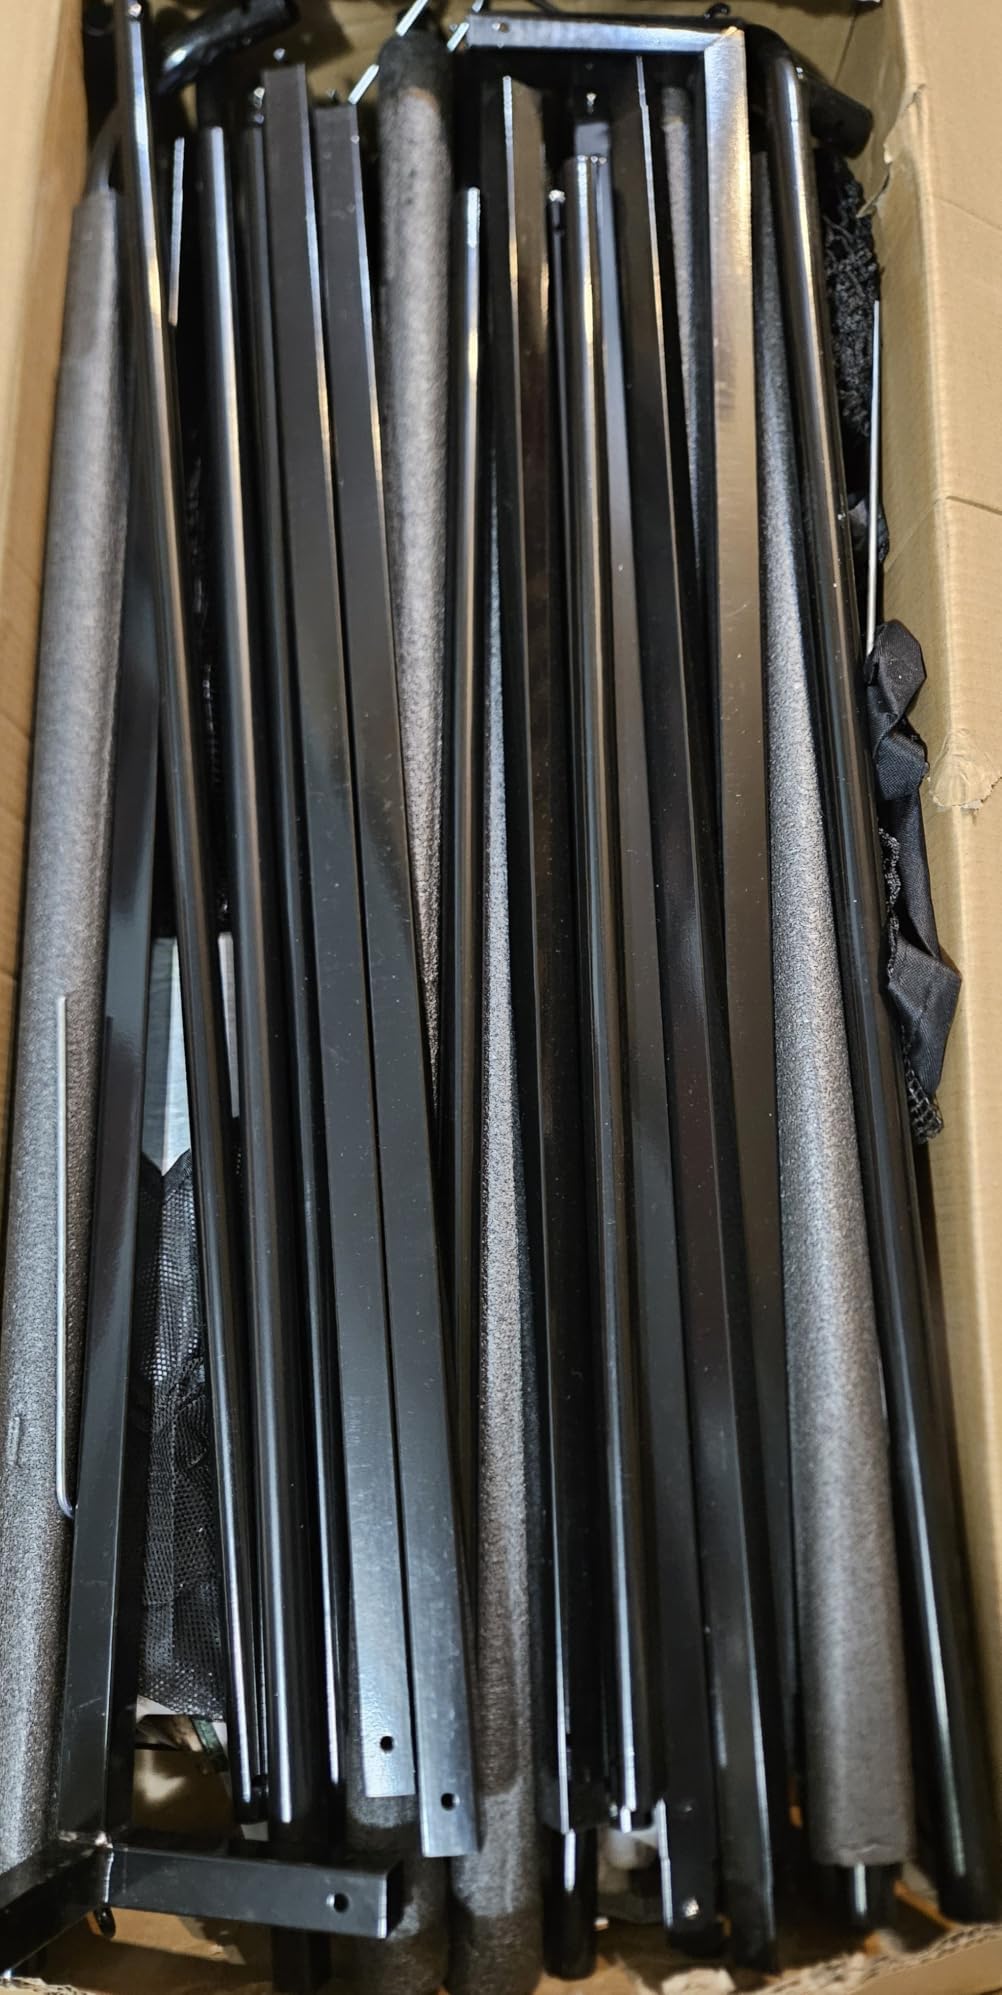
Assembly is advertised at under an hour with no special tools, and that is achievable with clear directions. The directions are the problem. Multiple reviewers report at least one incorrect step, unclear panel orientation and fiddly bungee cord attachment that stretched a nominal one-hour job considerably.
Block off a morning rather than an hour. Once it is up, the included projector mount is genuinely good — several owners said it outperforms budget mounts they bought separately.
What to fix before anyone swings
The included pads are more of a panel cover than real impact protection, so most owners add their own foam. More importantly, the top rear crossbar arrives unpadded, and a steep wedge off the screen can come straight back down that bar toward the hitter. Add a baffle there before your first session.
Ball bounce-back is noticeable early in use as the screen settles. It settles down, but do not stand close on day one.
3. HOMEVOL 2-in-1 Net and Screen System – Best Versatility
2 in 1 Golf Simulator Net System, 10 x 8ft Golf Practice Net Hitting Net with 4K-Ready Impact Screen, Target Cloth, Foam-Padded Steel Frame Cage, Hitting Mat and Balls for Indoor and Outdoor Practice
10 x 8 ft
Swaps screen and target cloth
Mat, balls and stakes included
Pros
- Two training modes in one frame
- Top and side nets contain mishits
- Most accessory items included in the box
- Highest review average in the group
Cons
- No full blackout wrap
- Printed cloth mode is weak for launch monitor work
- Included mat is basic
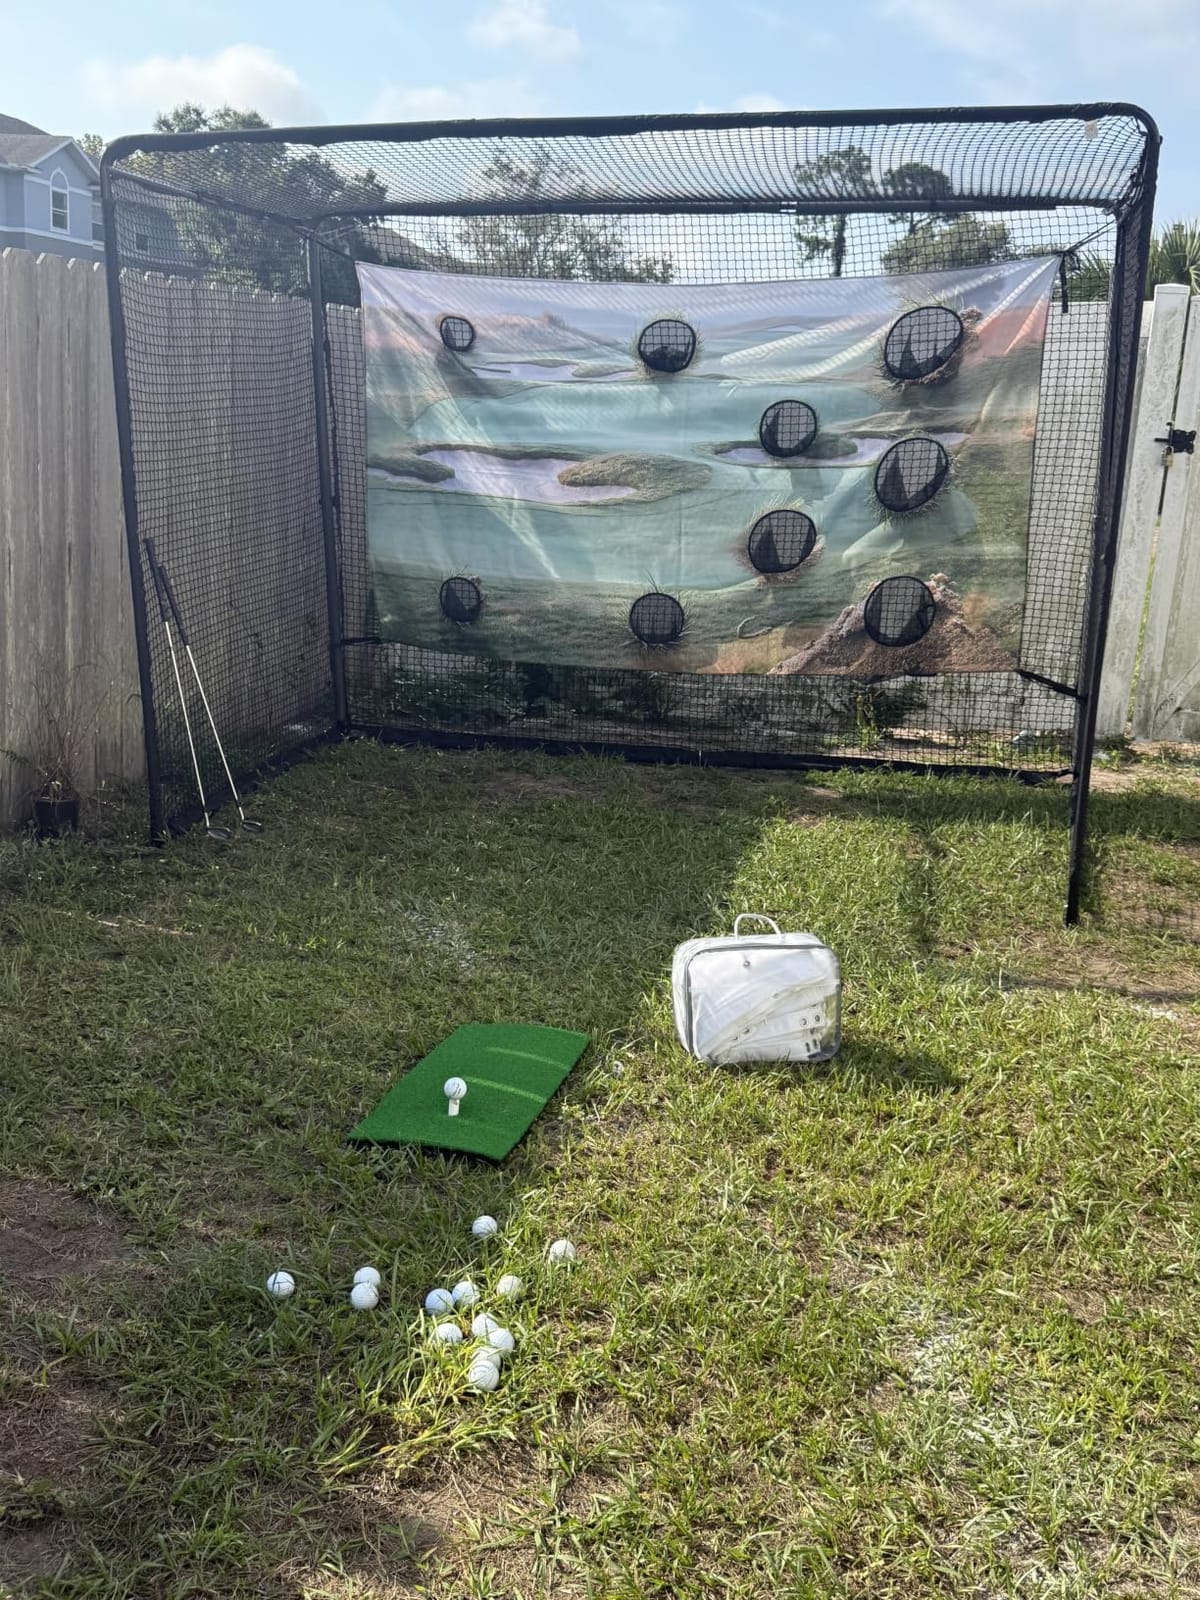
Most enclosures do one job. The HOMEVOL system swaps between a printed target cloth for chipping games and a 4K-ready impact screen for simulator work, in the same 10 x 8 ft steel frame. In a garage that flexibility is worth more than it sounds, because the mat gets used two different ways.
The foam-padded steel cage is the other draw. Padding along the frame cuts impact noise, softens ball return and stops balls contacting bare metal — three separate annoyances solved by one design decision.
Containment is thorough for the category. A top protection net catches high wedge shots, and side shank nets deal with mishits, so a blown-up drive does not end up against your garage door or your car.
The box is unusually complete: hitting mat, practice balls, ground stakes, a carry bag and the target cloth all come in. If you have been pricing accessories separately, that changes the real total considerably.
Where it fits in a garage
At 10 x 8 ft it takes one bay of a two-car garage and leaves the rest usable. The 4.6 average across 63 reviews comes with a 79% five-star share, which is the strongest rating signal in this group on a reasonably sized evidence base.
Treat it as a practice system that also projects well, not a light-controlled simulator room. Ambient light in the garage will affect image quality, so plan to darken the bay when you project.
Honest limitations
There is no full blackout wrap. That single omission is the reason it sits here rather than higher, because enclosure fabric is what turns a bright garage into a usable viewing room.
The printed cloth mode is fun for chipping and short-game scoring but far less useful when you want launch monitor data. And the included mat and balls are entry level — budget for a proper stance mat if you are putting strokes on it.
4. Durbles Enclosure Kit 10 x 8 ft – Best Safety Padding
Golf Simulator Enclosure Kit with Premium HD Impact Screen, Full Safety Padding & Blackout Curtain, Home Golf Sim Setup Compatible with Launch Monitors, Indoor Cage Net Golfing Accessories (10 x 8 ft)
10 x 8 ft
Triple-layer screen
33.88 kg
Full foam coverage
Pros
- Thickest triple-layer screen in the group
- Quieter on impact than cheaper screens
- Padding pre-wrapped on poles
- Single-person build in about 1.5 hours
Cons
- Instructions assume ceilings over 9.9 ft
- Frame needs the full 10 ft width
- Two poles arrive without foam sleeves
The Durbles kit is the one to buy if the car lives in the same bay. Padding is the theme running through it: thick sponge sleeves on the poles, full-coverage foam, and a triple-layer commercial impact screen designed to absorb shock and cut sound rather than just hold a picture.
That matters in a shared garage. A screen that thuds quietly instead of cracking changes the household calculus more than a slightly better projected image does.
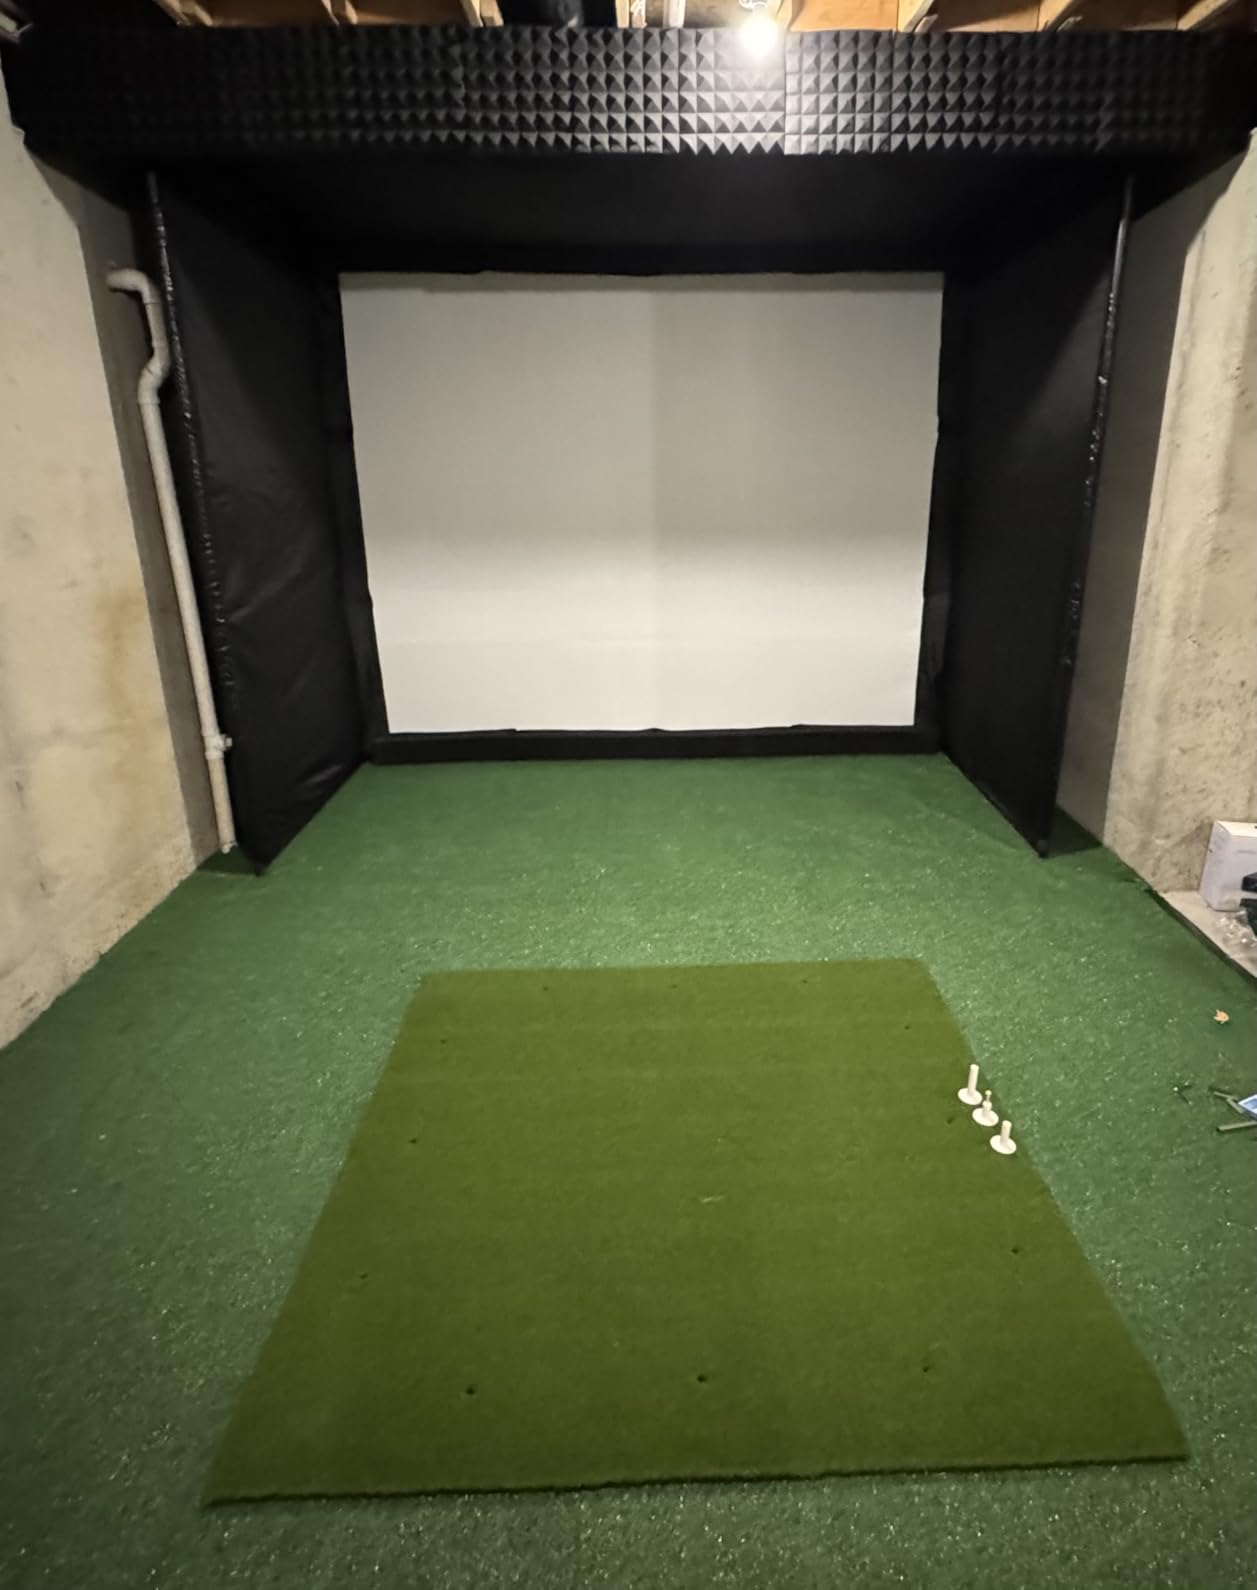
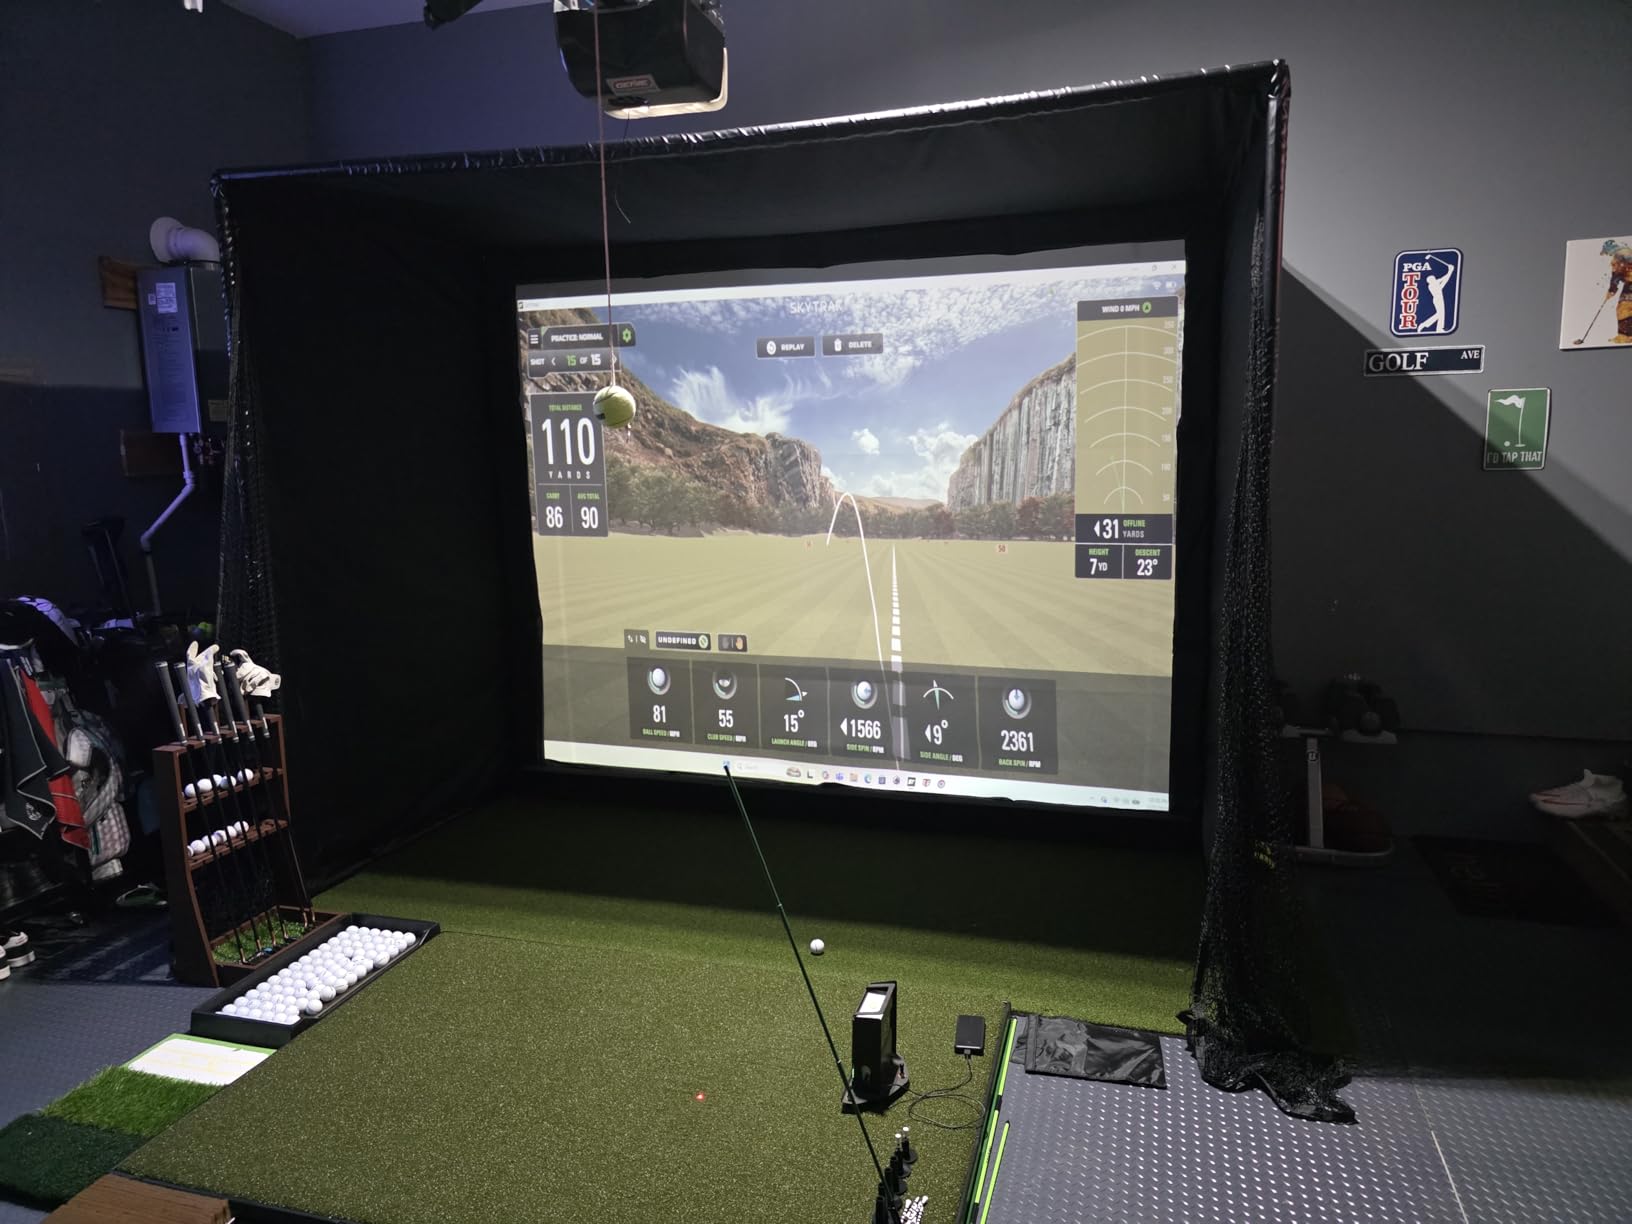
Owners consistently report the screen is noticeably thicker and quieter than what they had before, and the dark top enclosure does an effective job of helping the projected image read. The padded poles are a real, visible improvement over unslipped frames.
Because the poles arrive pre-wrapped, one person can finish this in about an hour and a half including any custom frame cuts you decide to make.
Garage fit and the ceiling height trap
Here is the detail that catches people: the written instructions assume a ceiling taller than 9.9 ft. In a typical 9 ft garage the steps are genuinely hard to follow, even though the unit itself will fit. Read the instructions before you start rather than mid-build.
The frame also wants the full 10 ft of width with no wiggle room. Owners in tighter rooms end up cutting poles, which adds time and means the kit is less forgiving than the smaller-footprint options here.
Where it can disappoint
Two of the poles have arrived without the foam sleeves the others have, and one buyer reported thin steel bending at the top crossbar after two months. The bungee attachment system spans 40+ points and is tedious on the shoulders.
It is a good buy if you already own a launch monitor and projector, since you are only filling the enclosure gap.
5. Diandian Enclosure Kit 10 x 8 ft – Best Tool-Free Setup
Diandian Golf Simulator Enclosure Kit 10 x 8 ft with 4K-Ready Impact Screen
10 x 8 x 5 ft
600D Oxford wrap
Click-lock assembly
9 ft ceiling minimum
Pros
- Spring-button assembly with no tools
- 600D Oxford fabric is quiet on impact
- Full interior foam and mesh-backed screen
- Light enough to move solo
Cons
- Some boxes arrive with no instructions
- Screen and roof wrinkle out of the box
- No projector mount or sandbags included
The Diandian kit is the fastest assembly in this group by a clear margin. Spring-button click-lock hardware means no tools, and two people can have it standing in roughly 30 to 45 minutes. For a garage bay you have to set up and take down around real life, that speed is genuinely useful.
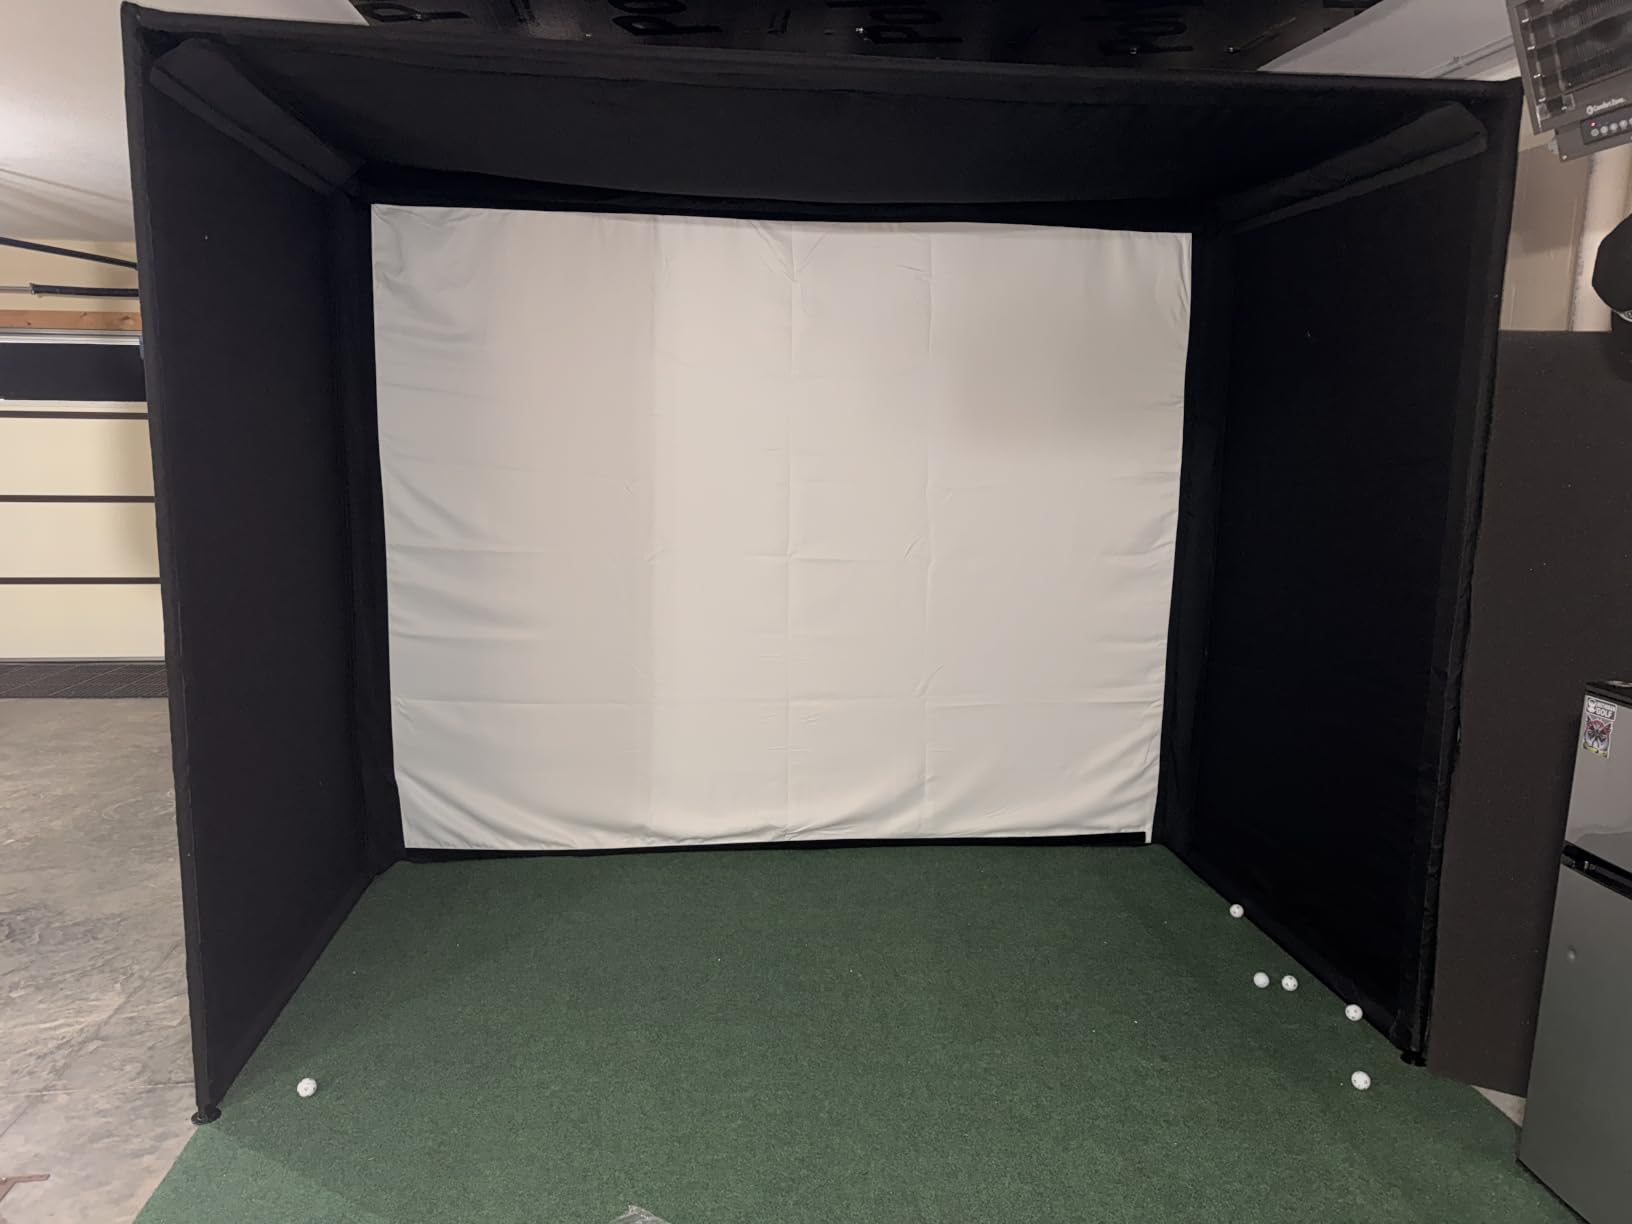
The fabric is the other headline. A one-piece 600D Oxford wrap covers top, sides and back with no light-leak gaps, and it is markedly quieter on impact than the thin tarp material used in cheaper kits.
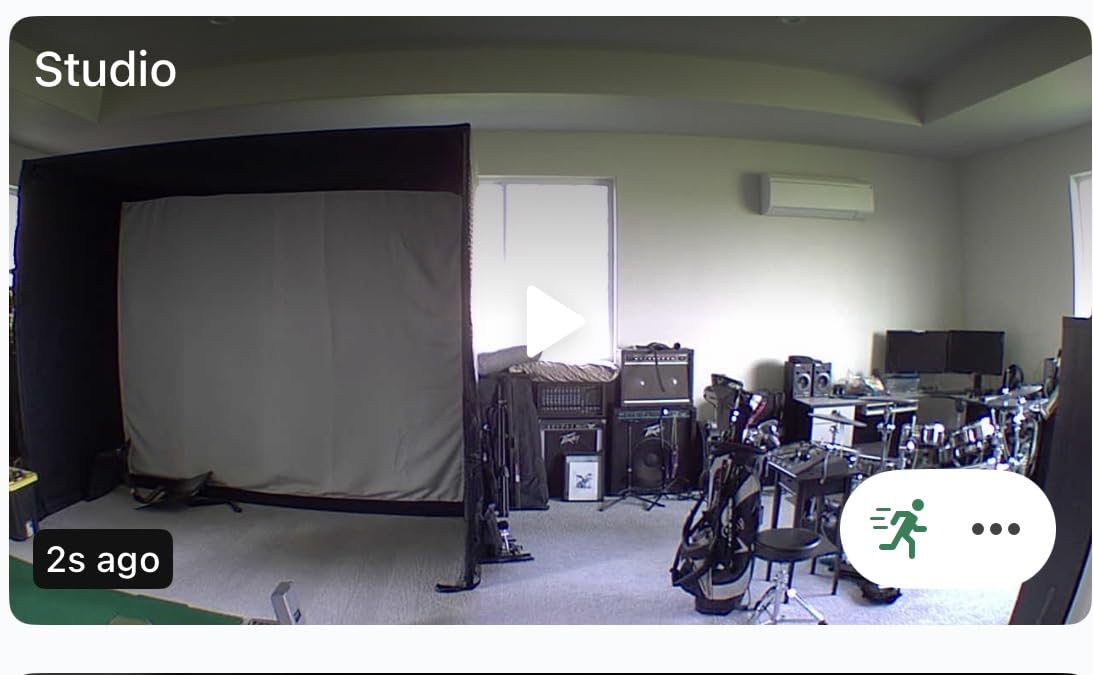
Internally, a mesh-backed screen plus full interior foam cut down on ball return and protects the frame from direct contact. The bay is tall enough to hit wedges with confidence, which is not always true at this height.
Owners with genuinely fast ball speeds report no problems at all, and reviewers repeatedly benchmark the build quality at a high fraction of what premium brand kits deliver.
Garage fit and a 9 ft ceiling minimum
The listed footprint is 10 x 8 x 5 ft with a 120 inch wide by 96 inch high screen, and a 9 ft ceiling is the recommended minimum. A 14 x 8.5 ft variant exists if your bay is wider.
At 75 lb the whole thing is light enough for one person to move across carpet when you reconfigure the room, which is a real advantage over the heavier kits in this list.
What to watch out for
Documentation is the weak point. At least one buyer received a box with no instructions at all and no route to the seller, and the included frame pads can be fitted backwards with little guidance. Check the manual is in the box before you start.
Screen and roof wrinkles are common out of the packaging; most resolve themselves or steam out, but the roof can sag more than expected. There is also a report of bottom screen stitching tearing within weeks, so inspect that seam early. No projector mount or sandbags are included at this level.
6. IDEATRY Golf Simulator Enclosure – Best Budget Pick
Golf Simulator Enclosure with Impact Screen, Net and Target- Easy Setup
10 x 8 x 5.5 ft
270 degree wrap
14.5 kg
2 year warranty
Pros
- Lowest cost full bay in the group
- Assembles in under 10 minutes with no tools
- 270 degree wrap catches hooks and lobs
- Carry bag included for moving rooms
Cons
- No blackout enclosure at all
- Lowest average rating in the set
- Fiberglass poles are less rigid under full swings
The IDEATRY is a practice bay, not a viewing room, and it is honest about that. It gives you a 10 x 8 x 5.5 ft enclosure with a target sheet, a high-density net and a screen for a fraction of what the blackout kits cost, and it breaks down into the included carry bag in under 10 minutes.
That portability is the real argument. If the garage is shared with a car most of the week, an enclosure that packs away is worth more than a marginally better picture.
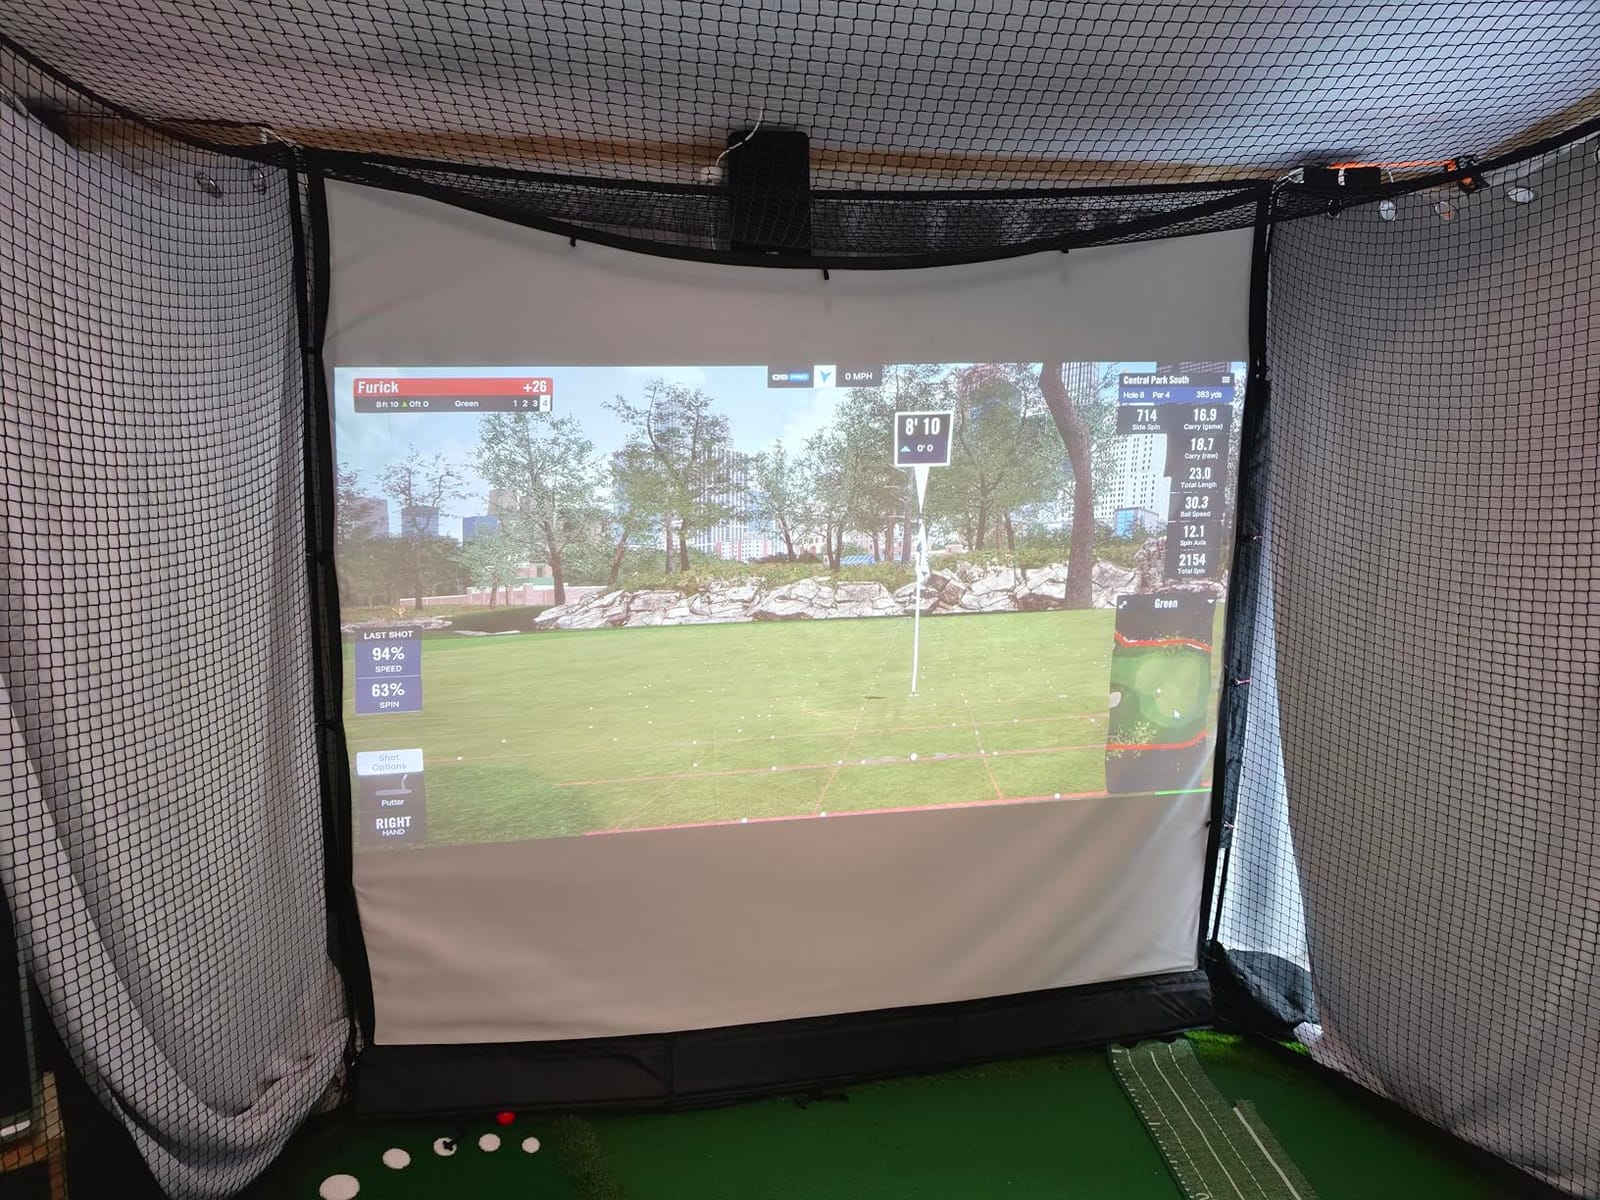
Containment is better than the spec suggests. A 270-degree full wrap with side and top nets handled hooks, slices and high lobs in testing, and the 6-ply net is rated to stop ball speeds up to 250 mph.
The sound-dampening screen and cushioned nets keep practice relatively neighbour-friendly too, which matters more in a shared-wall or attached-garage situation than most buyers expect.
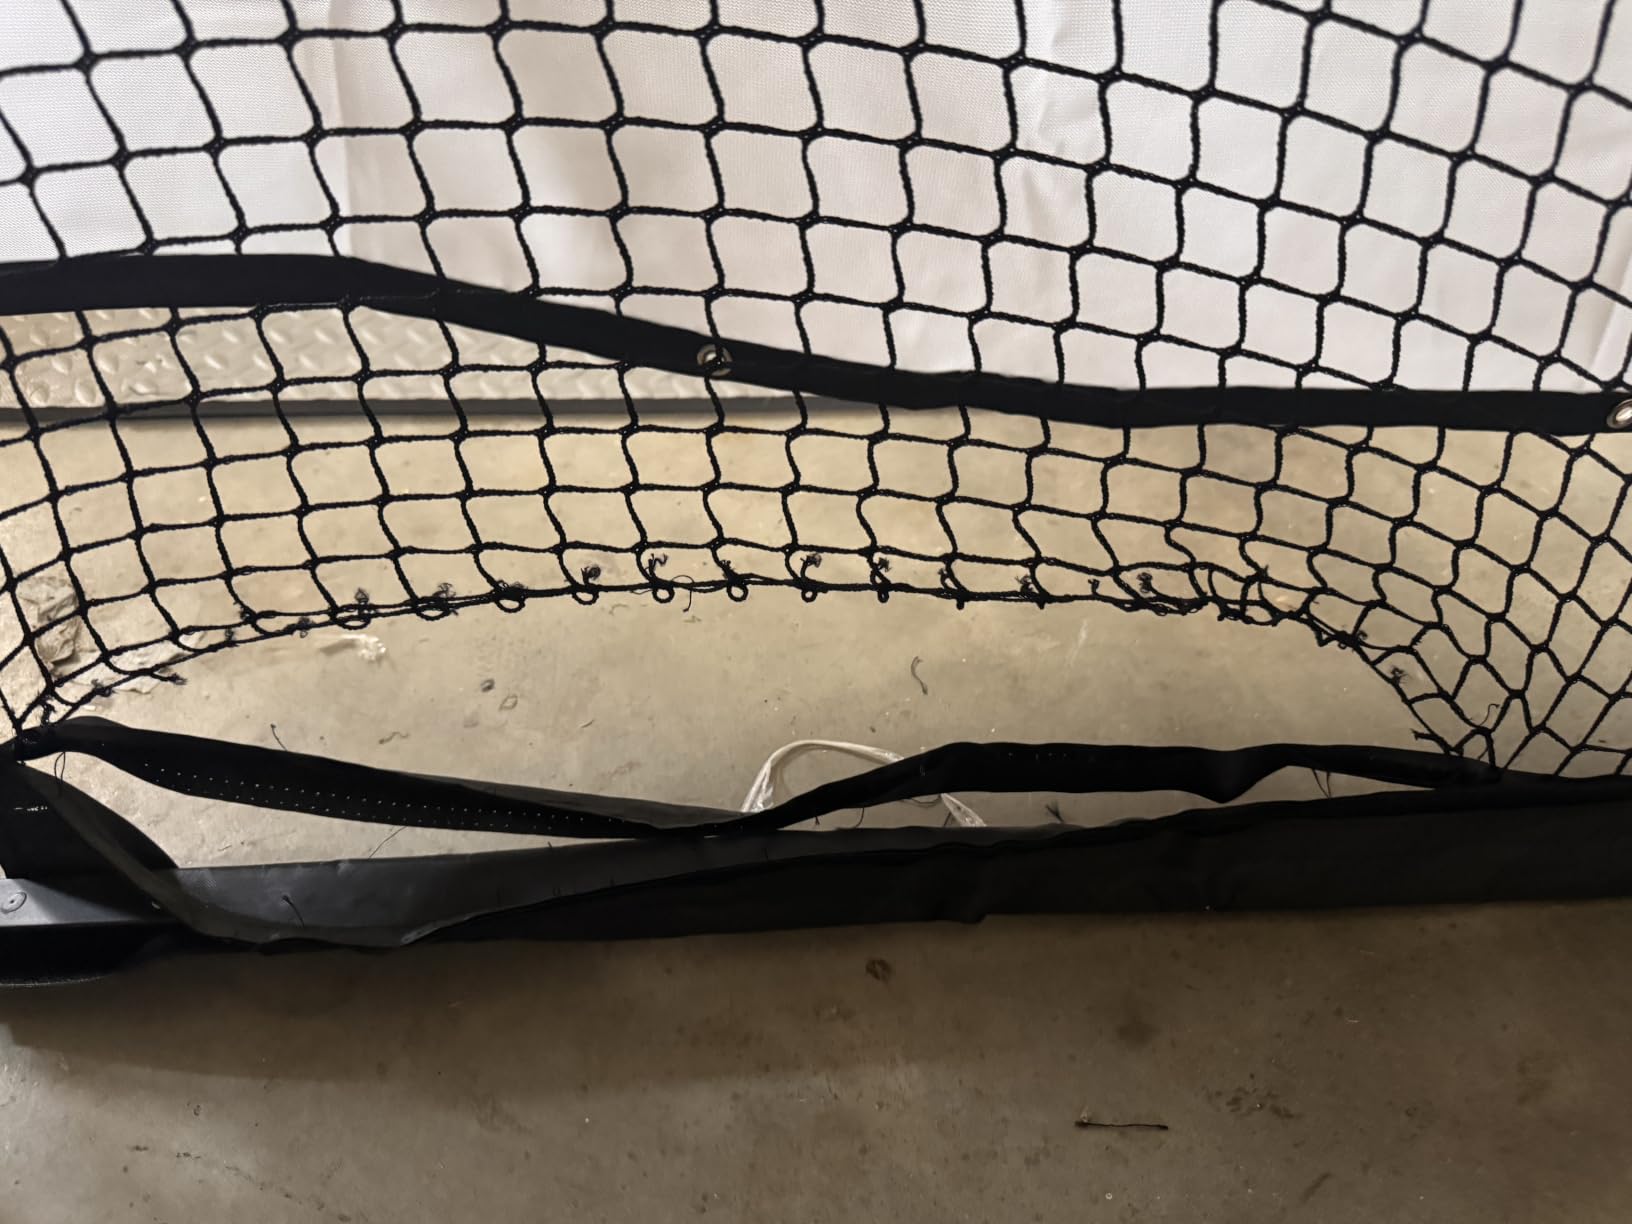
Garage fit
At 14.5 kg it is the lightest unit here and moves between rooms without a second person. A 9 ft or greater ceiling height is recommended, which lines up with most standard garage bays.
Expect to plan around it rather than fit it into a corner. The base poles are powder-coated steel but the uprights are flexible fiberglass, which spreads screen tension nicely and does not love repeated full swings.
The honest catch
There is no blackout enclosure, so projected image quality depends entirely on ambient light. In a bright garage you will be shooting practice, not watching a round.
It also carries the lowest average rating and the highest one-star share in this group, with fabric and screen noticeably thinner than the steel-frame kits. Buy it for swing practice and containment; do not buy it expecting a simulator room.
7. Sturdum Enclosure Kit with Steel Frame – Best for Compact Bays
Sturdum 10x10ft Golf Simulator Enclosure Kit with HD Screen and Steel Frame
10 x 8 ft
Alloy steel frame
Blackout curtains
8.4 x 8.4 ft option
Pros
- Steel frame with light-blocking curtains
- Side netting contains off-center shots
- 8.4 x 8.4 ft footprint for narrow rooms
- Launch monitor ready layout
Cons
- Lowest average rating in the group
- Only 22 reviews of customer feedback
- Published specification detail is thin
The Sturdum kit is on this list for one reason above all others: the 8.4 x 8.4 ft option. If your bay is narrower than 10 ft and every kit in this roundup has been too wide, this is the one that fits.
Otherwise it is a competent steel-frame enclosure with blackout curtains, an impact-resistant screen and side netting for containment. Nothing about it is unusual, which is roughly what you expect at this level.
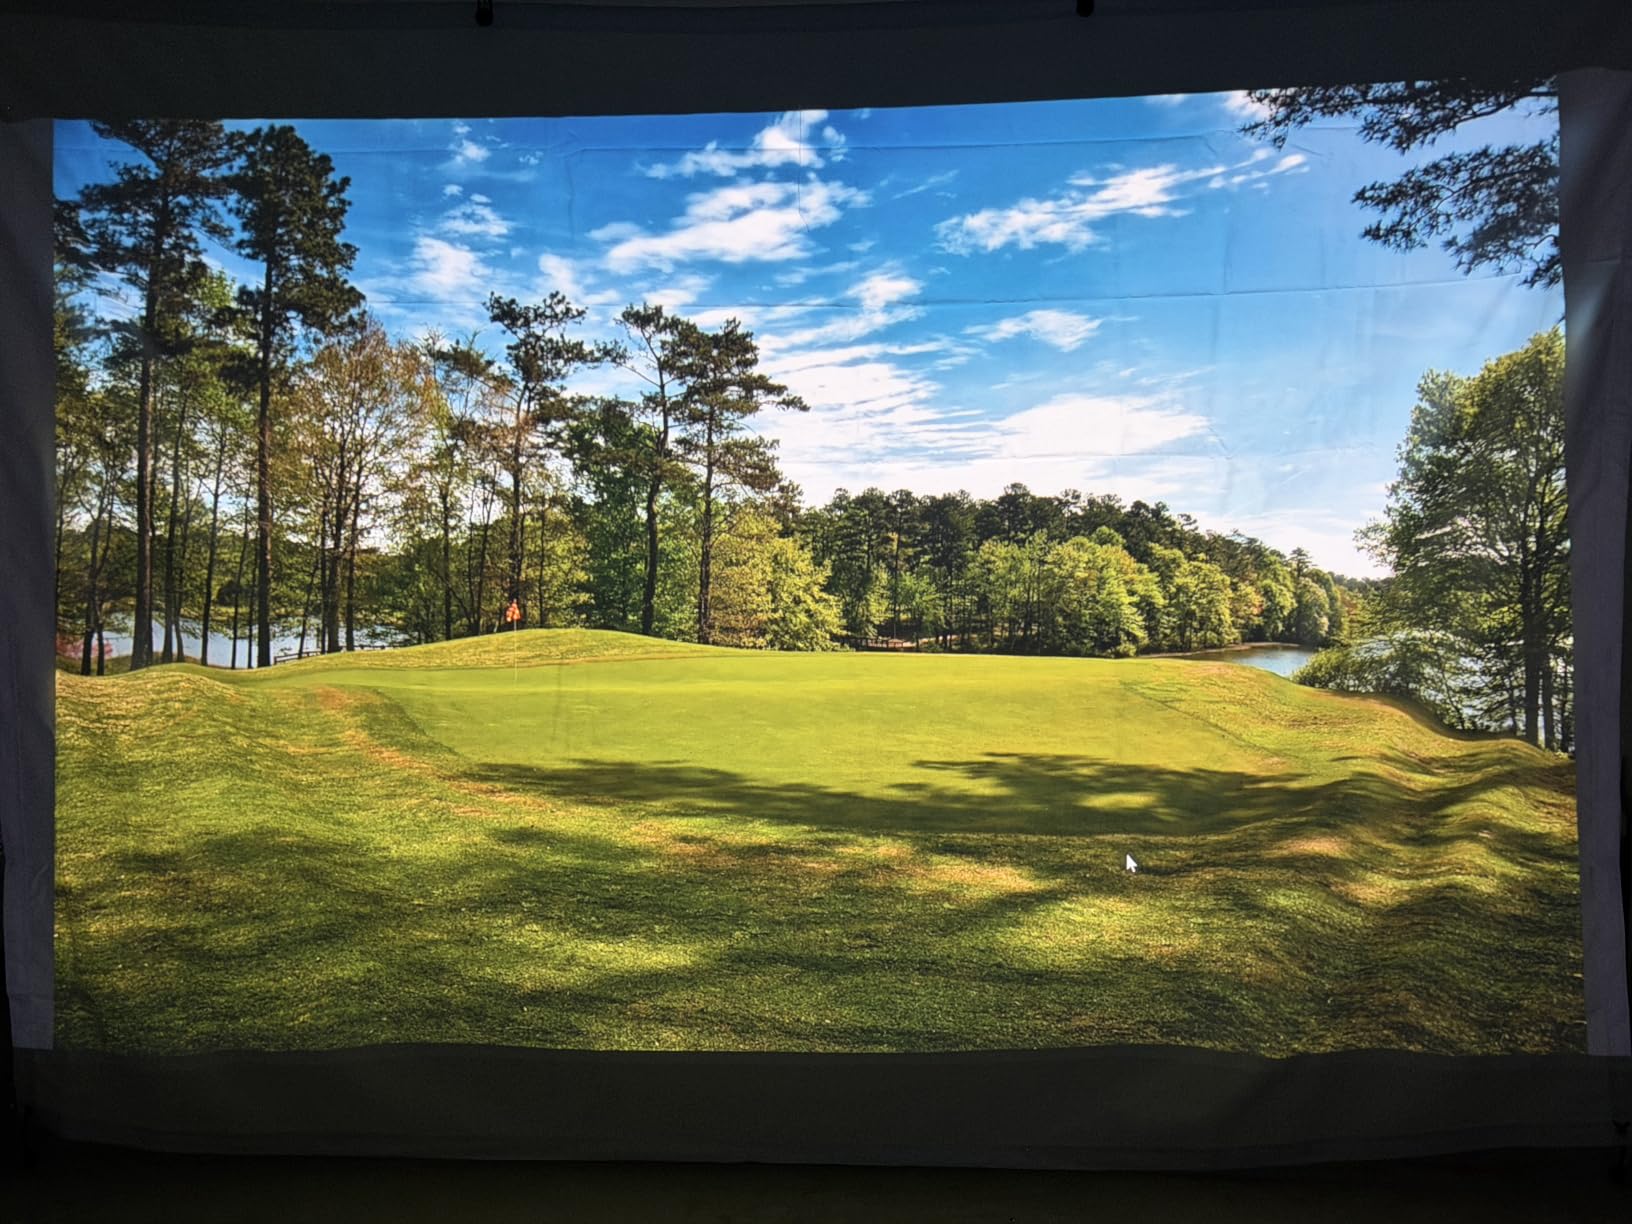
The frame is alloy steel and the curtains are described as light blocking, which is the correct pairing for a garage. Side netting helps with off-center shots, and the layout is set up to accept a launch monitor without redesign.
Variants cover 8.4 x 8.4 ft, 10 x 8 ft and a 10 x 7 ft single-layer screen option, so there is some room to match a tight bay.
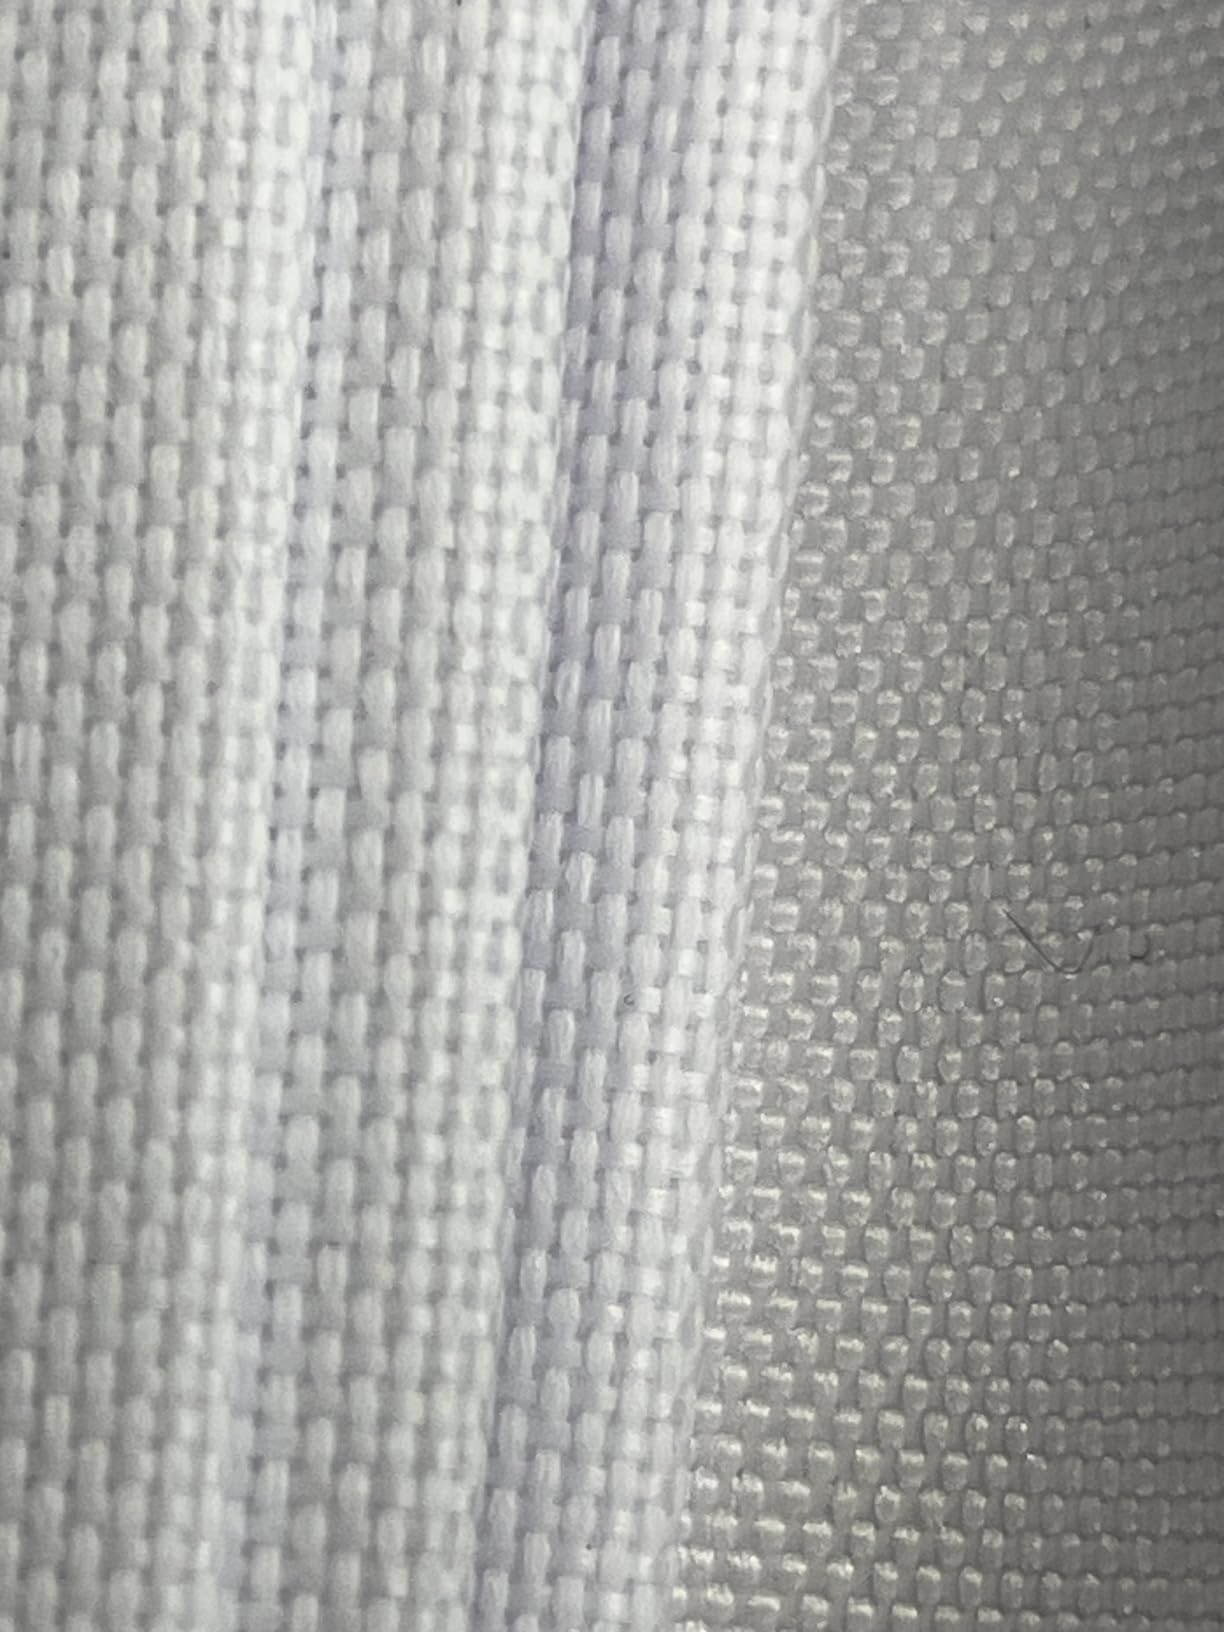
How to weigh a thin evidence base
With only 22 reviews, the 4.1 average tells you less than it would for a kit with 180. There is not enough owner history here to judge long-term screen durability, and we would rather say that plainly than dress it up.
Check the current rating and review count before you commit, since a thin sample can move quickly in either direction.
What gives us pause
The published specification is sparse — a single feature bullet in places, no screen material detail and no blackout coverage figures. At 4 mm, the frame material is on the light side compared with the rest of this field.
It carries an 11% one-star share, the highest here. The functionality looks adequate; the consistency is what is unproven.
8. ZivPlay Golf Simulator Enclosure – Best for Wide Bays
Golf Simulator Enclosure for Home Garage Indoor Sim Practice with Screen
10 ft 7 in W x 8 ft H x 5 ft D
500D polyester screen
Two 8 x 8 ft side nets
Pros
- Widest bay in the group at 10 ft 7 in
- Two large 8 x 8 ft side nets included
- Edge foam padding on all frame tubes
- Assembles solo in 30 to 60 minutes
Cons
- Bouncy screen unless you re-work the bungees
- Orange resin residue on hands during install
- Instructions are poor with no video
The ZivPlay cage is the widest footprint in this roundup at 10 ft 7 in by 8 ft high by 5 ft deep, and it ships with two 8 x 8 ft side nets and sandbags. If your bay is generous, that width buys you more screen and more containment than the 10 ft kits.
It also includes foam edge padding on the steel frame tubes, which is the single most useful accessory for protecting both the frame and the person swinging next to it.
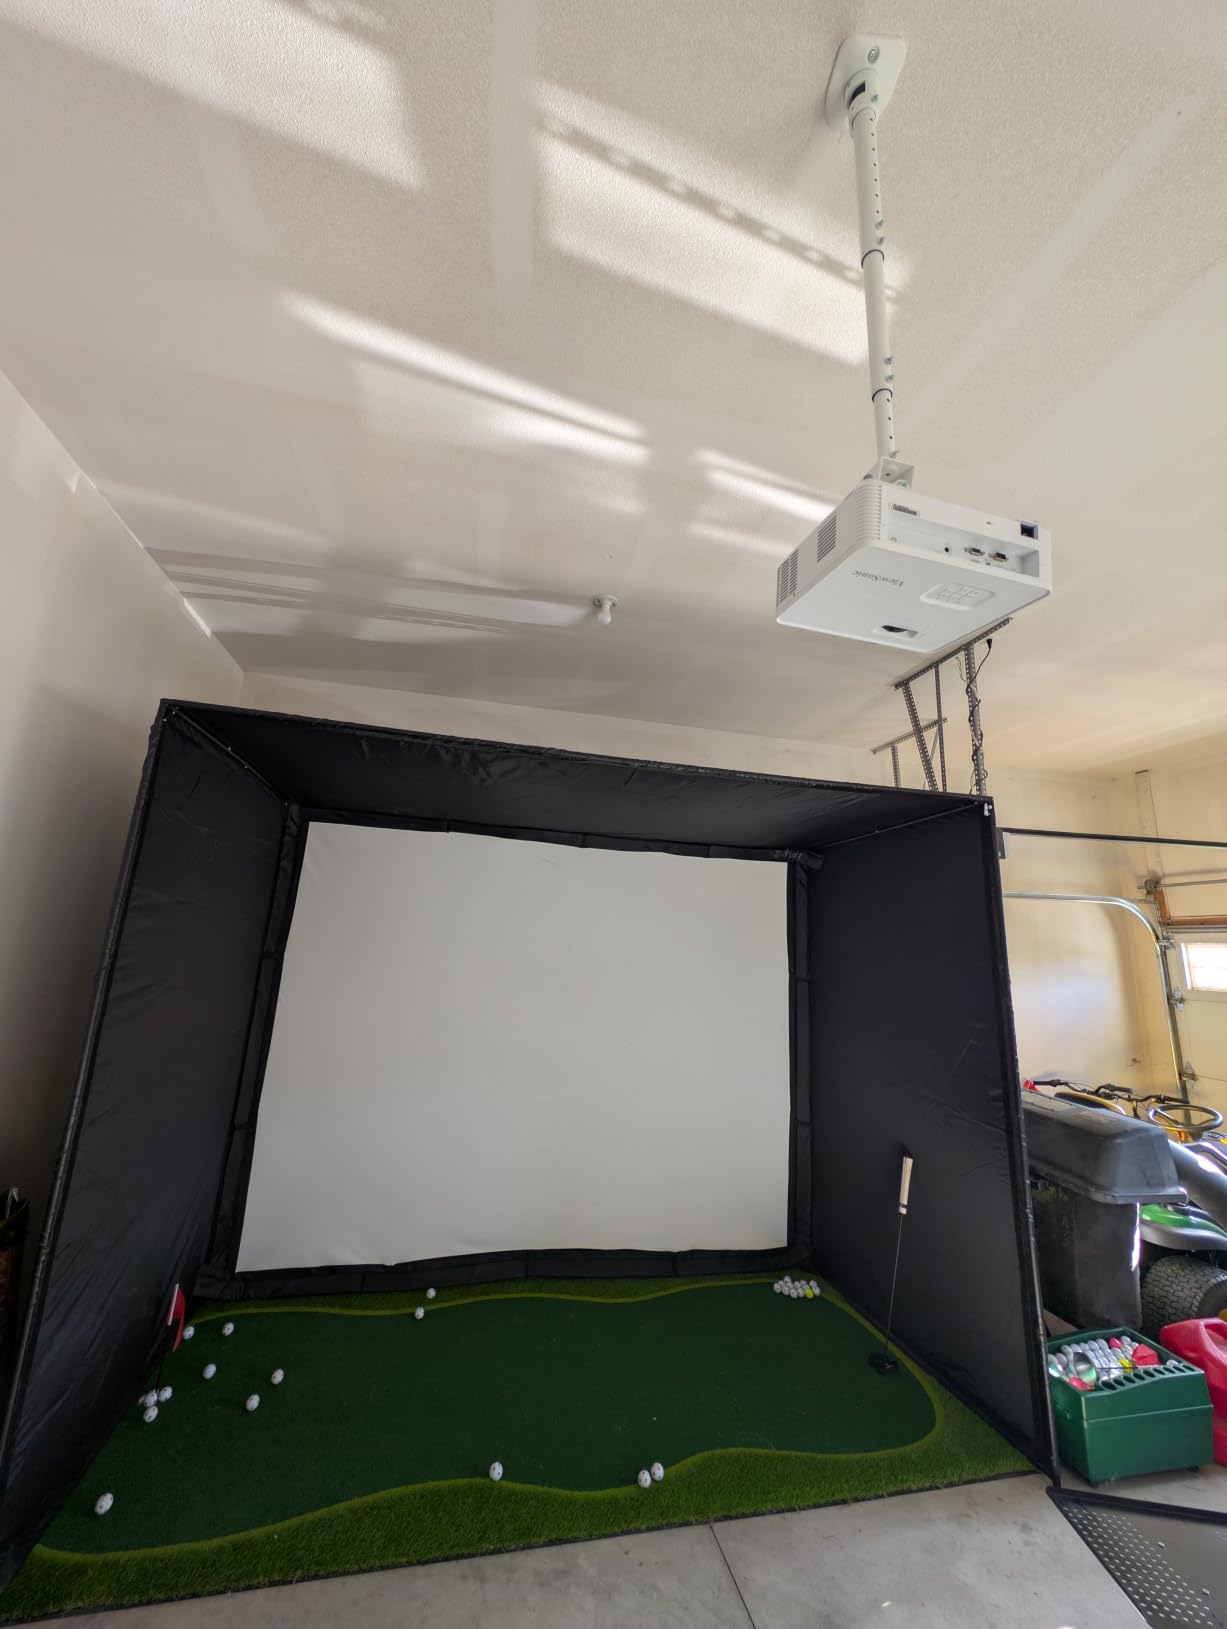
Reviewers call it strong value against kits costing two to three times as much. The steel frame feels solid, and the high-strength 500D polyester screen has held up to direct impacts without damage in normal use.
One field modification is worth knowing before assembly: installing every other bungee cord dramatically reduces roll-back. Owners who made that change report a much calmer hitting experience.
Garage fit
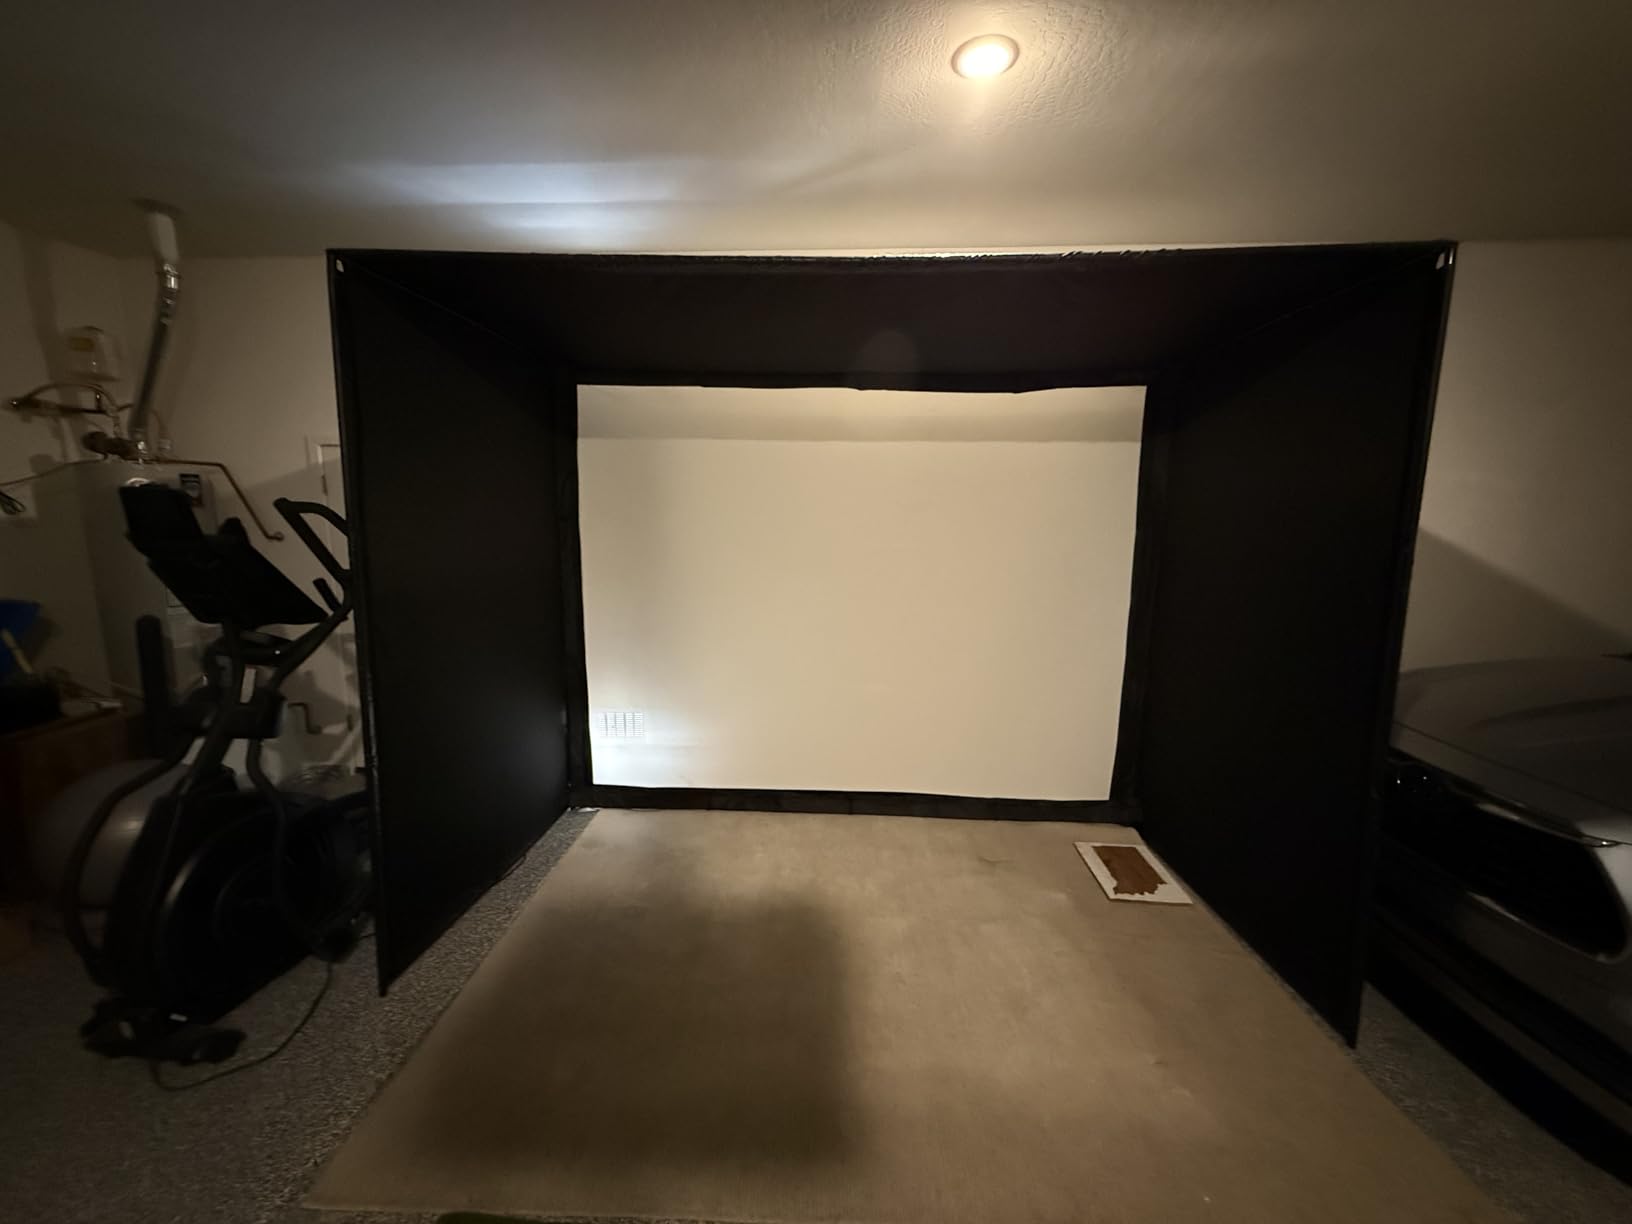
At 127 inches by 60 inches by 96 inches, this is a wide, deep unit and needs 9 ft of ceiling clearance. The 4:3 impact screen is sized for straightforward projector alignment, which saves faffing with keystone correction.
It is compatible with all major launch monitor systems, so the sequencing is simple: build the bay, drop the screen, place the monitor.
Where it annoys people
Out of the box the screen is bouncy and balls do not drop straight down. The every-other-bungee fix is the standard remedy and takes minutes.
Two smaller but real issues — the screen and black tarp can leave an orange resin residue on your hands during installation, and a couple of pole mounts have arrived with holes on the wrong side. Instructions are poor and no assembly video was found, so plan on working from the parts rather than the booklet.
9. ANYTHING SPORTS Fold Up Enclosure – Best for Keeping the Car
Fold Up Golf Simulator Enclosure (8’4 x 8’4 x 5′)
8 ft 4 in square
Folds flat in about a minute
91 inch matte screen
Wall mount
Pros
- Folds flat against a wall in about a minute
- 91 x 91 inch matte screen gives a sharp image
- Everything packs back into the original box
- Suitably low 7.5 to 8 ft ceilings
Cons
- Very heavy
- needs a two-person lift
- Wall mount fails on uneven stud walls
This is the answer to the question every garage simulator article dodges. The fold-up enclosure collapses flat against a wall in about a minute, which means the bay is genuinely available for the car on any given evening rather than theoretically available.
It is the only unit in this roundup with a folding design, and every review we read centres on that single benefit. The review distribution reflects it — no neutral ratings at all.
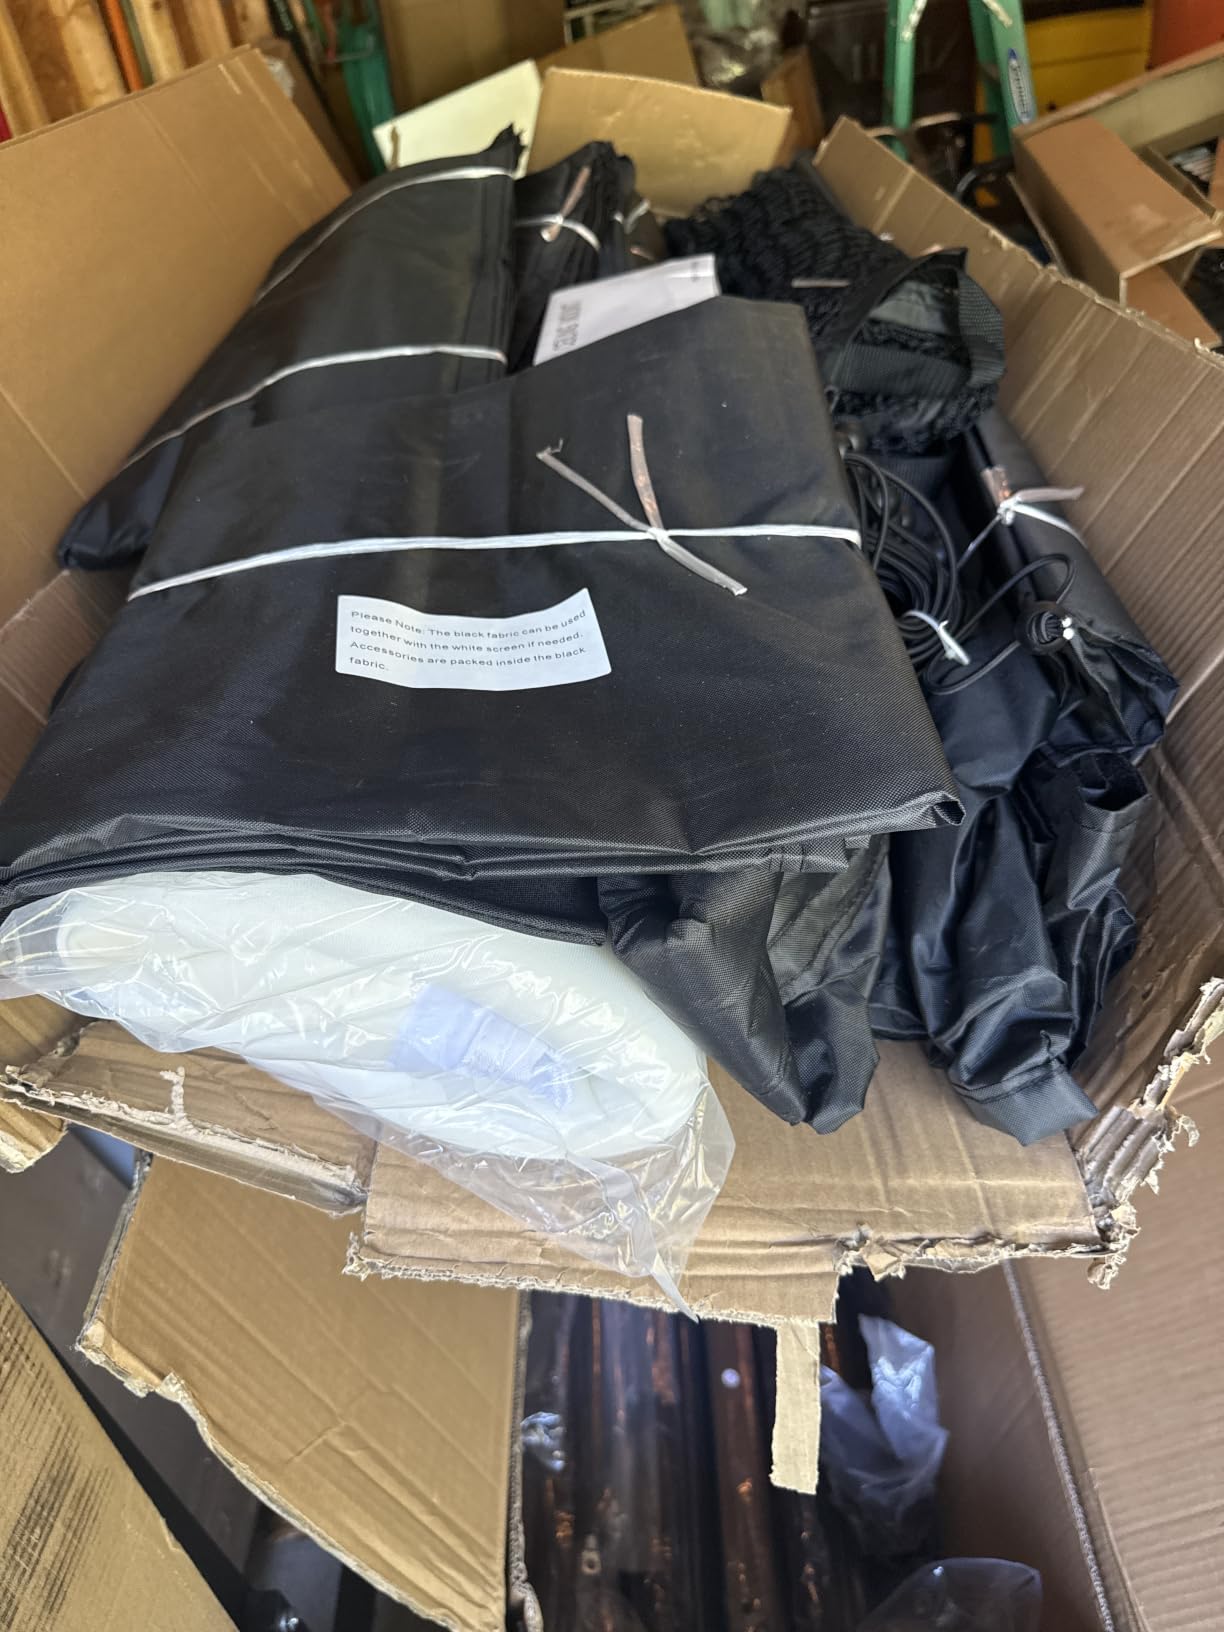
The screen itself is a 91 x 91 inch matte surface in double-stitched vinyl blackout enclosure. It absorbs ball energy well and produces a sharp projected image, and the side shank nets and padding attach securely with Velcro.
The box includes the shank nets, a projector mount and sandbags. Projector, mat and launch monitor are separate, as with most kits here.
Garage fit and the wall problem
At 8 ft 4 in square it suits narrow bays and low ceilings — owners in basements with 7.5 to 8 ft heights report it working well. That is a real advantage over the 9 ft minimum most kits in this list carry.
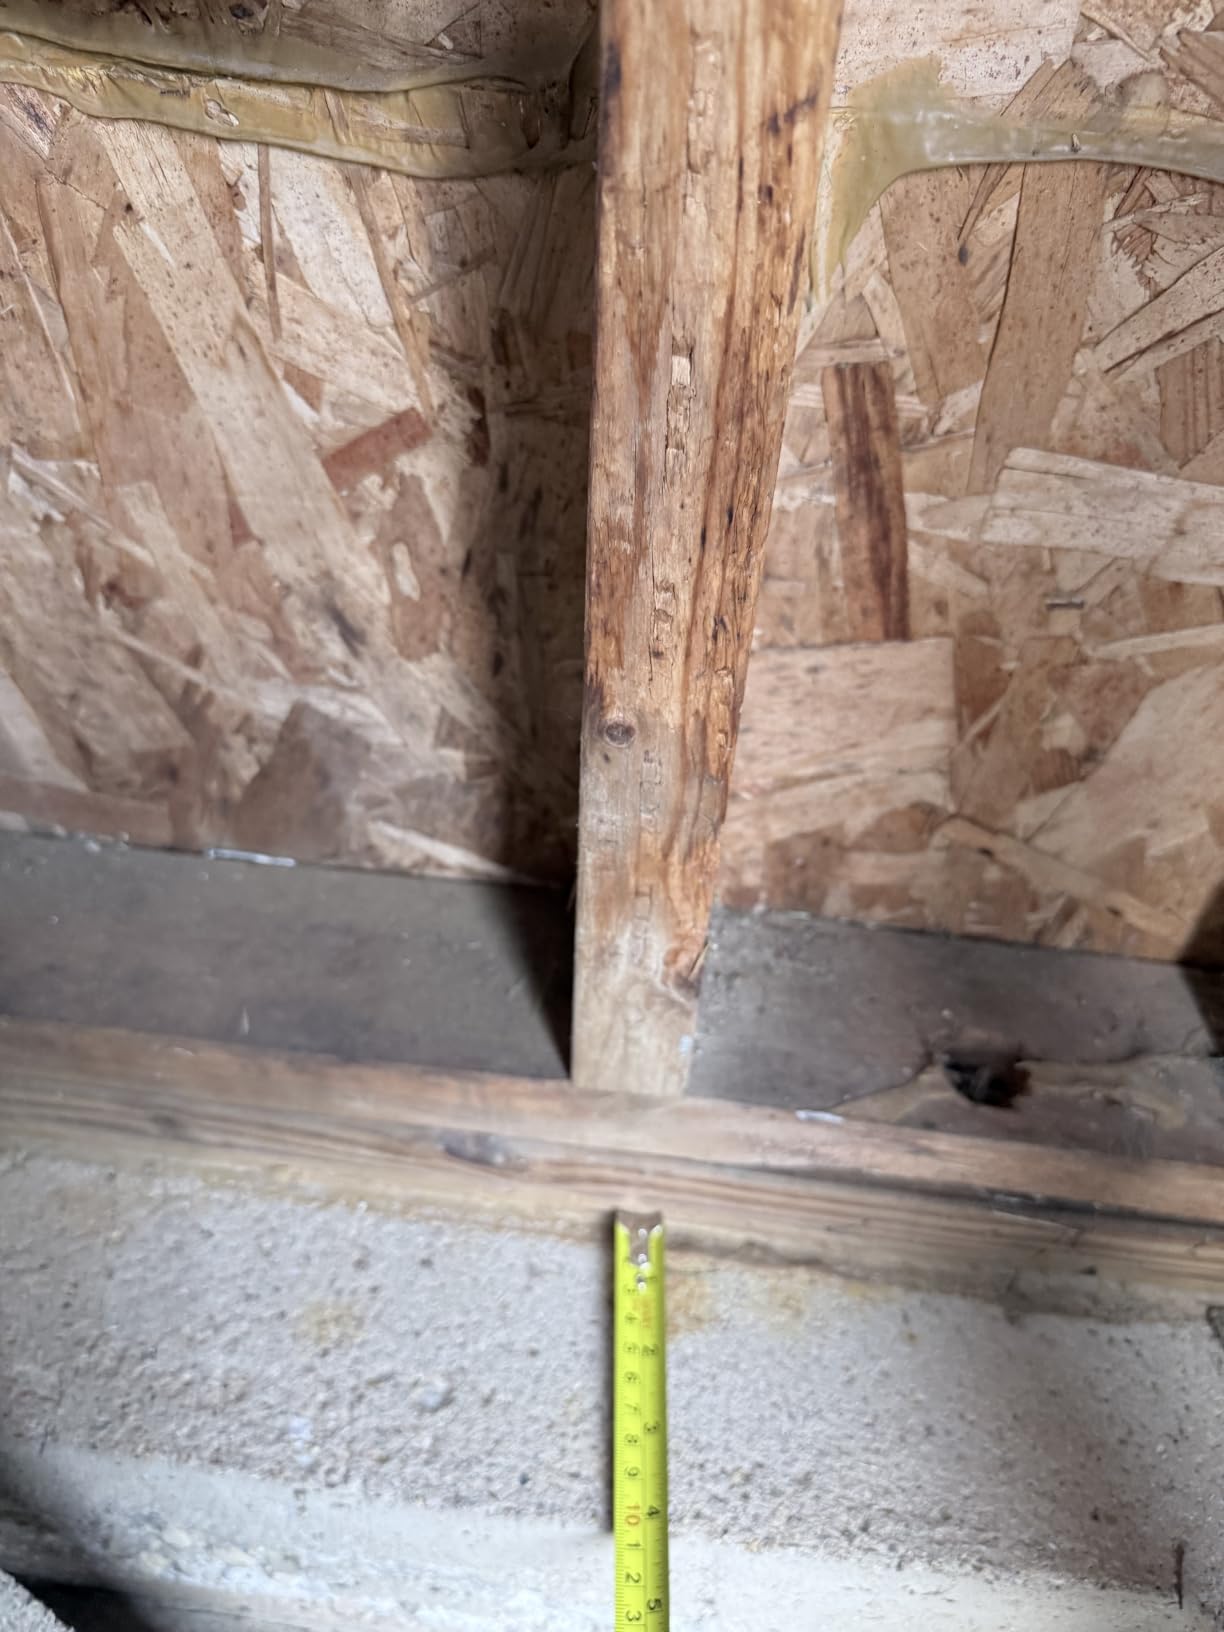
But the wall mount is the deciding factor. It needs a structurally suitable wall, and garages with a protruding concrete foundation lip or uneven stud walls can defeat the install entirely, sometimes requiring a contractor.
What to plan around
It is heavy and a two-person lift is required for hanging and for moving it. That is a one-time cost in a two-person household and a genuine problem alone.
There is also a mismatch between the illustrated round poles and the square poles actually included, and a bag of 54 similar screws in three lengths to sort before you start. Check both before you begin.
10. YSDDAOG 10 x 8 x 6 ft Enclosure Kit – Best for Deep Bays
10x8x6 ft Golf Simulator Enclosure Net with HD Impact Screen & Frame Kit | Indoor Home Golf Training Cage Simulator Accessories | Gift for Golfers Men Women
10 x 8 x 6 ft
Alloy steel frame
72.7 lb
Deepest depth in the set
Pros
- Deepest enclosure depth in the set at 6 ft
- All-in-one net
- screen and frame package
- Highest average rating in the group
Cons
- Only 7 reviews
- far too few to trust
- Generic published specification
- No warranty length published
The YSDDAOG kit is the deepest unit in the shortlist at 10 ft wide by 8 ft high by 6 ft deep. That extra foot of depth gives you more room behind the ball, which matters if you are practising off a real stance mat rather than a flat mat.
It is a complete package: an alloy steel frame with polyester netting, an HD impact screen and a cage that functions as a standalone training space for swing and shot analysis.
At 72.7 lb it is a solidly built, substantial-feeling unit for a garage bay.
Garage fit
The 6 ft depth is the differentiator. In a deep two-car or three-car garage you have room to place the screen, the hitting position and the camera or radar unit in a layout that a 5 ft bay compresses.
At 8 ft high, it lines up with a standard garage bay width rather than a full wall, so a single-car garage conversion works.
Why it sits at the bottom despite the rating
The 4.8 average is the highest here, but it comes from 7 reviews. That signals early buyer satisfaction, not proven durability, and we will not rank a kit on seven data points.
The published specification is also thin — the listing omits screen material, ceiling height guidance and any blackout detail, and only a generic one-year manufacturer claim is given. Check the current rating and full listing detail before buying.
What Size Garage Do You Need for a Golf Simulator?
A functional garage simulator needs roughly 10 ft wide, 15 ft deep and 9 ft of ceiling height. That is the working minimum most owners land on, and anything tighter means compromising on screen size or on how far back you can stand from the screen. The depth matters more than the width, because a shallow bay puts the screen so close that the image is unreadable and a mishit goes straight back at you.
Match the kit to your ceiling rather than to your car. Here is how the enclosures in this roundup sort by the height band of the bay:
- Under 9 ft ceiling: Very tight. The fold-up 8 ft 4 in enclosure is the main option here, and the smaller square-footprint kits. Standard 8 ft high kits will not go.
- 9 ft ceiling (the standard bay): Most of this list fits, since 8 ft high enclosures leave a little headroom. The Diandian, ZivPlay and IDEATRY units all state a 9 ft minimum.
- 9.5 to 10 ft ceiling: Comfortable. This is where the full 8 ft high kits sit without anyone swinging a club into the ceiling structure.
- 10 ft and above: You can suspend a ceiling frame around 10 ft off the ground, which is the classic fix for light control in a very bright garage, and it still leaves clearance above the hitting position.
Swing clearance is the number that ruins builds. Measure with the longest club you own, not a wedge, and check that the top of the frame is not where your driver finishes. Many owners discover this after the frame is up.
If your bay is a non-standard width, the honest answer is that standard kits do not fit. Owners in that situation rotate the bay sideways and lose hitting distance, or build their own frame from 8020 extruded aluminum, which costs several times more in materials than a kit but scales to any dimension.
DIY Frame Build vs. Pre-Built Enclosure Kits
Pre-built kits are faster and cheaper for a standard bay. A DIY frame is the right call when your dimensions are unusual or when you want a suspended ceiling that no kit offers. The decision comes down to three things: material, time and light control.
EMT conduit is the cheapest route and what most forum builders reach for first. Half-inch or one-inch conduit is light, cuts with a basic hacksaw, and can be hinged with fence door bracket hinges to make folding side panels that flatten against a wall. It is not as rigid as aluminium, so a long span across the top of a wide bay can flex.
8020 extruded aluminum is the upgrade. T-slotted profiles, connectors and hardened corner brackets give a frame that stays square under a full swing and looks like commercial equipment, at several times the material cost of a kit. This is what you choose when the enclosure has to double as something you are not ashamed to photograph.
PVC is light and cheap but flexes too much for a hitting frame. Builders in the forums use it for curtain rails, not for anything a club touches.
On light control, a DIY build has a genuine advantage: you can build a suspended ceiling around 10 ft off the ground rather than a full-height wrap. That extra volume of black fabric above the screen is the single most effective fix for a bright garage, and no off-the-shelf kit replicates it. If your garage has windows or a light-colored ceiling that bounces light everywhere, this is the argument for building.
Plan a half day. Owners consistently report assembly taking two to three times longer than the advertised figure, largely because of bungee attachment and fabric tensioning rather than the frame itself.
How to Keep Your Car in the Same Garage
Shared-space coexistence is the constraint that decides most garage builds, and it is the one the car-parking question in the FAQ below comes down to. Five things make it work.
Choose a bay you can abandon at night. Most problems come from trying to make one kit serve both uses. Pick the deeper bay, put the enclosure against the garage door side, and leave the car side completely clear.
Fold or hinge the side panels. Folding panels built on EMT with fence door bracket hinges, wrapped in black polypropylene ground cover fabric, give you side protection when you are hitting and flat storage when you are not. The fold-up enclosure does this in a single motion and is the only off-the-shelf unit that gets close.
Rotate the bay in a wide garage. In a three-car garage with high ceilings you can run the hitting position sideways and still park a car. You lose some screen width, but you keep the car, which is usually the better trade.
Store the turf, do not roll it. Rolled turf keeps a curl and will not lay flat for months. The trick owners use is to pinch the turf edges under the stance mats with about half an inch of overlap — it stays flat, looks tidy and survives the season.
Deal with the dirt before the turf goes down. Winter salt and grit off the car ends up on the mat and floor all season. Put down a washable mat layer under the stance mat so you can lift it and hose it, and you avoid the whole problem.
One more consideration worth raising with your household before you order: noise. Most owners report their enclosure is far quieter than they expected, particularly the padded kits, but a laser projector fan is still audible in an attached garage. If neighbours are close, the padded frames in this list are the ones to shortlist. If you are in an HOA, check whether an exterior change is involved before you mount anything permanent.
Containment is worth thinking about separately from the enclosure itself. Side nets and top baffles are what stop a mishit from reaching a car or a person, and the general principle of tensioned side mesh on a frame is the same one used in safety enclosure systems — add a front baffle above the screen if steep wedge shots are a risk for your swing.
How to Install a Golf Simulator Enclosure in a Garage
Order of operations matters more than skill here. Almost every problem we read about came from doing a step in the wrong sequence, not from bad tools.
One: measure and mark the footprint. Check width, depth and ceiling clearance with the longest club in hand. Mark the screen end of the bay first, then work backwards from it.
Two: run power and data before you build. This is the most-missed step and the most annoying to fix later. Get an outlet where the projector and launch monitor need them, and run the cable between them before the frame blocks the route. Forum builders consistently rank this above build difficulty as the thing they wish they had planned.
Three: lay out and level the base frame. Assemble the base rectangle, use a spirit level on all four sides, and shim before you raise anything vertical. An out-of-square base makes every later step harder.
Four: add uprights and crossbars, then tension. Build the structure first and fit the screen and fabric last. Fabric tensioning before the frame is square is wasted work.
Five: wrap the blackout fabric. Work from the back forward. Check for light gaps at the corners before you move on, because a single gap behind the screen shows up as a bright patch in the image.
Six: hang the screen, then add padding and nets. Screen first, then foam, then side nets and any front baffle. Put the projector on last and do the throw ratio and focus adjustment in the dark.
Budget more time than the box claims. Owners report roughly an hour for the quick kits, around 90 minutes for the padded kits, and close to two and a half hours for a fully padded build — with the padded assembly and screen hanging itself being straightforward for one person if the instructions are clear.
For the projector itself, we have a separate breakdown of throw ratios, lumens and dust resistance for garage environments in our projector guide. Short version: a laser unit with 4000 lumens or more is what you want if you will ever use the bay with the garage lights on.
Frequently Asked Questions
Can you put a golf simulator in a garage?
Yes, and most home simulators live in a garage. You need roughly 10 ft of bay width, 15 ft of depth and 9 ft of ceiling height for a workable setup. A garage golf simulator needs an impact screen enclosure with blackout fabric rather than a plain net, otherwise ambient light washes out the projected image.
How big does my garage need to be for a golf simulator?
Plan for a minimum of 10 ft wide by 15 ft deep with a 9 ft ceiling. Depth matters most because it sets how far you stand from the screen. Under a 9 ft ceiling, a fold-up or 8 ft 4 in square enclosure is the practical choice, and taller bays allow a suspended ceiling frame for light control.
Can I park my car in the garage with a golf simulator?
Yes, if the bay is laid out so the car has its own clear space. Folding or hinged side panels, fold-up enclosures, and rotating the hitting position sideways in a wide garage all keep the car accessible. Storing turf by pinching it under the stance mat keeps it flat and ready between sessions.
Do golf simulator enclosures damage garage walls?
They can, mainly from balls and frame contact. Side nets, a safety baffle above the screen, foam padding on frame tubes and blackout fabric that stands off the wall prevent most damage. A bouncy screen with no front baffle is the common cause of balls returning hard enough to mark paint or trim.
Who makes the best golf simulator enclosure?
For garage use the strongest all-round packages in this roundup are the GoSports kit for true blackout fabric and a layered impact screen, the ANYTHING SPORTS complete cage for including a projector mount and shank nets, and the HOMEVOL system for combining a practice net and simulator screen in one frame.
How long does it take to install a golf simulator enclosure?
Allow half a day. The quickest kits take 30 to 60 minutes for two people, and padded builds run closer to two and a half hours. Most of the extra time goes into bungee attachment and fabric tensioning rather than the frame, and planning power and data runs beforehand prevents a teardown later.
Which Golf Simulator Enclosure Should You Buy?
The GoSports kit is our pick for the best golf simulator enclosures for garages, because true blackout fabric and a layered impact screen in one box is exactly what a shared two-car bay needs, and it has the deepest body of owner feedback behind it. Pick the ANYTHING SPORTS complete cage instead if you want the projector mount and shank nets in the same box and would rather not source them separately.
Two situations change the answer. If the car genuinely has to sleep in the bay every night, the fold-up enclosure is the only unit here that reclaims the space in about a minute. If your bay is narrower than 10 ft, the compact-footprint kits will fit when the rest will not.
Before you order, measure the ceiling with your longest club in hand, run the power and data first, and add a front baffle above whichever screen you pick. Those three steps decide whether the build works as well as the spec sheet suggests.