
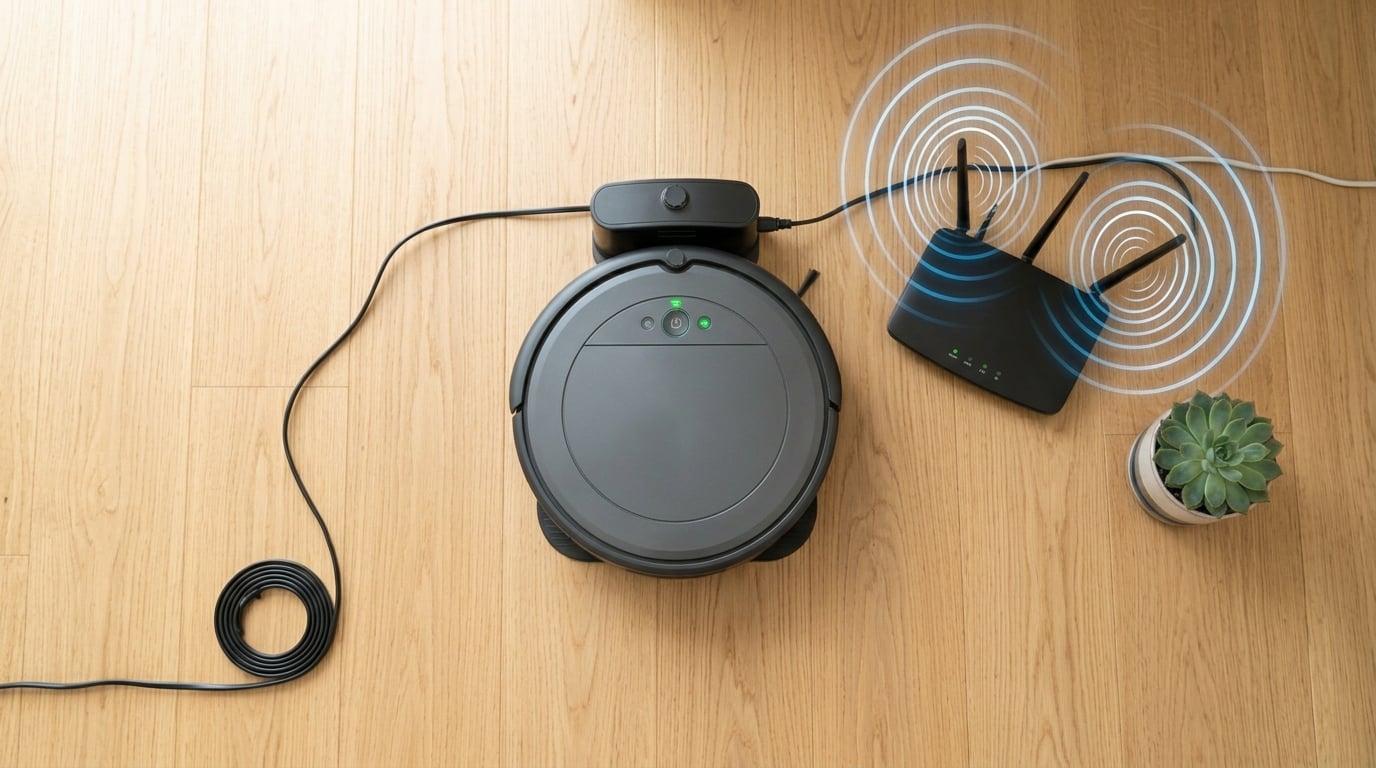
So you swapped out your old router for a shiny new one, and suddenly your robot vacuum refuses to connect to WiFi. You are not alone. This is one of the most common issues robot vacuum owners face, and the frustration is real. One Reddit user even said, “My wife has given up on it” after days of failed reconnection attempts.
The short answer: your robot vacuum stores your old network credentials (SSID and password), and when those no longer match, it cannot find or authenticate with your new network. Most robot vacuums only support 2.4GHz WiFi, and newer routers often default to 5GHz or WPA3 security, which many vacuums cannot handle. The fix usually involves putting the vacuum back into pairing mode and reconnecting through the app, but there are several specific traps that trip people up.
In this guide, we will walk through exactly why your robot vacuum will not connect to WiFi after a router change, how to fix it step by step, and how to avoid losing your saved maps and schedules in the process. Whether you have a Roomba, Roborock, Ecovacs, or another brand, these troubleshooting steps will get your smart vacuum back online.
Table of Contents
Why Your Robot Vacuum Disconnects After a Router Change
When your robot vacuum stops connecting after a router change, it is almost always an environment issue, not a broken vacuum. Your vacuum was happily connected to your old network with its specific name (SSID), password, and security protocol. The moment that network disappears or changes, the vacuum’s stored credentials become invalid.
Think of it like a key to a house. You changed the locks (your router), and the old key (your vacuum’s saved WiFi credentials) no longer works. The vacuum keeps trying to connect to a network that no longer exists, and it has no way of knowing the new network name or password on its own.
There are three main culprits behind this disconnection. First, your new router likely broadcasts a different SSID or password than the old one. Second, modern routers often default to 5GHz bands or WPA3 security, which many robot vacuums cannot handle. Third, band steering on dual-band or mesh routers can confuse the pairing process by constantly switching the vacuum between networks.
Here is what typically happens inside the vacuum when you change routers. The device stores your WiFi credentials in its internal memory. It continuously probes for that specific SSID. When it cannot find it (because your old router is gone), it silently fails to connect. No error message on the vacuum itself in most cases. Just a blinking WiFi light or a solid “no connection” indicator in the app.
Quick Troubleshooting Checklist Before You Dive Deeper
Before we get into the deeper technical fixes, try these quick checks first. Many robot vacuum WiFi connection issues after a router change are solved by one of these simple steps.
1. Verify your phone is connected to the same 2.4GHz network you want the vacuum to join. If your phone is on 5GHz, the vacuum cannot complete pairing.
2. Confirm the vacuum is on its charging dock and has at least 20% battery. Low battery can cause pairing failures, and some vacuums will refuse to enter setup mode if the battery is critically low.
3. Double-check your WiFi password for typos. This sounds obvious, but a single wrong character will silently fail. Try connecting a different device with the same password to confirm it is correct.
4. Restart both your router and the vacuum. Unplug the router for 30 seconds, plug it back in, and wait two minutes. Then remove the vacuum from its dock, wait 10 seconds, and place it back.
5. Move the vacuum and its dock closer to the router during setup. WiFi signal strength during initial pairing matters more than you might think. A weak signal during setup can cause the connection to time out.
6. Turn off any VPN or mobile data on your phone during setup. A VPN can interfere with the local network discovery the vacuum needs to complete pairing.
One user on a forum reported a surprisingly simple fix: “Charge it. Unplug it and take it off the base station and just forget about it for half an hour.” Sometimes the vacuum just needs a full power cycle and a brief rest before it will accept a new pairing.
The 2.4GHz Problem: Why Your Robot Vacuum Won’t Connect
This is the single biggest reason robot vacuums fail to connect after a router change. Nearly all robot vacuums on the market, from Roombas to Roborocks to budget brands, only support 2.4GHz WiFi. They cannot connect to 5GHz networks at all.
Why only 2.4GHz? It comes down to range and wall penetration. The 2.4GHz frequency travels farther and passes through walls, floors, and furniture better than 5GHz. Since robot vacuums roam all over your home, including rooms far from the router, manufacturers design them for 2.4GHz to ensure reliable connectivity throughout the house. The 2.4GHz band also uses less power, which matters for battery-operated devices.
The problem is that many modern routers, especially those from ISPs, combine 2.4GHz and 5GHz into a single network name (SSID). This feature is called band steering. Your phone might connect at 5GHz while the vacuum needs 2.4GHz, and the router keeps pushing everything to the faster band. During pairing, the vacuum needs to detect the 2.4GHz signal specifically.
Here is how to fix the 2.4GHz issue. The most reliable approach is to temporarily separate your 2.4GHz and 5GHz networks into two different SSIDs. Log into your router’s admin panel (usually 192.168.1.1 or 192.168.0.1), find the wireless settings, and give your 2.4GHz and 5GHz bands separate names. For example, “MyHome” for 2.4GHz and “MyHome_5G” for 5GHz.
Connect your phone to the 2.4GHz network, then run the vacuum pairing process from the app. Once the vacuum is connected, you can switch your phone back to 5GHz. The vacuum will stay on 2.4GHz permanently.
If your router does not allow separating the bands, try moving far enough from the router that your phone drops to 2.4GHz (since 5GHz has shorter range). Then attempt pairing. This trick works on many routers that use band steering.
Router Security Settings: WPA2 vs WPA3 Compatibility
WPA3 is the newest WiFi security standard, and many modern routers default to it. Here is the catch: a significant number of robot vacuums, especially models released before 2026, only support WPA2. If your new router is set to WPA3-only mode, the vacuum simply cannot authenticate, no matter how many times you try pairing.
Multiple Roomba users have reported this exact problem on Reddit after upgrading to newer routers. The vacuum pairs, appears to connect, then immediately drops. The root cause is often WPA3 incompatibility.
To check your router’s security setting, open your router admin panel and navigate to the wireless security section. Look for a setting labeled “Security Mode,” “Encryption,” or “WPA Mode.” You will typically see options like WPA2-PSK (AES), WPA3-SAE, or WPA2/WPA3 Mixed.
If your router is set to WPA3-only, switch it to WPA2-PSK (AES) or WPA2/WPA3 Mixed mode. The mixed mode allows WPA2 devices (like your vacuum) to connect using WPA2 while newer devices use WPA3. This is usually the best setting for a household with a mix of old and new smart devices.
After changing the security mode, restart your router and try pairing the vacuum again. This single change resolves connection failures for a large percentage of users who recently upgraded routers.
While you are in the router settings, also check for MAC address filtering. If MAC filtering is enabled, your vacuum’s MAC address needs to be added to the allowed list. You can usually find the vacuum’s MAC address in the app’s device info section or on a sticker on the bottom of the unit.
Phone App Permissions That Block Connection
Even if your router and vacuum are perfectly configured, your phone’s app permissions can quietly block the connection. This is one of the most overlooked causes of pairing failure, and it affects both iPhone and Android users.
iPhone Local Network Permission
If you are using an iPhone, iOS requires apps to have explicit permission to communicate with devices on your local network. When you first open the robot vacuum app after installing or updating it, iOS shows a prompt asking for Local Network access. If you tapped “Don’t Allow,” the app cannot discover or communicate with your vacuum.
Here is how to fix it on iPhone. Go to Settings on your iPhone. Scroll down to find your robot vacuum app (iRobot Home, Roborock, Ecovacs Home, etc.). Tap the app name. Look for “Local Network” in the list of permissions. Toggle it ON. Then force-close the app and reopen it.
This permission is critical because the vacuum pairing process uses local network communication to exchange WiFi credentials with the device. Without Local Network access, the app simply cannot “see” the vacuum on your network.
Android Location Permission
On Android, the pairing process requires Location permission. This is because Android uses location data to scan for nearby WiFi networks, which is necessary during the setup process. Without Location permission, the app cannot scan for the vacuum’s setup signal.
To fix this on Android, go to Settings, then Apps, find your robot vacuum app, tap Permissions, and make sure Location is set to “Allow only while using the app” or “Always allow.” Some apps also need Bluetooth permission for the initial discovery phase, so check that too.
Bluetooth Permission
Many modern robot vacuums use Bluetooth for initial discovery before switching to WiFi. If your phone’s Bluetooth is off, or if the app does not have Bluetooth permission, the vacuum will never appear in the app during setup. Turn on Bluetooth and grant the permission before starting the pairing process.
How to Reconnect Your Robot Vacuum to WiFi: Step-by-Step
Now that we have covered the common roadblocks, here is the general step-by-step process for reconnecting your robot vacuum to a new WiFi network after a router change.
Step 1: Put the vacuum into pairing mode. The method varies by brand, but it usually involves pressing and holding a WiFi or home button on the vacuum until you hear a tone or see the WiFi light flash. On most Roombas, hold the Home and Target Clean buttons simultaneously until you hear a tone. On Roborock models, open the top cover and hold the left button and the plug icon button together. On Ecovacs DEEBOTs, press the reset button with a paperclip for a few seconds.
Step 2: Open the companion app on your phone. Make sure your phone is connected to the 2.4GHz band of your new WiFi network. Disable any VPN.
Step 3: Navigate to the WiFi settings or device setup section of the app. Look for options like “Change WiFi,” “Reconnect,” or “Set Up New Device.” In the iRobot app, go to Product Settings, then WiFi Settings, then select “Reconnect or Change Product WiFi.” In the Roborock app, go to Device Settings, then WiFi Settings. In the Ecovacs Home app, go to More Settings, then Network Information.
Step 4: Follow the on-screen prompts. The app will ask you to confirm your WiFi network and enter your password. Make sure you select the correct 2.4GHz SSID if you have separated your bands.
Step 5: Wait for the connection to complete. This can take anywhere from 30 seconds to 2 minutes. Do not close the app or navigate away during this process. The app will confirm when the vacuum is connected.
Step 6: Test the connection by sending a cleaning command from the app. If the vacuum responds, you are back online. If it does not respond, restart the vacuum by removing it from the dock for 10 seconds, then try again.
If the app cannot find the vacuum during setup, try these fixes. Move the vacuum and dock within 10 feet of the router. Make sure no other phones or tablets are attempting to pair at the same time. Disable any firewall settings on your router that might block IoT device registration. Check that your router is not hiding the SSID (hidden networks can cause pairing failures).
Brand-Specific Reconnection Tips
While the general process is similar across brands, each manufacturer has specific quirks worth knowing about.
Roomba and iRobot
For Roomba models, the iRobot Home app handles reconnection through Product Settings. If your Roomba will not connect after a router change, make sure the app is updated to the latest version. iRobot frequently releases firmware updates that improve WiFi compatibility with newer routers. Before attempting reconnection, check for firmware updates in the app.
If your Roomba keeps failing to connect, iRobot recommends checking that your router is not using a captive portal (the kind that redirects you to a login page). Captive portals block robot vacuum connections entirely because the vacuum cannot complete the web login.
Roborock
Roborock vacuums pair through the Roborock app or the Xiaomi Mi Home app depending on your model. For models sold through Xiaomi, you may need to select a different server region in the Mi Home app settings if the vacuum is not detected. Some users report that switching the server region to the one matching where they purchased the vacuum resolves discovery issues.
For Roborock app users, the pairing process uses both Bluetooth and WiFi. Make sure Bluetooth is on and the app has permission before starting setup. The Roborock app will guide you through a Bluetooth discovery phase first, then switch to WiFi.
Ecovacs and DEEBOT
Ecovacs DEEBOT vacuums connect through the Ecovacs Home app. The app includes a built-in troubleshooting wizard that can diagnose common connection issues. If your DEEBOT is not connecting after a router change, try the in-app diagnostic tool first.
One common Ecovacs issue is that the app sometimes retains old network information that interferes with the new setup. If reconnection keeps failing, try removing the device from the app entirely and adding it as a new device. You will need to re-enter your map settings, but this clean slate approach often resolves stubborn connection issues.
Mesh Network Issues and Band Steering
Mesh WiFi systems like Google Nest WiFi, Eero, and TP-Link Deco are increasingly popular, but they introduce unique challenges for robot vacuum connectivity. The most common complaint on forums is the “device not found” error during setup on mesh networks.
The root cause is band steering. Mesh systems typically combine 2.4GHz and 5GHz into a single network name and dynamically assign each device to the best band. While this works great for laptops and phones, it confuses robot vacuums that need to connect specifically at 2.4GHz during pairing.
Some mesh systems, like Eero, allow you to create a separate IoT network specifically for 2.4GHz devices. If your mesh system has this feature, create an IoT SSID and connect the vacuum to that network during setup.
If your mesh system does not offer a separate IoT network, try temporarily turning off the 5GHz band on your mesh nodes during the vacuum pairing process. Once the vacuum is connected and stable on 2.4GHz, you can re-enable 5GHz. The vacuum should remain connected to 2.4GHz permanently.
Another mesh-related issue is node placement. If the vacuum’s dock is too far from the nearest mesh node, the signal may be too weak for reliable pairing. Try moving the dock near a mesh node during setup, then move it back to its permanent location after the connection is established.
The IoT Network Workaround for Modern Routers
If you are tired of fighting with band steering, WPA3 compatibility, and mesh network confusion, there is a solution that fixes all of these problems at once. Create a dedicated IoT (Internet of Things) network on your router specifically for smart home devices.
An IoT network is a separate WiFi SSID that broadcasts only at 2.4GHz with WPA2 security. By isolating your smart devices from your main network, you eliminate all the compatibility issues that cause robot vacuum connection failures.
Here is how to set up an IoT network. Log into your router admin panel. Look for a feature called “Guest Network,” “IoT Network,” or “Smart Connect.” If your router supports it, create a new SSID dedicated to IoT devices. Set it to 2.4GHz only. Set the security to WPA2-PSK (AES).
If your router does not have a dedicated IoT feature, you can achieve the same result by creating a guest network and configuring it as 2.4GHz only. Most routers allow you to isolate the guest network from your main devices, which also adds a security benefit.
Once your IoT network is set up, connect your robot vacuum to it during the pairing process. You can also move other smart home devices (smart plugs, bulbs, cameras) to the same network. This keeps your main network clean and fast while ensuring all your IoT devices connect reliably.
How to Preserve Maps and Schedules During Reconnection
One of the biggest fears users have when reconnecting their robot vacuum is losing saved maps, cleaning schedules, and no-go zones. A factory reset wipes everything, and rebuilding a complex map can take weeks of retraining.
The good news is that in most cases, you do not need to factory reset to reconnect WiFi. The WiFi reconnection process in the app preserves your maps and schedules because it only updates the network credentials, not the vacuum’s stored data. Your maps live in the vacuum’s memory and in the cloud, not in the WiFi settings.
However, there are situations where you might lose your map. If you remove the device from the app entirely (rather than just changing WiFi settings), some apps treat this as a fresh setup and may require remapping. If your vacuum has been offline for an extended period, the cloud sync may have expired, and the map data could be lost.
To be safe, before you start the reconnection process, check if your map is backed up to the cloud. In the iRobot app, maps are synced automatically. In the Roborock app, you can save up to four maps in the Map Management section. In the Ecovacs Home app, maps sync to the cloud when the vacuum is connected.
If you are worried about losing data, try the WiFi reconnection process first without removing the device from the app. Use the “Change WiFi” or “Reconnect” option in the device settings rather than deleting and re-adding the device. This preserves your map and schedule data.
Factory Reset: The Last Resort
If you have tried everything above and your robot vacuum still will not connect, a factory reset may be necessary. This should be your last option because it erases all saved data including maps, schedules, and preferences.
Before you factory reset, make sure you have exhausted all other options. Check the 2.4GHz band, verify WPA2 security, confirm app permissions, and try the IoT network workaround. If none of those work, a factory reset gives the vacuum a clean slate that can resolve deep firmware issues.
The factory reset process varies by brand. For Roomba models, press and hold the Clean button for about 20 seconds until you hear a tone and see the light ring spin. For Roborock, open the top cover and hold the reset button (or the power and home buttons depending on model) for 10 to 15 seconds. For Ecovacs DEEBOT, use a paperclip to press the reset button hidden under the top cover for 5 to 10 seconds.
After a factory reset, you will need to set up the vacuum as if it were brand new. This means downloading or opening the app, creating a new device, going through the full pairing process, and letting the vacuum remap your home.
What survives a factory reset? Nothing related to user settings. Your maps, schedules, no-go zones, and cleaning preferences are all erased. The vacuum returns to its out-of-the-box state. However, firmware updates are preserved, so you will not need to reinstall older software.
One tip from forum users: if you must factory reset, take photos of your current map and write down your schedule settings before starting. This makes it easier to rebuild your preferences after the vacuum remaps your home.
FAQs
Why is my robot vacuum not connecting to WiFi?
Your robot vacuum is likely not connecting because it is trying to use old WiFi credentials that no longer match your current network. The most common causes are a 2.4GHz-only requirement that conflicts with 5GHz or band-steering routers, WPA3 security mode that older vacuums cannot authenticate with, or missing phone app permissions like iPhone Local Network or Android Location access.
How do I reconnect my robot vacuum to a new WiFi network?
Put the vacuum into pairing mode by holding the WiFi or home button until you hear a tone. Open the companion app, navigate to WiFi Settings or Device Setup, select Change WiFi or Reconnect, enter your new network password, and wait for the connection to complete. Make sure your phone is on the 2.4GHz band during setup.
Why won’t my Roomba connect to my new WiFi?
Roombas only support 2.4GHz WiFi. If your new router defaults to 5GHz or uses band steering, the Roomba cannot complete pairing. Check that your router security is set to WPA2 (not WPA3-only), separate the 2.4GHz and 5GHz bands into different SSIDs, connect your phone to the 2.4GHz network, then retry the pairing process in the iRobot Home app.
How do I change the WiFi network on my robot vacuum?
Open the companion app, go to Product Settings or Device Settings, find the WiFi Settings section, and select Change WiFi or Reconnect. Put the vacuum into pairing mode if prompted, then enter the new network credentials. This process preserves your saved maps and schedules in most cases.
Why does my robot vacuum only connect to 2.4GHz?
Robot vacuums use 2.4GHz WiFi because it provides longer range and better wall penetration than 5GHz, ensuring connectivity throughout the home as the vacuum roams between rooms. The 2.4GHz band also uses less power, which extends battery life. Manufacturers choose 2.4GHz-only chips to keep costs down and ensure reliable whole-home coverage.
Will a factory reset delete my robot vacuum’s map?
Yes, a factory reset erases all saved data including maps, schedules, no-go zones, and cleaning preferences. Before factory resetting, try using the Change WiFi option in the app instead, which preserves your maps. If you must factory reset, take photos of your current map and write down your schedule settings first.
Conclusion
Getting your robot vacuum to connect to WiFi after a router change is almost always solvable without buying new equipment or calling support. The key steps are confirming a 2.4GHz connection, checking for WPA3 compatibility issues, verifying phone app permissions (especially iPhone Local Network), and using the app’s Change WiFi feature rather than factory resetting.
If you are still stuck after working through this guide, try creating a dedicated 2.4GHz IoT network on your router. It is the single most effective fix for persistent robot vacuum WiFi connection issues, and it benefits all your smart home devices. Your robot vacuum not connecting to WiFi after a router change is a solvable problem with the right troubleshooting approach.