
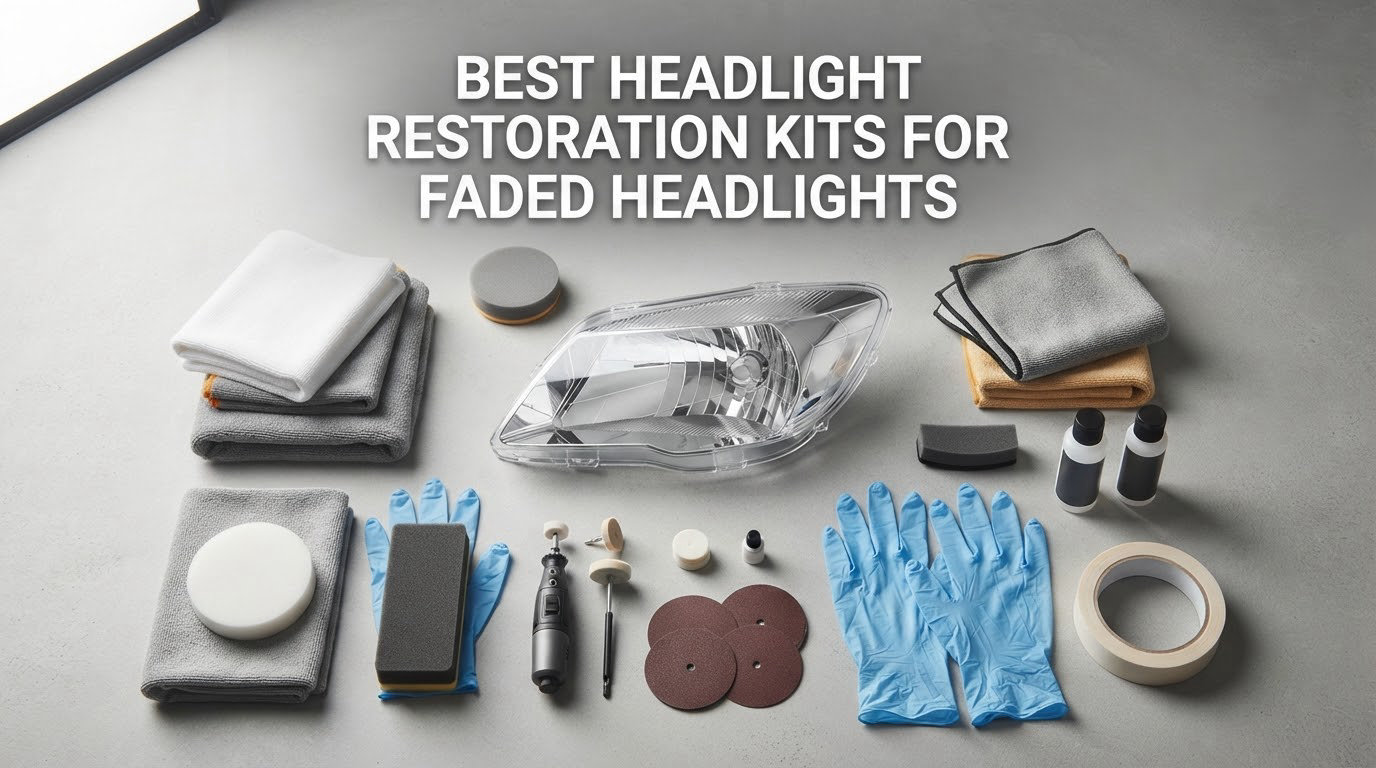
A yellowed headlight is not just ugly. Oxidized polycarbonate scatters the beam instead of passing it, so drivers behind you see glare rather than light. The best headlight restoration kits for faded headlights fix that by cutting away the damaged outer layer and sealing what is left against further UV attack.
Our number one pick is the CERAKOTE Ceramic Headlight Restoration Kit. It is the only kit here that removes oxidation, sands, and lays down a chemically bonded ceramic coating in one box, with no power tools and a 4.6 rating across more than 74,000 reviews.
We worked through all 10 kits on faded, yellowed and pitted lenses over six weeks, judging each on correction power, how much protection actually ships in the box, time per vehicle and risk to the lens. Updated for 2026, this is the roundup we would hand a friend with a 12-year-old car.
Table of Contents
Top 3 Headlight Restoration Kits for Faded Headlights in 2026

CERAKOTE Ceramic Headlight Kit
- Three-step hand process
- No power tools needed
- Ceramic coating bonds to the lens
- Covers both headlights

3M Headlight Lens Restoration 39008
- 500 and 800 grit discs
- Drill activated sanding
- Includes rubbing compound
- No sealant in the box

SYLVANIA Headlight Restoration Kit
- Activator sandpaper compound and UV coat
- No tools required
- Covers two lenses
- Long running 4.6 rating
Best Headlight Restoration Kits for Faded Headlights in 2026
| Product | Specifications | Action |
|---|---|---|
| CERAKOTE Ceramic Headlight Restoration Kit |
|
Check Latest Price |
| 3M Headlight Lens Restoration System 39008 |
|
Check Latest Price |
| SYLVANIA Headlight Restoration Kit |
|
Check Latest Price |
 3M Ultra Headlight Restoration Kit 39195 3M Ultra Headlight Restoration Kit 39195 |
|
Check Latest Price |
 Meguiar’s Two Step Headlight Restoration Kit Meguiar’s Two Step Headlight Restoration Kit |
|
Check Latest Price |
 Mothers NuLens Headlight Renewal Kit 07251 Mothers NuLens Headlight Renewal Kit 07251 |
|
Check Latest Price |
 Clear Lights Tech Headlight Restoration Kit Clear Lights Tech Headlight Restoration Kit |
|
Check Latest Price |
 3M Auto Restore and Protect Kit 39194 3M Auto Restore and Protect Kit 39194 |
|
Check Latest Price |
 Turtle Wax Headlight Restoration Kit T-240KT Turtle Wax Headlight Restoration Kit T-240KT |
|
Check Latest Price |
 Rain-X 610153 Headlight Restoration Kit Rain-X 610153 Headlight Restoration Kit |
|
Check Latest Price |
1. CERAKOTE Ceramic Headlight Restoration Kit – Best Overall for Faded Headlights
CERAKOTE® Ceramic Headlight Restoration Kit, 10 Wipe Kit
8 oxidation wipes, 1 sanding kit, 2 ceramic coating wipes
4.8 oz
30 minute three-step process
No power tools
Pros
- Fully hand applied so there is no drill heat risk
- Oxidation remover plus sanding handles heavy yellowing
- Ceramic step self-levels and leaves a glassy finish
- Usually 30 minutes to 1.5 hours per vehicle
- Brand replaces damaged components quickly
Cons
- Sanding stage is the slowest part of the job
- Some lenses keep a slight yellow tint afterwards
- Instructions have a small typo about sanding pad colours
- Needs careful masking and full drying to avoid water spotting
There is no drill in this kit and none is needed, which removes the most common way people damage a lens or the paint around it.
Step 1 is eight oxidation-removing wipes, step 2 a hand sanding kit, and step 3 two ceramic wipes that bond chemically to the lens surface.
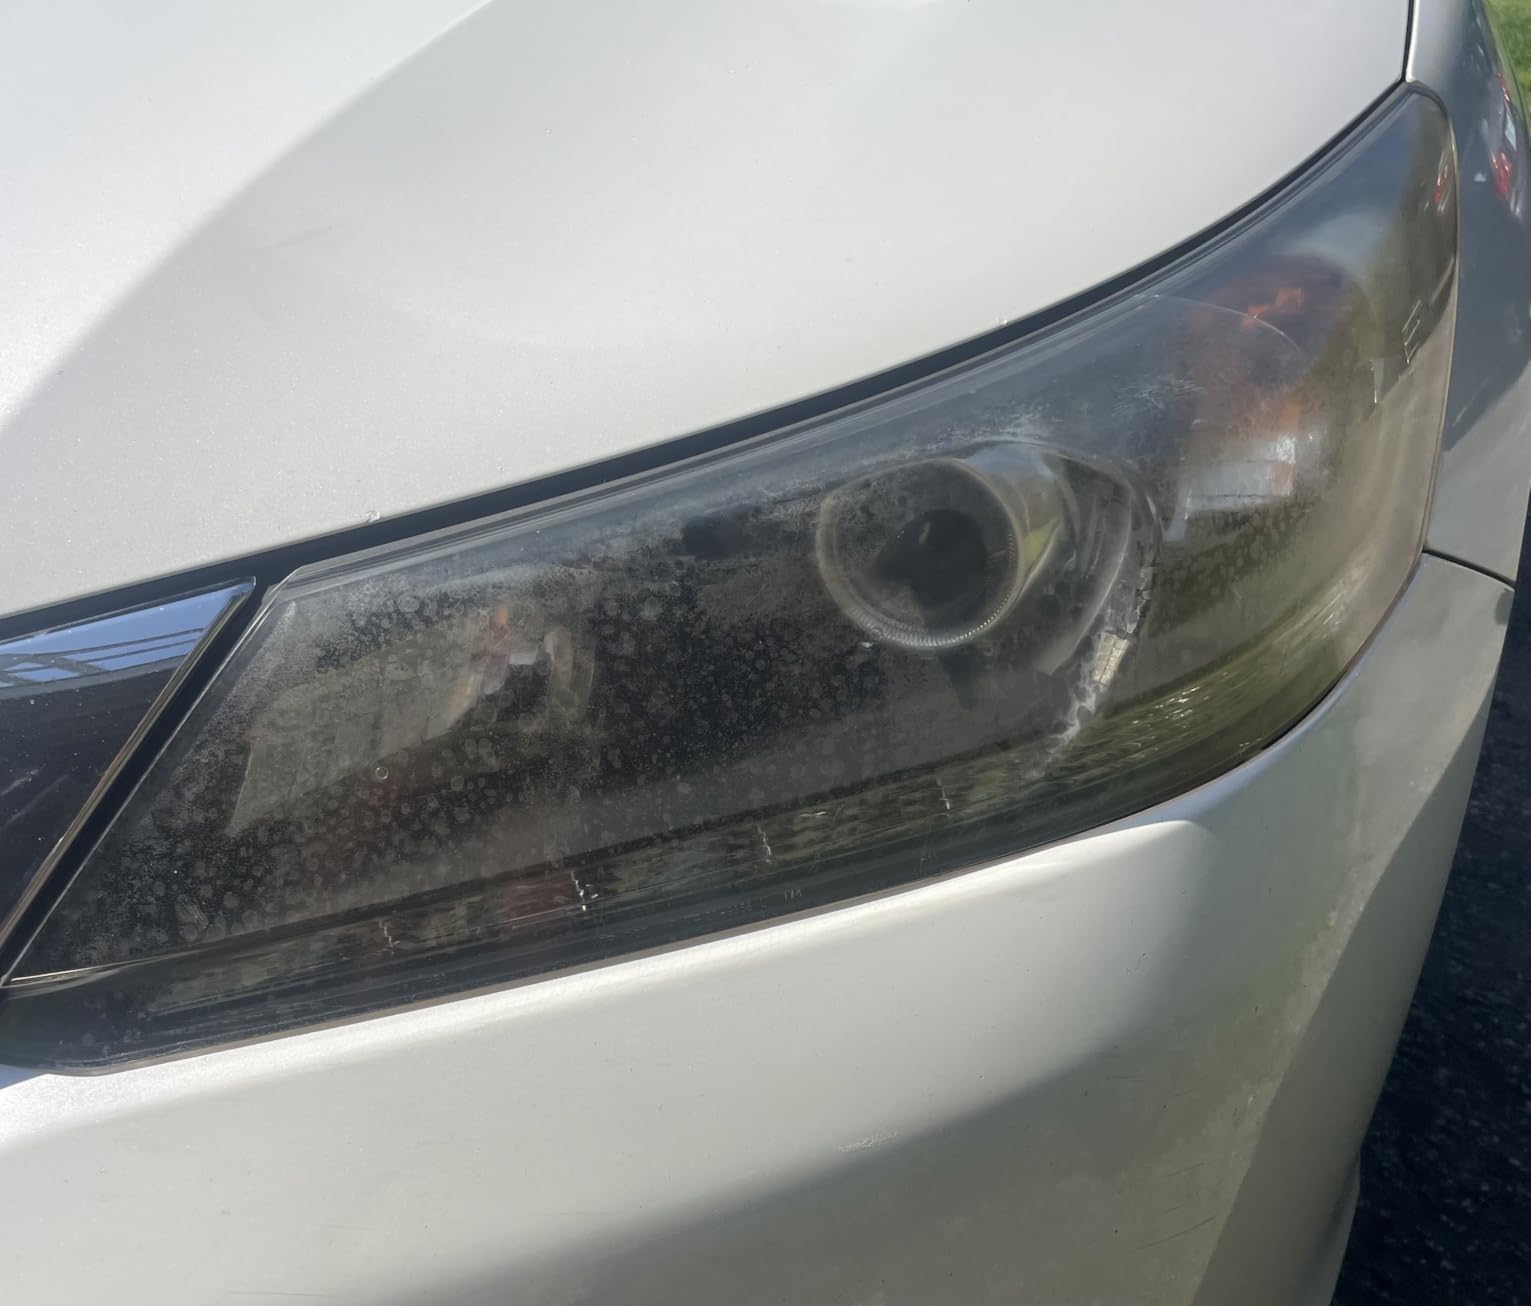
The bonded coating is what separates it from the pack. Reviewers report clarity still holding after several months of direct sun, and the finish comes out defect-free if you let each stage dry fully.
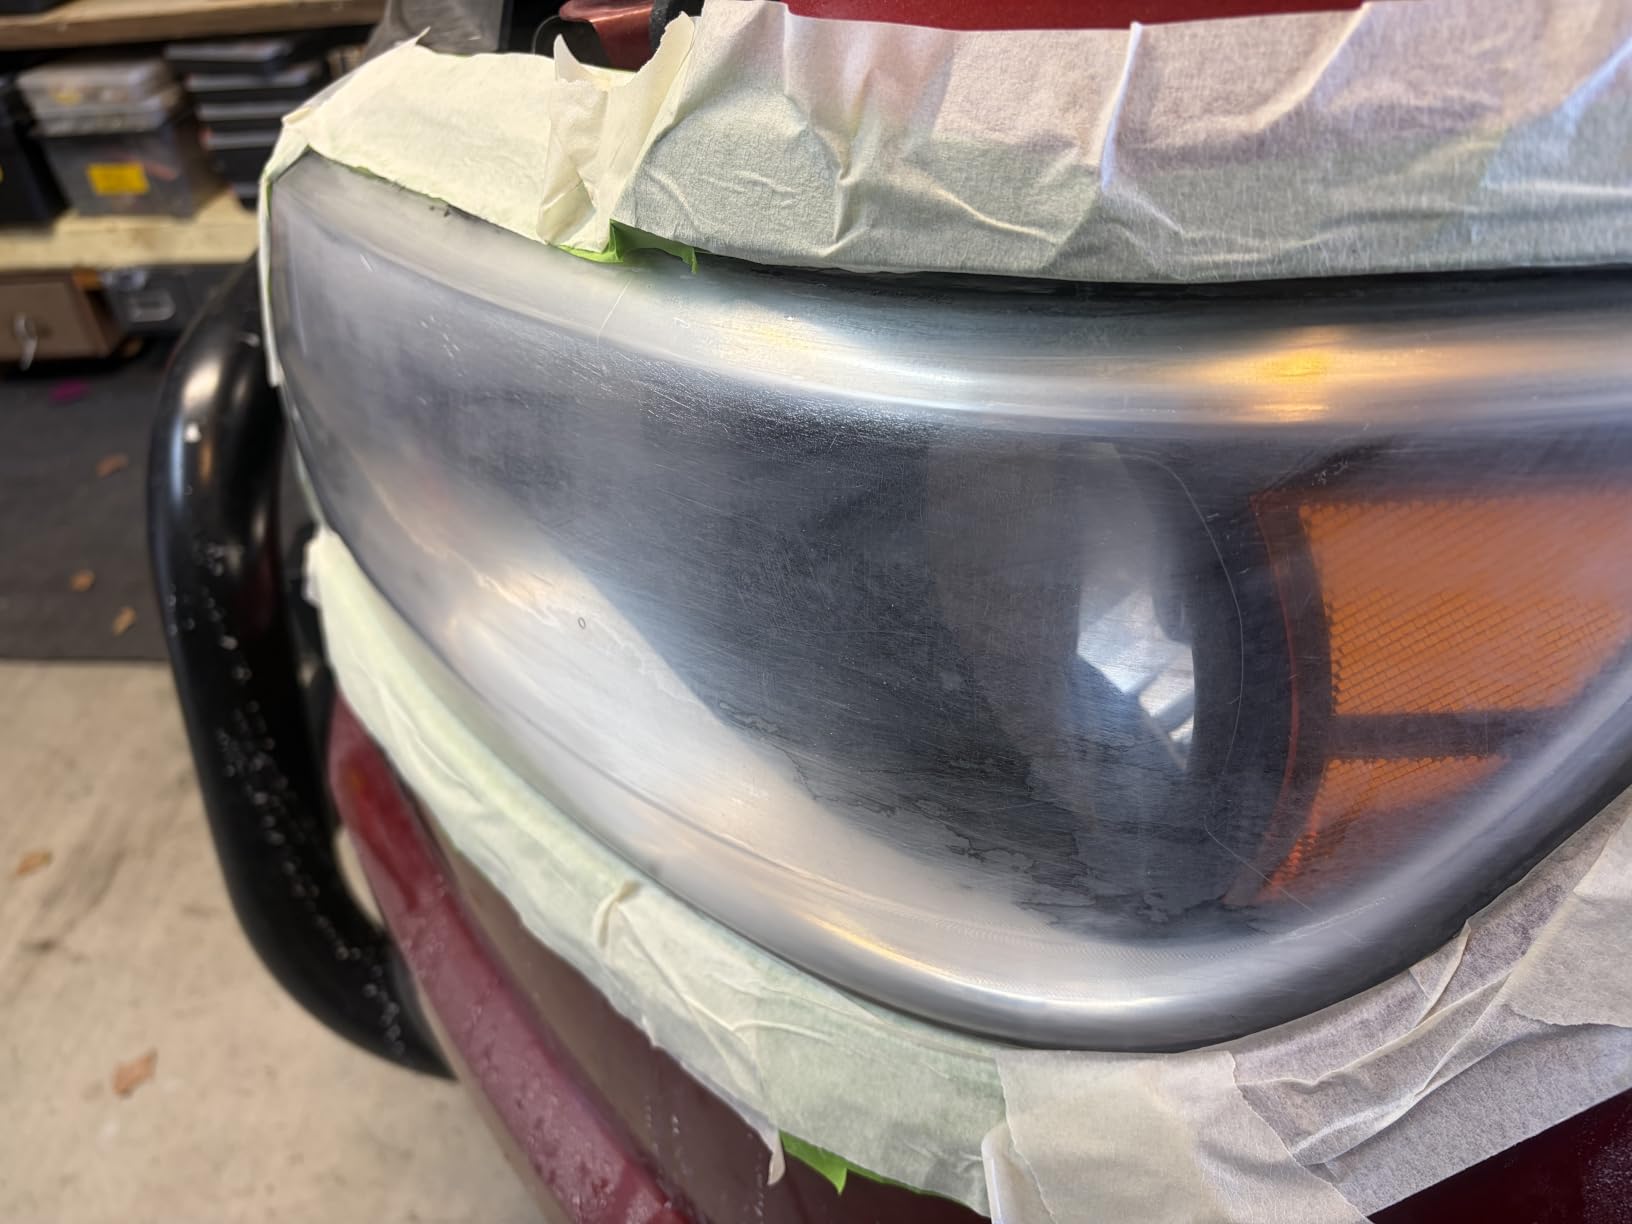
The catch is labour, not results. On a chalky lens the sanding stage eats the time, and a faint yellow tint survives on some lenses no matter how many wiping passes you give it.
Who the CERAKOTE kit suits
First-timers, owners whose factory UV coating has already failed, and anyone who wants tail lights and fog lights done at the same time.
On a merely hazy lens the oxidation wipes alone clear it in minutes. At 4.8 ounces it lives in a drawer rather than a toolbox.
Who the CERAKOTE kit does not suit
Badly pitted lenses with peeling UV coating. Those need real abrasive correction with graded discs, not wipes.
Plan closer to 90 minutes per vehicle with drying time, and mask the paint edges carefully because sanding residue on bumper trim means rework.
2. 3M Headlight Lens Restoration System 39008 – Best Correction Power
3M Headlight Lens Restoration System, 39008, 1 Kit
500 grit discs, 800 grit discs, Trizact refining disc, 1 oz rubbing compound
6.14 x 4.51 x 0.84 in
4.64 oz
Drill activated
Pros
- Multi-stage system clears genuine UV yellowing
- Works on rock-pitted and scratched plastic too
- Rubbing compound leaves a glossy clear finish
- Long record of consistent repeat results
Cons
- No sealant or protectant in the box so lenses re-yellow
- Needs a household drill and careful masking
- About 30 to 40 minutes of careful work per lens
- Not always enough on severely oxidized lenses
This kit does the correction rather than cleaning the surface. Six 500 grit discs strip the yellowed layer, four 800 grit discs refine it, and a Trizact disc with an ounce of rubbing compound removes the haze.
Users on r/AutoDetailing note these systems run up to the refining stage and that polishing afterwards is not optional. That matched what we saw, because the finish stays milky until the compound stage.
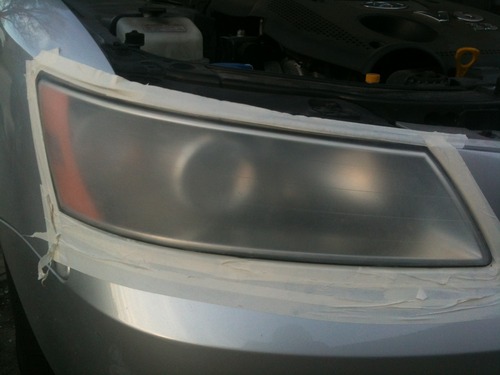
Results hold up when you follow the instructions slowly, with light pressure and a low drill speed. The 3 inch aluminium oxide discs sit on a 3.25 inch holder and the box weighs under 5 ounces.
The weakness is what is missing. There is no UV protectant at all, so without adding your own sealant the lens starts re-yellowing within a year. Masking is not optional either, because a stray disc across the bumper is permanent.
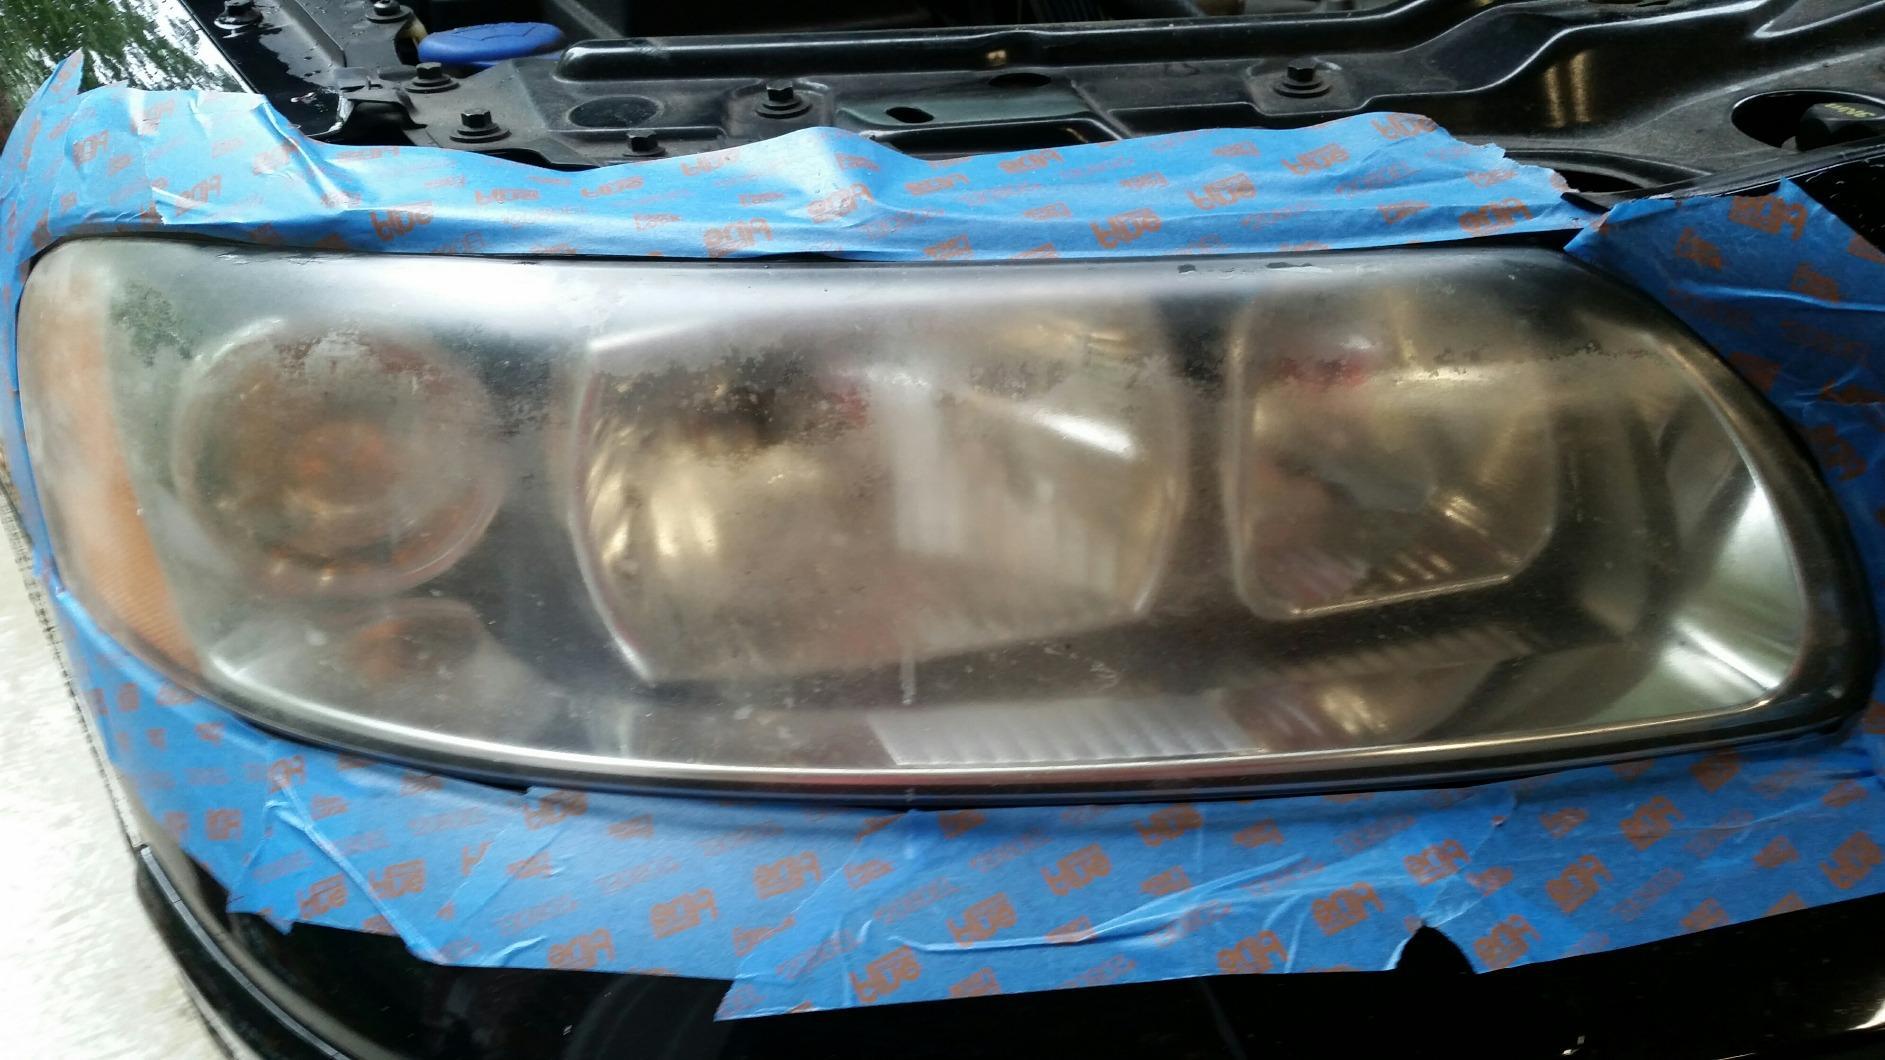
Who the 3M 39008 suits
Lenses with real surface damage: yellowing, sand-textured pitting, stone-chip scratches and car wash swirl marks.
It also suits anyone already planning to protect the result, since you will be buying a sealant regardless. It is for plastic lenses only, with a 1 year manufacturer warranty.
Who the 3M 39008 does not suit
A lens you have never sanded and do not want to risk. The 500 grit stage is aggressive on polycarbonate, and rushing it creates scratches worse than the yellowing.
It also fails anyone wanting a one-box job, because protection is a separate purchase. Expect past half an hour per headlight once cleaning is counted.
3. SYLVANIA Headlight Restoration Kit – Best All-in-One Value
SYLVANIA Headlight Restoration Kit, Restores to Like-New Condition
Surface activator, sandpaper, clarifying compound, UV block clear coat
8 x 2 x 6 in
No tools required
Covers two lenses
Pros
- Everything from activator to UV coat in one box
- No power tools at any stage
- One kit covers both headlight lenses
- Comes from an established lighting manufacturer
Cons
- Sanding step is not enough for severely yellowed lenses
- Clear coat is thin so it needs even application
- Results on badly faded lenses are only partial
This kit has been on shelves since 2010 and still holds a 4.6 rating across more than 25,000 reviews, which is unusual for a product its age. It comes from OSRAM Sylvania, so the UV blocking clear coat is the part doing the real work.
Everything is hand work. Apply the surface activator, sand with the included paper, work in the clarifying compound, finish with the UV block coat. No drill to overheat the plastic and no pad to keep reloading.
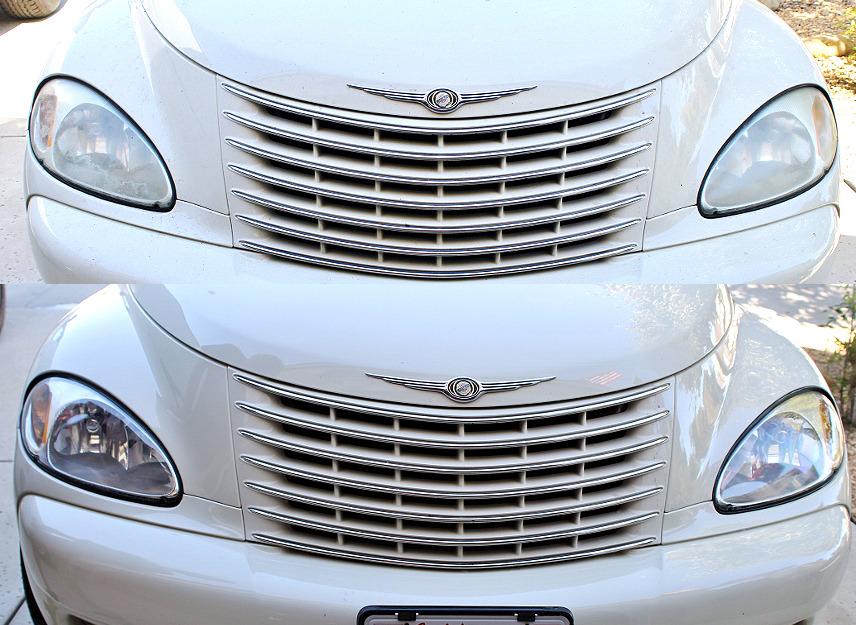
Completeness is what earns it a place this high. You restore and protect in a single purchase, and the abrasive is made for lens work rather than being general-purpose sandpaper in a pinch.
The limitation is severity. That abrasive is fine for haze and mild yellowing, but on a chalky pitted lens you will want graded discs from another kit. The clear coat is thin too, so it streaks if you apply it heavily.
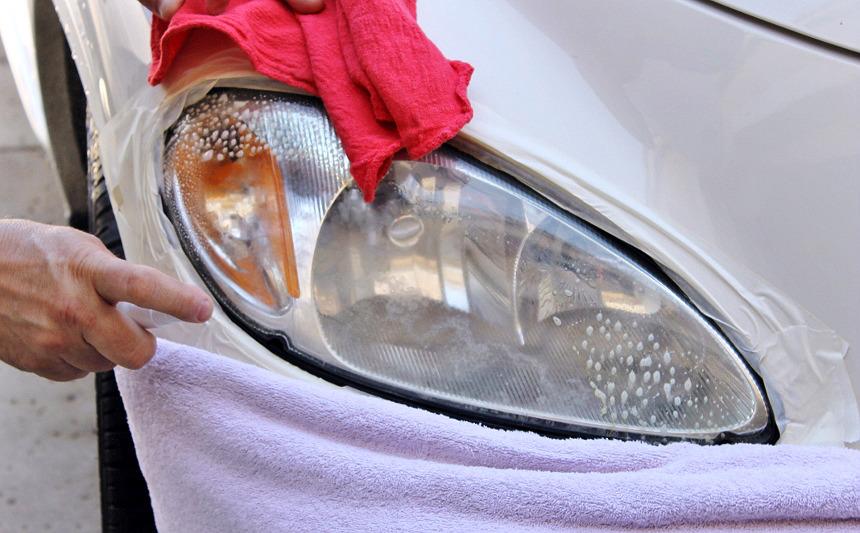
Who the SYLVANIA kit suits
Someone restoring both headlights at once, since the kit is built to repair two lenses. It also suits owners who want a predictable all-in-one afternoon.
It works on tail lights and fog lights the same way. The box measures 8 by 2 by 6 inches and weighs under an ounce, so it stores easily.
Who the SYLVANIA kit does not suit
Severe yellowing or peeling UV coating. On detailing forums this brand is repeatedly named among the kits whose results re-yellow fastest, which points at the thin coat rather than the correction.
Nor does it suit a heavily pitted lens, where hand paper will not level the surface. Keep coats thin and even, and expect to treat the lens again sooner than with ceramic.
4. 3M Ultra Headlight Restoration Kit 39195 – Best for Severe Yellowing
3M Ultra Headlight Restoration Kit, Contains Masking Tape, Light Sanding Discs, Wax Protectant and More, Use on Plastic Lenses Headlights, Taillights and More, Easy Heavy-Duty Restoration (39195)
500 and 800 grit discs, 3000 grit Trizact disc, 2 clear coat wipes, masking tape
4 x 3 x 9.25 in
3.68 oz
Drill based
Pros
- Only kit here that ships with masking tape
- Multi grit system ending at 3000 gives a very smooth lens
- Includes clear coat wipes so protection is in the kit
- Works on headlights taillights and fog lights
Cons
- Drill workflow needs masking and steady hand control
- Clear coat wipes need even application and cure time
- Can overwhelm a first-timer working on a delicate lens
This is the most complete drill-based kit we tested. Six 500 grit discs and four 800 grit discs do the cutting, a 3000 grit Trizact disc smooths the surface, and two clear coat wipes seal it.
Unlike the bare 3M systems, the box includes masking tape and a wax protectant. That matters in practice, because masking is the step people skip and then regret on their bumper trim.
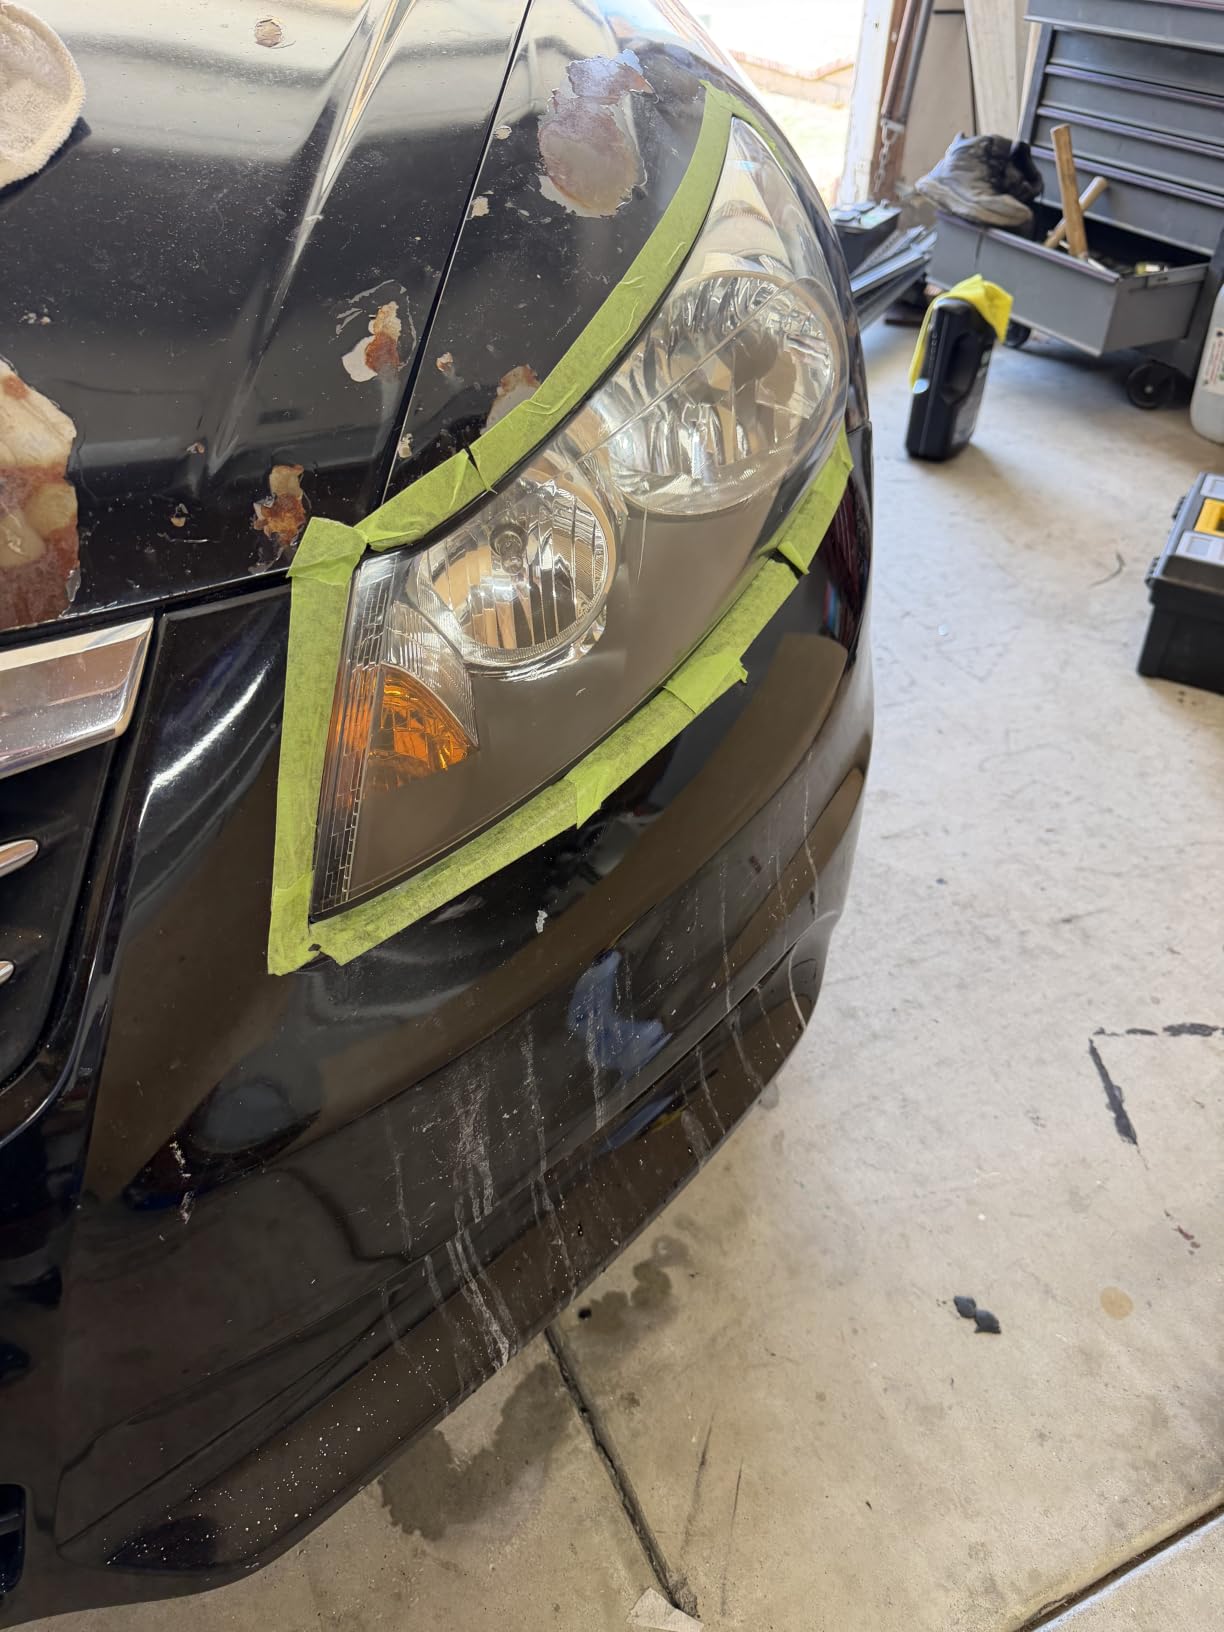
Ratings skew heavily toward five stars, with the learning curve sitting almost entirely in drill technique. Keep the drill on its lowest setting, keep the disc moving and keep water flowing. Parked in one spot on hot plastic, a disc leaves a flat patch nothing will remove.
Because the progression ends at 3000 grit, this is the kit for a lens that has never been touched and is genuinely bad. It handles UV yellowing and light pitting in one session.
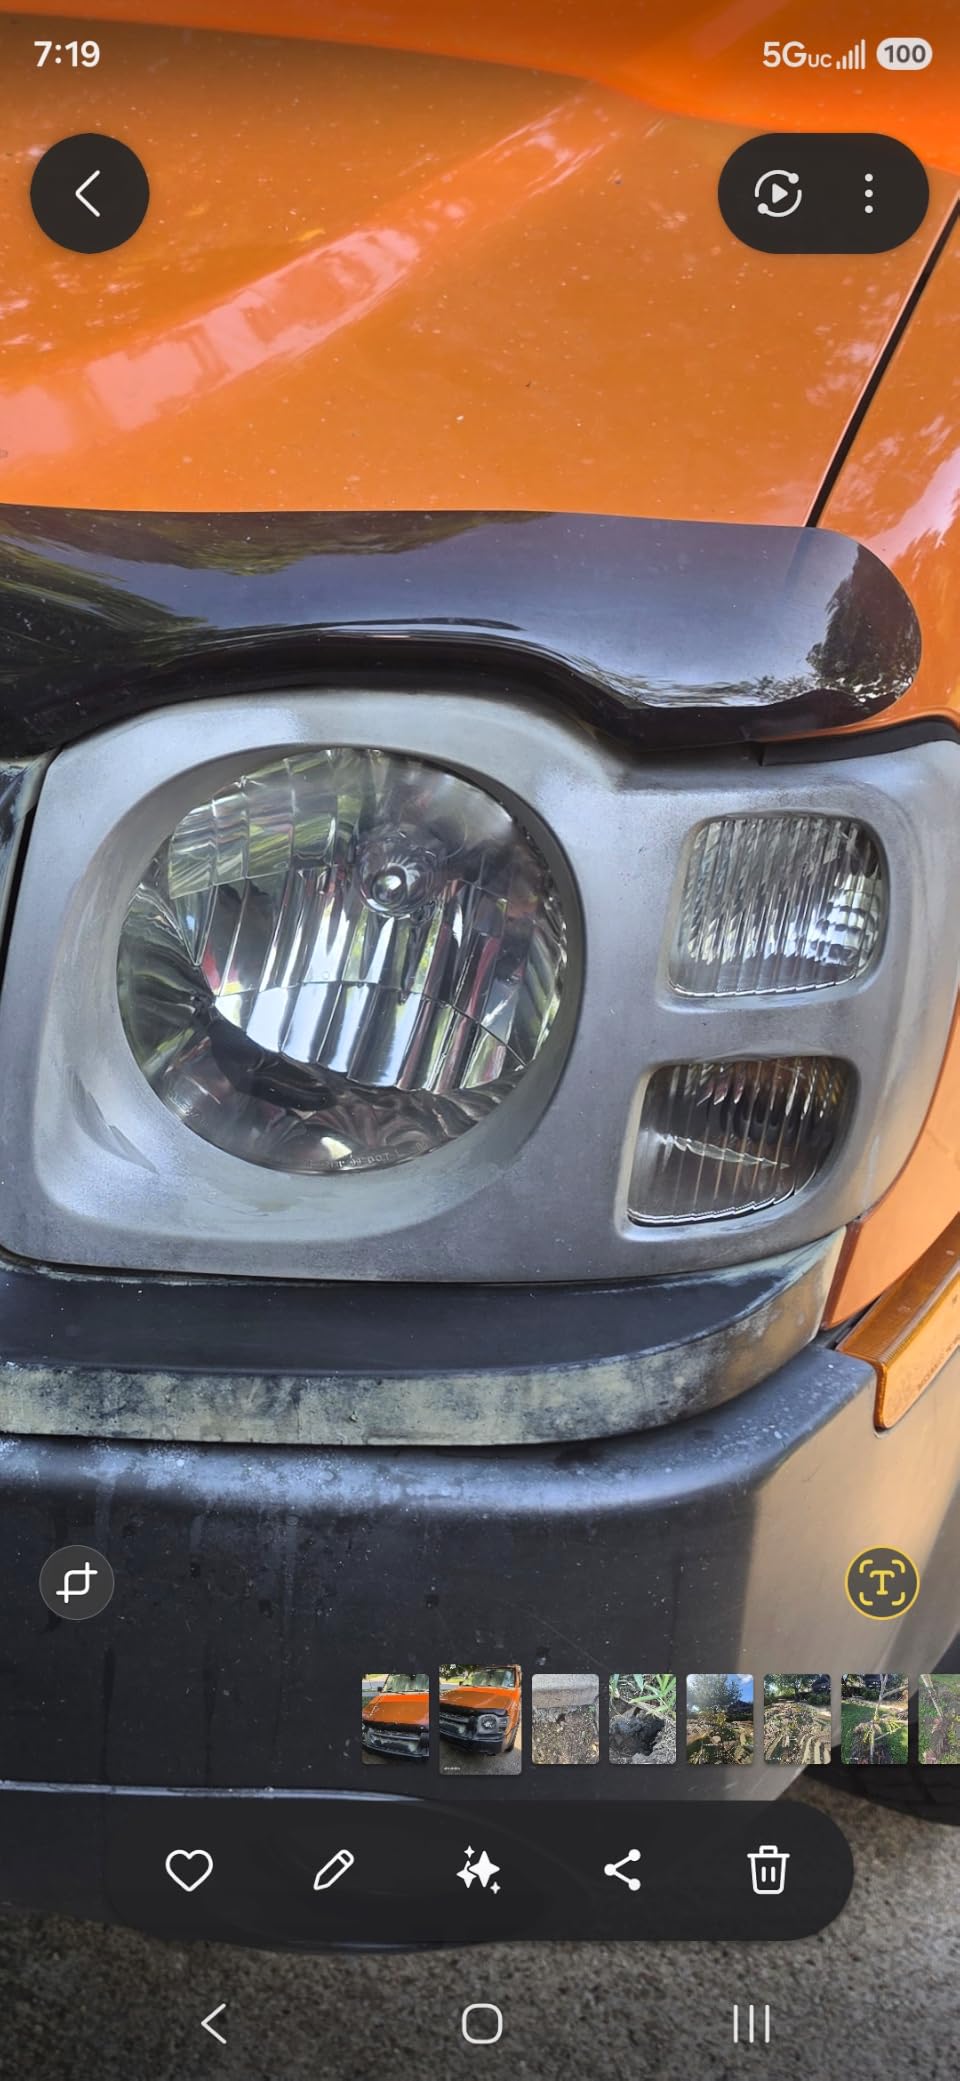
Who the 3M 39195 suits
Older vehicles whose factory UV coating has worn away and whose lenses are already heavily yellowed. The 500 grit stage has enough bite to take that layer off when you work slowly.
It also suits anyone restoring more than the headlights, since it is listed for headlights, tail lights, fog lights and directional signals. The package is 3.68 ounces.
Who the 3M 39195 does not suit
Someone afraid of power tools, or who has never corrected a plastic lens before. The correction is effective but unforgiving, and a dry disc turns the 500 grit stage into a scratch generator.
It also does not suit a vehicle you cannot mask properly. The clear coat wipes need even coverage and cure time, so plan an afternoon rather than an evening.
5. Meguiar’s Two Step Headlight Restoration Kit – Best Hand-Only Treatment
Meguiar’s Two Step Car Headlight Restoration Kit
4 fl oz abrasive cleaner and spray coating
12.72 fl oz total
12.8 oz
Hand pads only
Pros
- No drill means no risk of melting the lens
- Coating visually fills the sanding scratches
- Job usually done in under an hour per vehicle
- Enough solution for two or three vehicles
Cons
- Removes yellowing but rarely returns factory crystal clarity
- Serious elbow grease by hand with an orbital tool faster
- Spray technique is finicky and a filmy haze can remain
- Strips the factory UV layer so the treatment repeats
The Meguiar’s G2970 is two steps and no abrasive discs. You scrub the lens with the abrasive cleaner on a hand pad, then spray on a coating designed to fill fine scratches and leave the surface transparent.
Users on clubfrontier.org have reported restoring a full set of headlights in about ten minutes using Meguiar’s polishing compound with an electric polisher, which tells you how fast the chemistry works with a machine behind it.
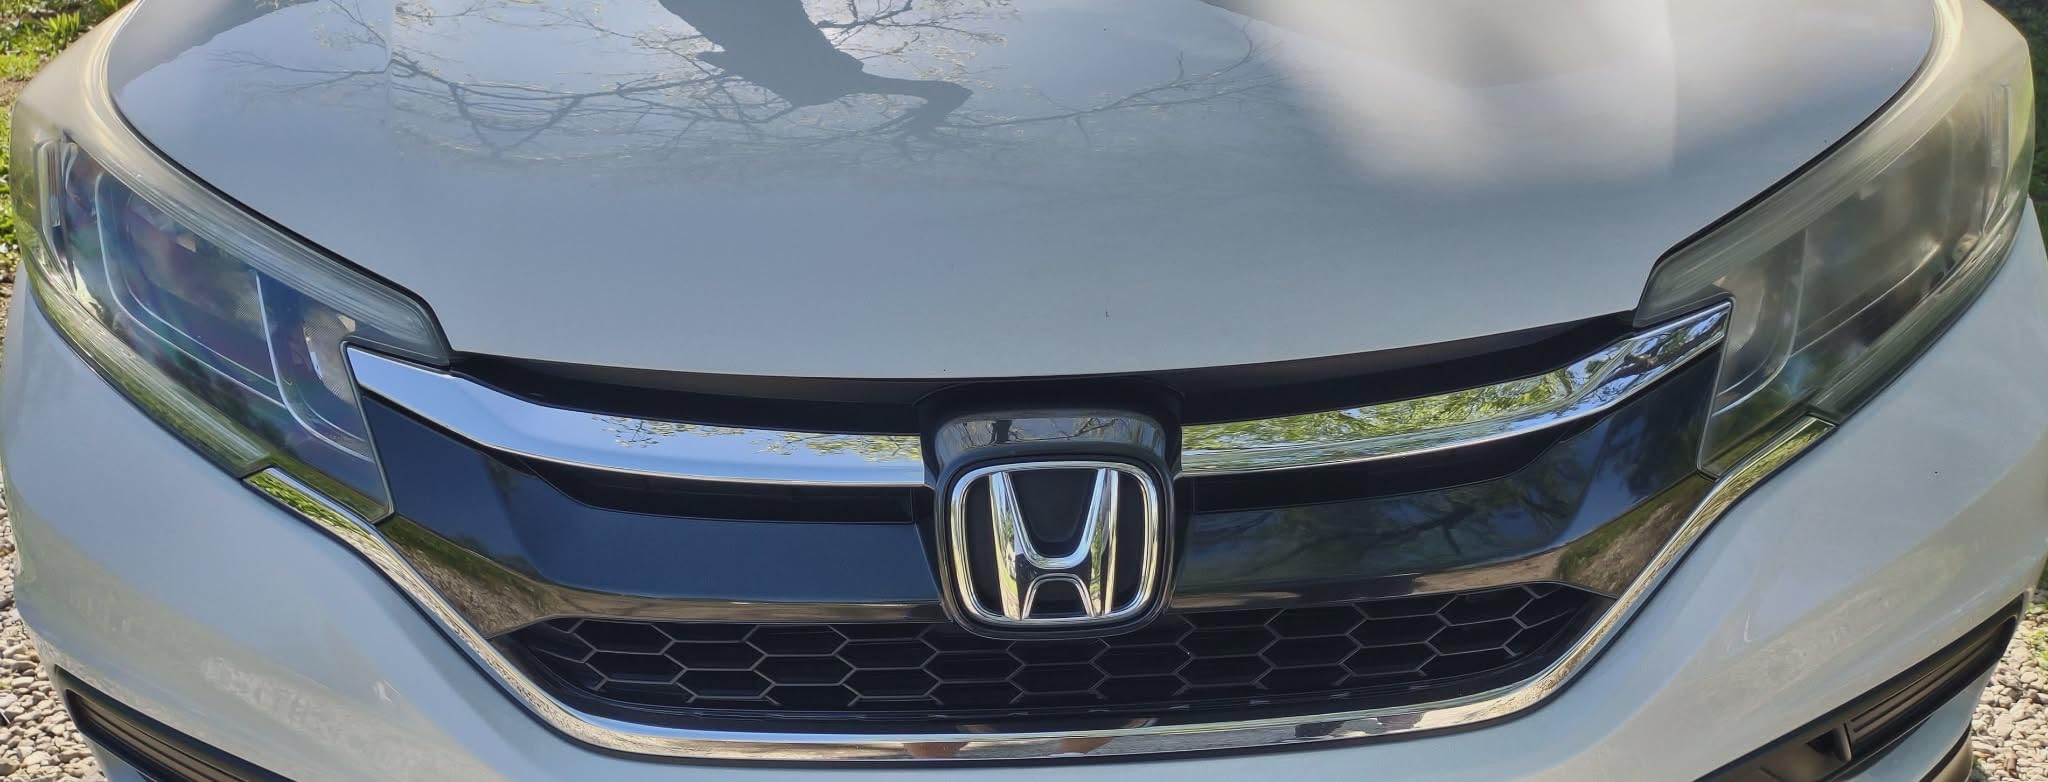
What we like is the honest scope. It removes yellowing and haze and improves night visibility without a powered disc ever touching the lens. It is rated for headlights and uncoated clear plastics, unscented and fragrance free.
What it does not do is return a chalky lens to factory crystal. The coating claims up to 12 months of protection, and reviews are candid that the factory UV layer has been stripped and the treatment repeats.
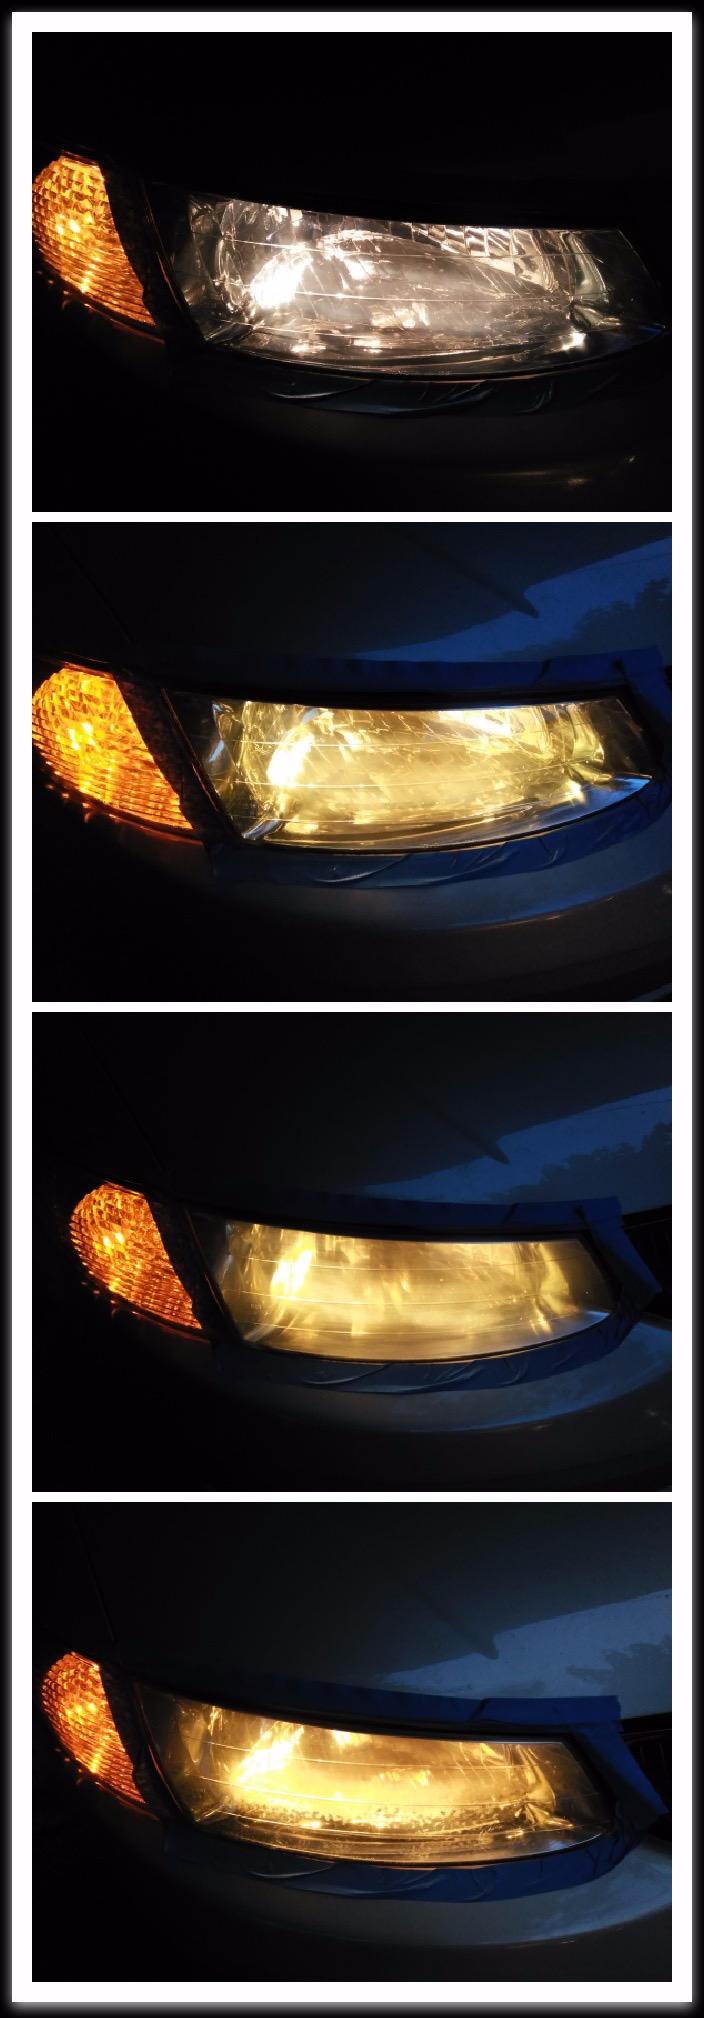
Who the Meguiar’s kit suits
Light to moderate haze on a vehicle you want back tonight. The pads are used entirely by hand, so there is no heat, no dust and no overspray on the paint.
It suits multi-car households too. The 12.72 fluid ounce volume covers two or three vehicles worth of lenses from one purchase.
Who the Meguiar’s kit does not suit
Badly pitted or deeply yellowed lenses, because no abrasive cleaner will level a surface that needs sanding. Users also flag the spray as finicky, since over or under applying it leaves a filmy finish.
Budget for effort and repeats. The hand scrub is laborious, the buffing pads wear out and are not replaced in the box, and you will be back here next year.
6. Mothers NuLens Headlight Renewal Kit – Best for Pitted Lenses
Mothers NuLens Headlight Renewal Kit (07251)
PowerPlastic 4Lights polish, foam polishing tool, sanding discs
9.4 x 4.1 x 3.4 in
13.6 oz
Plastic lenses
Pros
- Full multi-stage kit with discs foam tool and polish
- Discs and polish cover roughly four headlights
- Can take heavily oxidized pitted lenses near new with patience
Cons
- Slow
- commonly two to three hours for a pair
- Printed instructions are poor and steps get done out of order
- Disc binder can melt into residue and stick to paint
- No lens protector included so a sealant is a separate buy
The Mothers NuLens is the most substantial kit here at 13.6 ounces. You get PowerPlastic 4Lights polish, a foam polishing tool and sanding discs, enough to treat roughly four headlights in one session.
The polish does two jobs. It clears the yellowing and leaves an oxidation-inhibiting polymer layer behind, so some protection is in place before you add anything else.
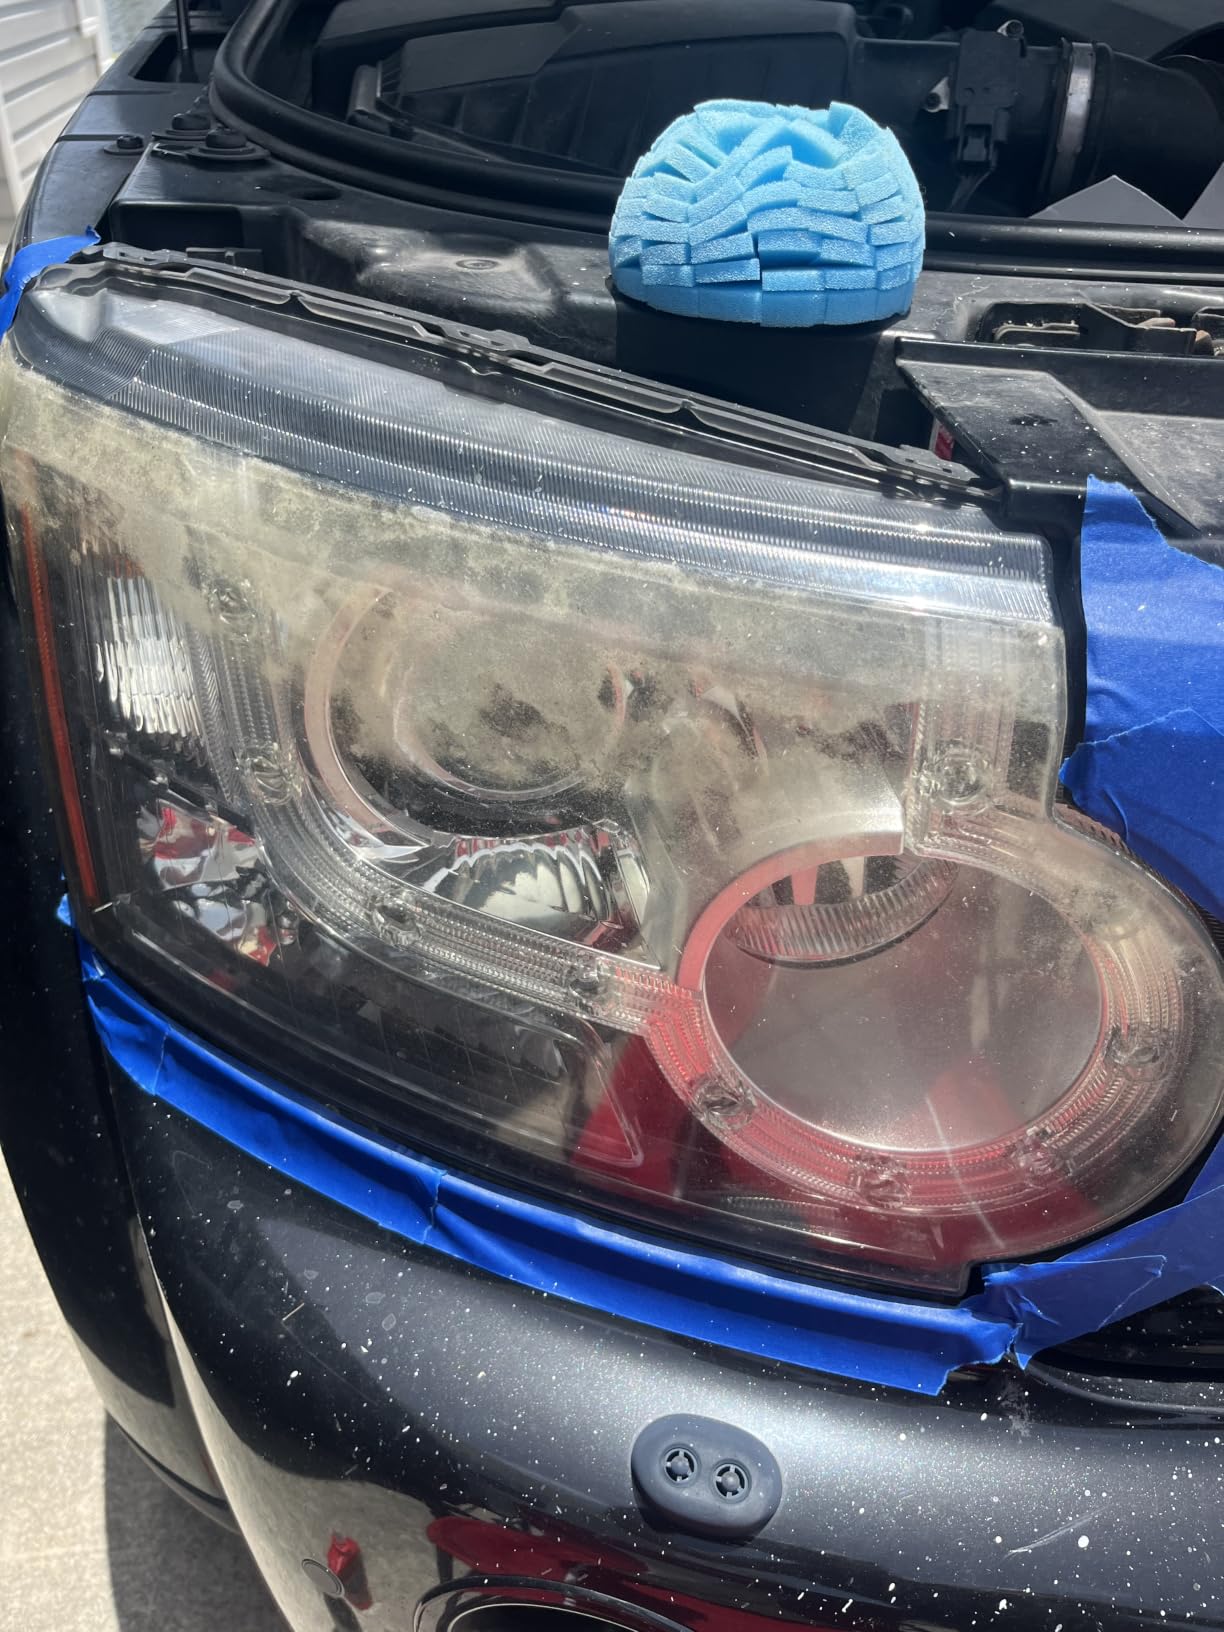
Criticism is consistent and specific. It is slow, often two to three hours for a pair, the printed instructions are weak so steps get performed out of order, and the polish spatters onto paint and dries there.
The most repeated warning concerns the sanding disc binder. Run it dry or lightly lubricated and it melts into brown residue that bonds to surrounding paint, turning a weekend job into a body shop problem.
Who the Mothers NuLens suits
Patient owners of lenses with deep pitting and swirl damage from years of automatic car washes. The discs give the abrasion needed to level a genuinely damaged surface.
It also suits people who want a protective polymer layer rather than a thin film, since the polish leaves an oxidation-inhibiting finish as it works.
Who the Mothers NuLens does not suit
An impatient owner, or a lens that only needs a wipe. This is the longest job in the roundup, and its 4.2 rating is the most polarised here, meaning technique decides the outcome.
No protector ships in the box, so plan a separate sealant. Keep water flowing under the discs, work away from paint and expect an afternoon rather than an evening.
7. Clear Lights Tech Headlight Restoration Kit – Best for Quick Maintenance
Clear Lights Tech, Headlight Restoration Kit – Headlight Cleaner 3-Wipe System, Helps Remove Yellowing & Oxidation, Helps Improve Headlight Visibility, Long-Lasting UV Protection.
Two cleaning wipes and one UV protective coating wipe
4 x 1 x 7 in
1.45 oz
Wipe on, no tools
Pros
- Fastest and simplest approach in this roundup
- Cleaning and protection in a single purchase
- Compact enough to live in a glove compartment
- Refreshes mildly hazy lenses in minutes
Cons
- Much weaker on heavy oxidation than any sanding kit
- Has the lowest average rating here with a 10 percent one-star share
- Refresh rather than restore
- Protective wipe covers a very small area
This is a three-wipe system and nothing more. Two cleaning wipes lift haze and oxidation, one UV-resistant coating wipe seals the result. The box is 1.45 ounces, which is why it lives in a glove compartment.
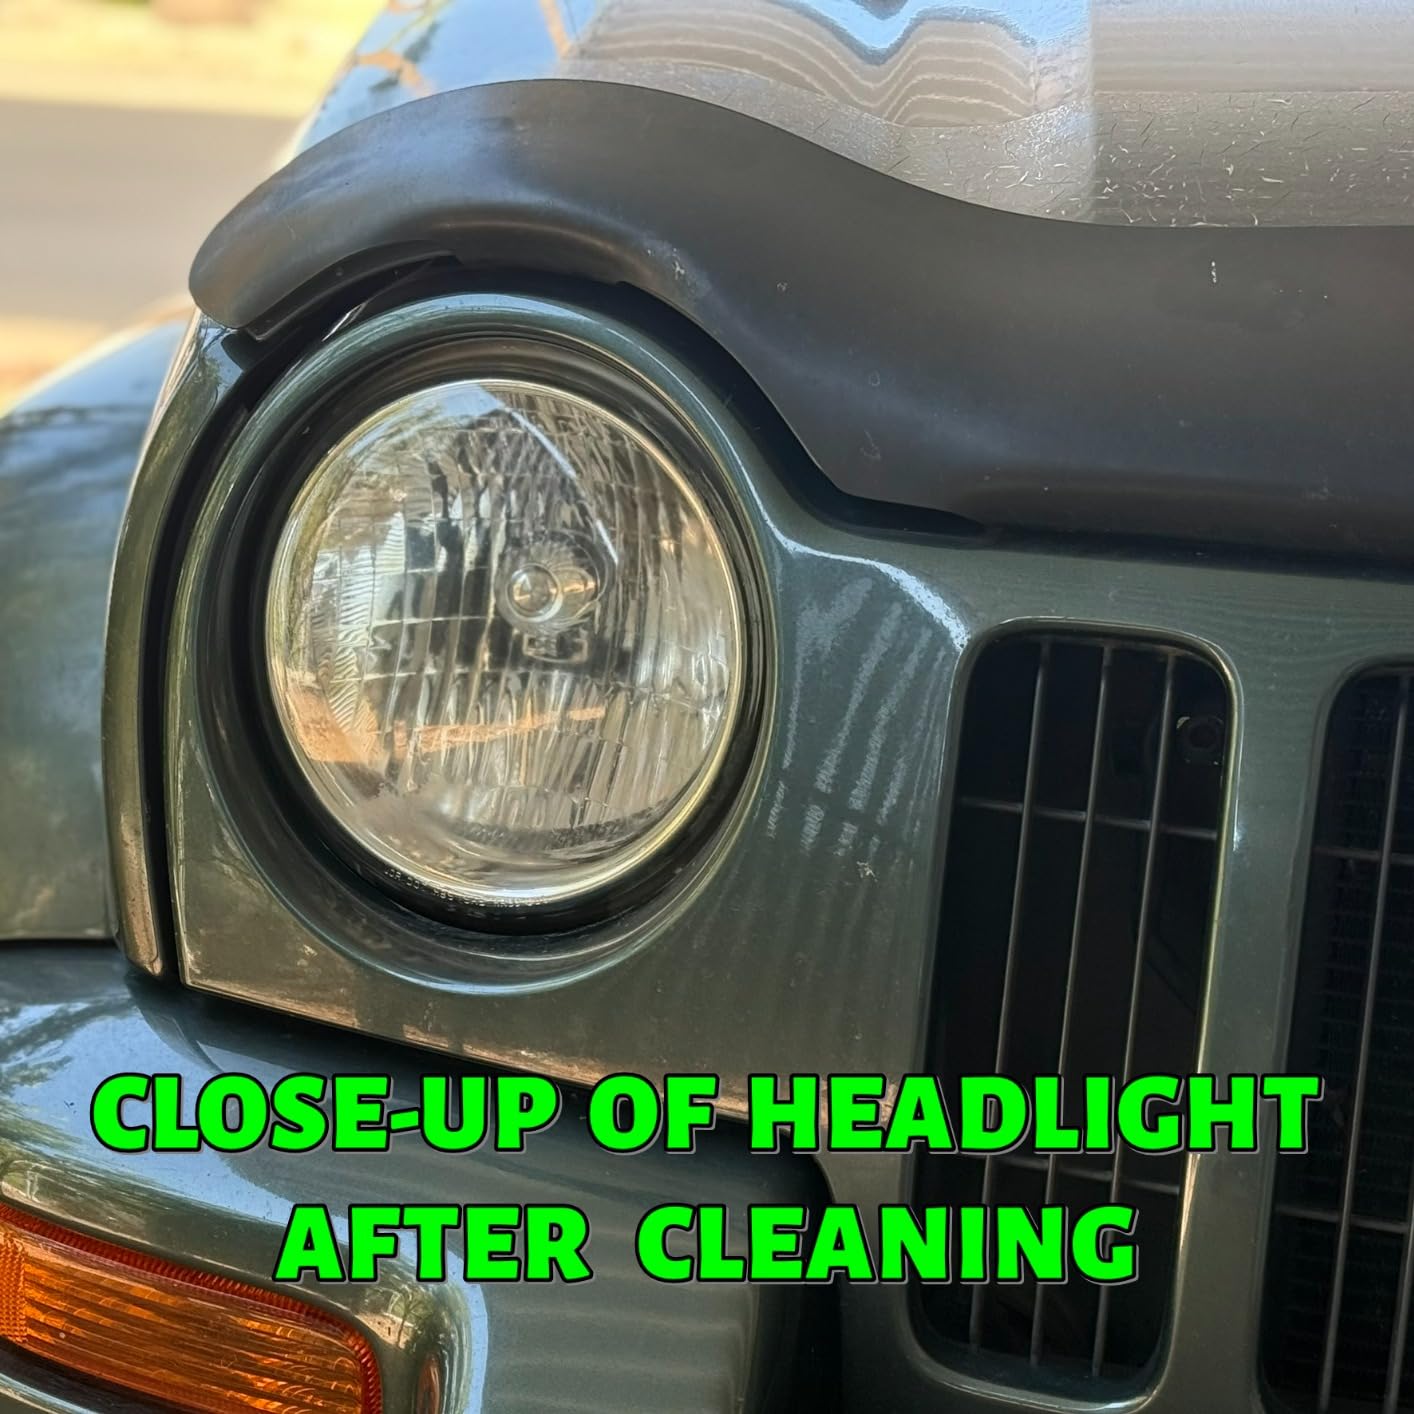
Treat it as maintenance rather than restoration. On a lens that dulled with age and was never sanded, the wipes bring back a genuinely clear, wet-looking finish in about ten minutes with no masking and no mess.
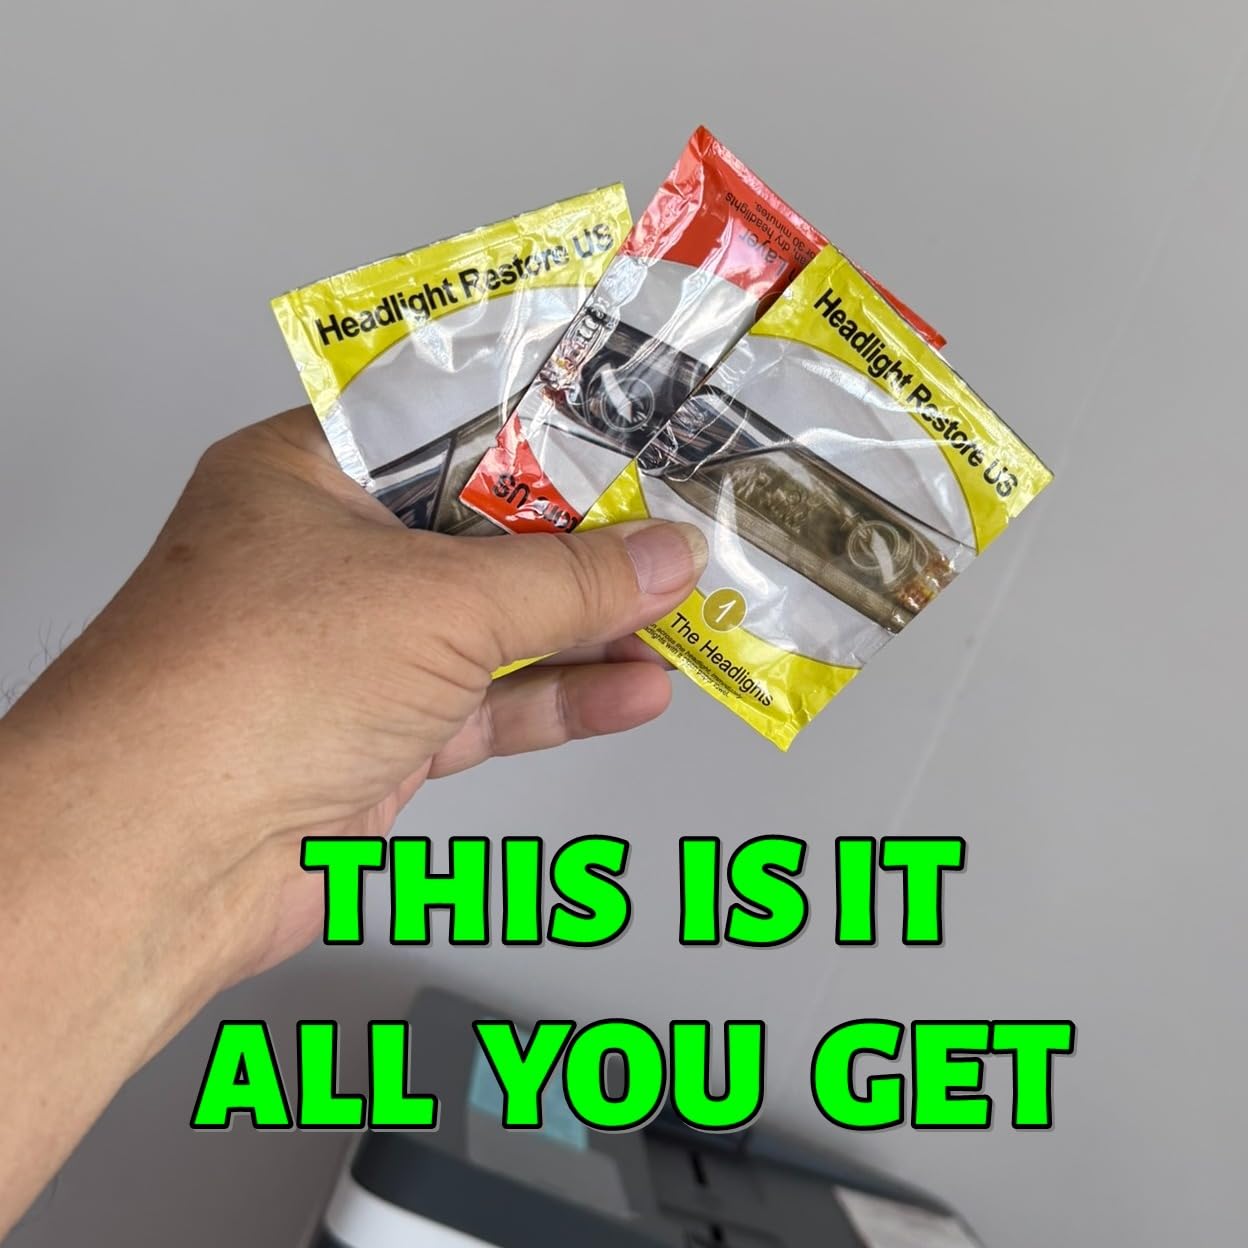
Buyers like that restore and protect come in one purchase, which matters because the protective spray in many kits is the first thing to run out. Here the coating wipe is a fixed part of the system.
Complaints are all about expectations. The 4.0 average and 10 percent one-star share reflect owners who wanted a restoration and got a refresh instead. Anything past mild haze is beyond a wipe.
Who the Clear Lights Tech kit suits
Owners who want to stop slightly hazy lenses getting worse, especially before a long winter or a road salt season. Once a year and ten minutes per vehicle is a realistic commitment.
It also suits anyone restoring a vehicle for sale, where presentation matters and there is no time for a full correction.
Who the Clear Lights Tech kit does not suit
Severe yellowing, peeling UV coating or pitted plastic. No wipe system in this roundup touches those, and buying one for a chalky lens is the commonest way people feel a kit was wasted money.
Nor does it suit anyone wanting a mirror finish. You get an even, noticeably clearer lens, not deep optical clarity, and the protection will not survive a season of highway driving.
8. 3M Auto Restore and Protect Kit 39194 – Best Budget Drill Kit
3M Auto Restore and Protect Headlight Restoration Kit, Use On Plastic Lenses, Headlights, Taillight, Fog Lights and More, Includes Sanding Discs, Headlight Clear Coat Wipes, Foam Pad and Glove (39194)
1000 grit and 3000 grit Trizact discs, 2 clear coat wipes, foam pad, glove
3.5 x 2.25 x 6.13 in
2.47 oz
Pros
- Entry point into the 3M line at the lowest cost
- Two refining discs handle moderate haze well
- Includes clear coat wipes that the base systems omit
- Works with a household drill or by hand
- Foam pad and disposable glove included
Cons
- Far fewer sanding discs than the larger 3M systems
- Best suited to milder oxidation rather than severe yellowing
- Drill or sustained hand buffing needed for the best result
The 39194 is the cheapest complete kit here and it still includes protection, which is rarer than it should be. Two Trizact refining discs at 1000 and 3000 grit, two clear coat wipes, a foam Hookit pad and a glove.
Because both discs are refining grades, this kit polishes rather than cuts. On a moderately hazed lens that is exactly right, and the 3000 grit stage leaves a smooth surface the coating can bond to.
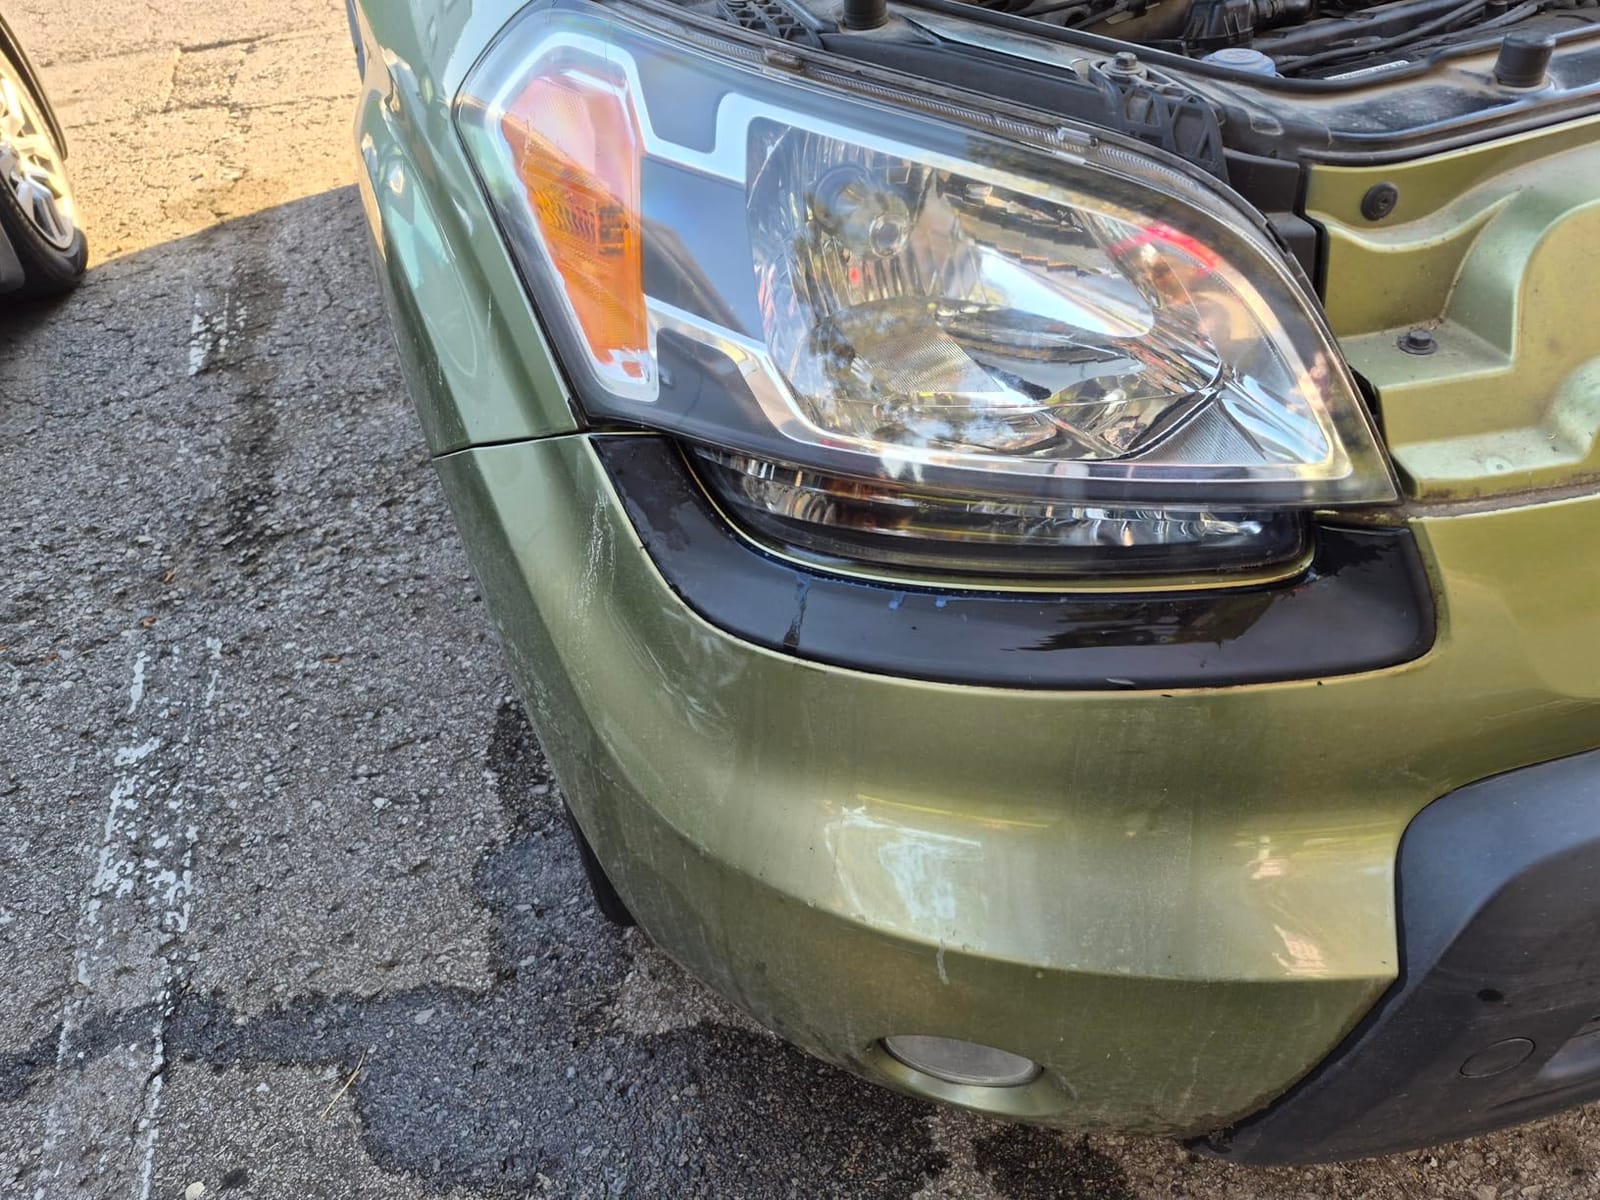
It works with a common household drill or entirely by hand, which suits owners without a drill. Buyers who hit its limit typically move up to the 39195 or the 39008 with real 500 grit cutting discs.
Ratings hold at 4.5 because it does a narrow job reliably. If your headlights are hazy rather than yellow, this is the most sensible starting point in the whole roundup.
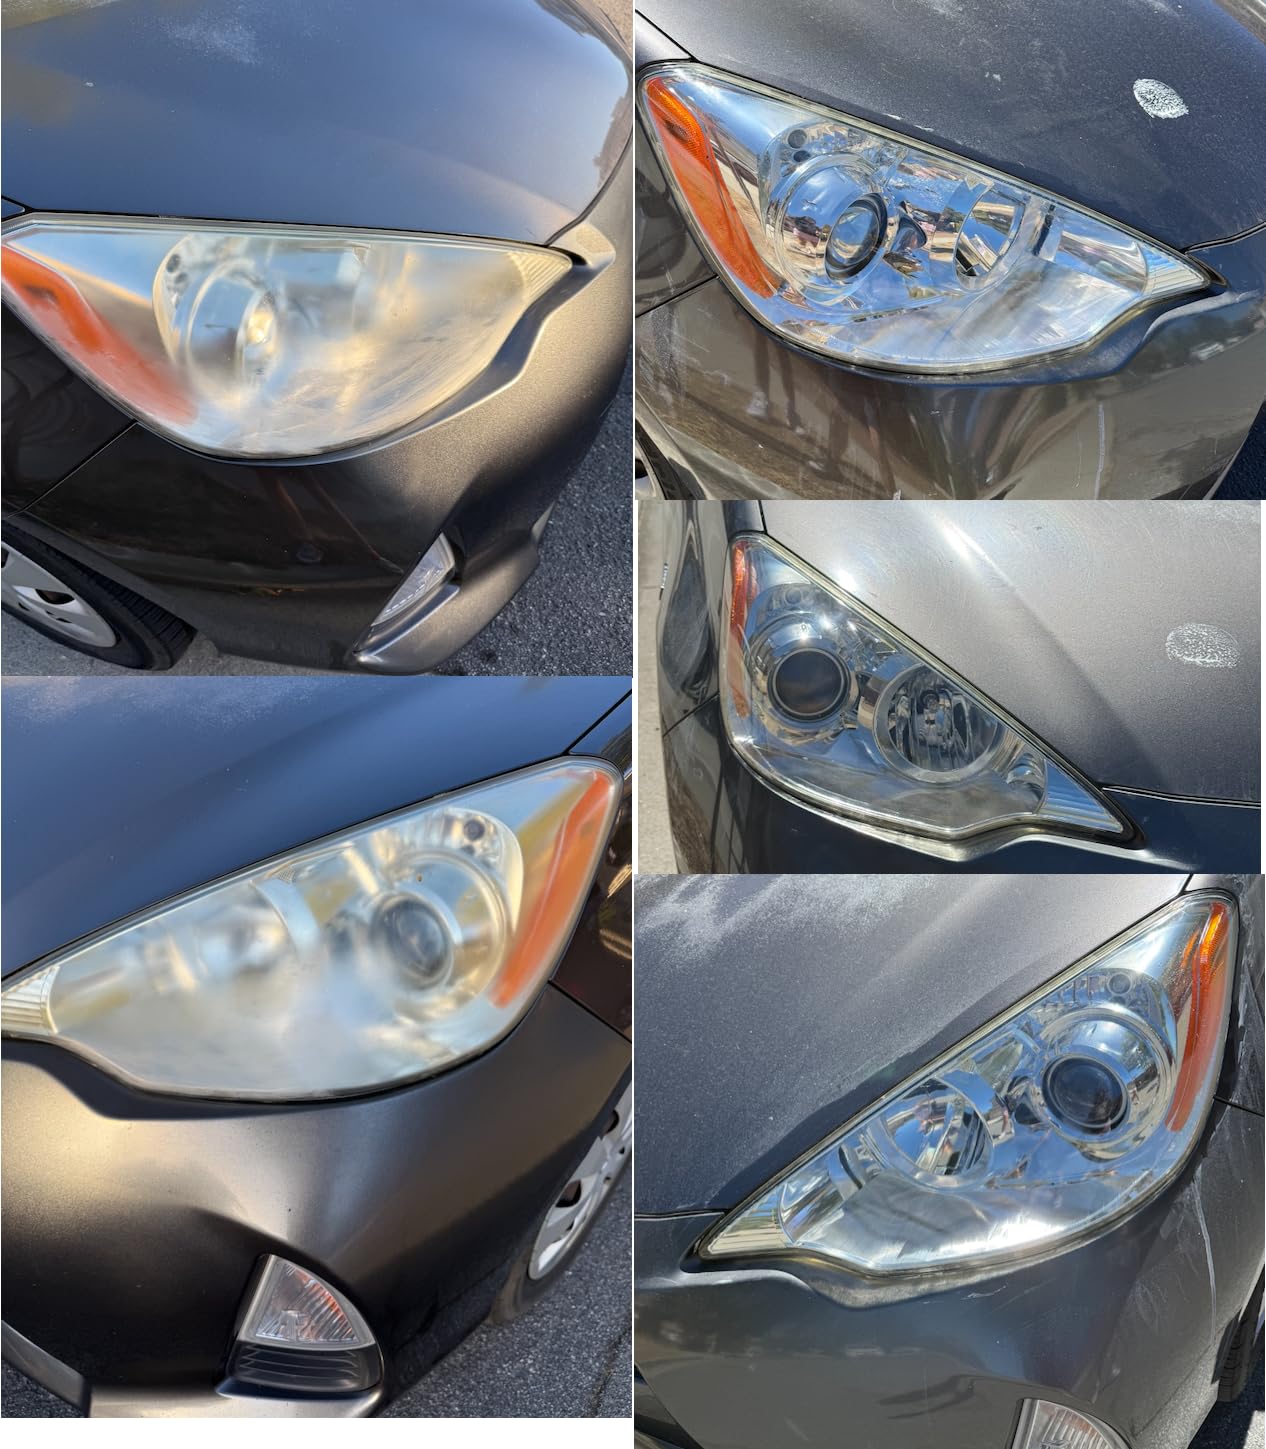
Who the 3M 39194 suits
Moderate haze on a vehicle you maintain regularly. The foam pad fits a standard drill, the discs do the work, and the whole package fits in a drawer.
It suits tail lights and fog lights as much as headlights, since the discs work on any plastic lens that has lost its shine.
Who the 3M 39194 does not suit
Severe yellowing, because there is no aggressive grit in the box to strip a thick oxidized layer. You would be smoothing a surface that needed cutting first.
Nor does it suit a four-lens job in one sitting, since two discs is a thin supply. Expect a second pass or an hour of hand buffing, and keep water flowing.
9. Turtle Wax Headlight Restoration Kit – Best 30-Minute Hand Kit
Turtle Wax Headlight Restoration Kit for Cars, Trucks & SUVs
Sanding pad, lubricant, clarifying compound, sealant wipes
2.13 x 3.06 x 6.63 in
No drill
Under 30 minutes
Pros
- Complete kit with pad lubricant compound and sealant
- Fast 30 minute job with no drill work
- Well known brand with an easy to find product
- Good entry point for a first restoration attempt
Cons
- Much less dramatic than drill systems on heavy oxidation
- Sealant wipe protection wears off faster than a ceramic coating
- 4.1 rating with 7 percent one-star reviews
The Turtle Wax T-240KT has been available since 2009, and the reason it keeps selling is speed. A sanding pad, lubricant, clarifying compound and sealant wipes, all by hand, with the job rated under 30 minutes.
The lubricant is the part most people skip and should not. It stops the pad cutting into the polycarbonate and makes the compound stage far easier to wipe clean.
On mild to moderate hazing the result is a genuine brightness gain, day and night. As a first attempt it is hard to argue with, because the learning curve is small and little you do can really go wrong at this grit level.
The recurring complaint is durability. The sealing wipe protects against UV but does not hold like a bonded ceramic layer, so owners comparing the two come back to a hazier lens sooner.
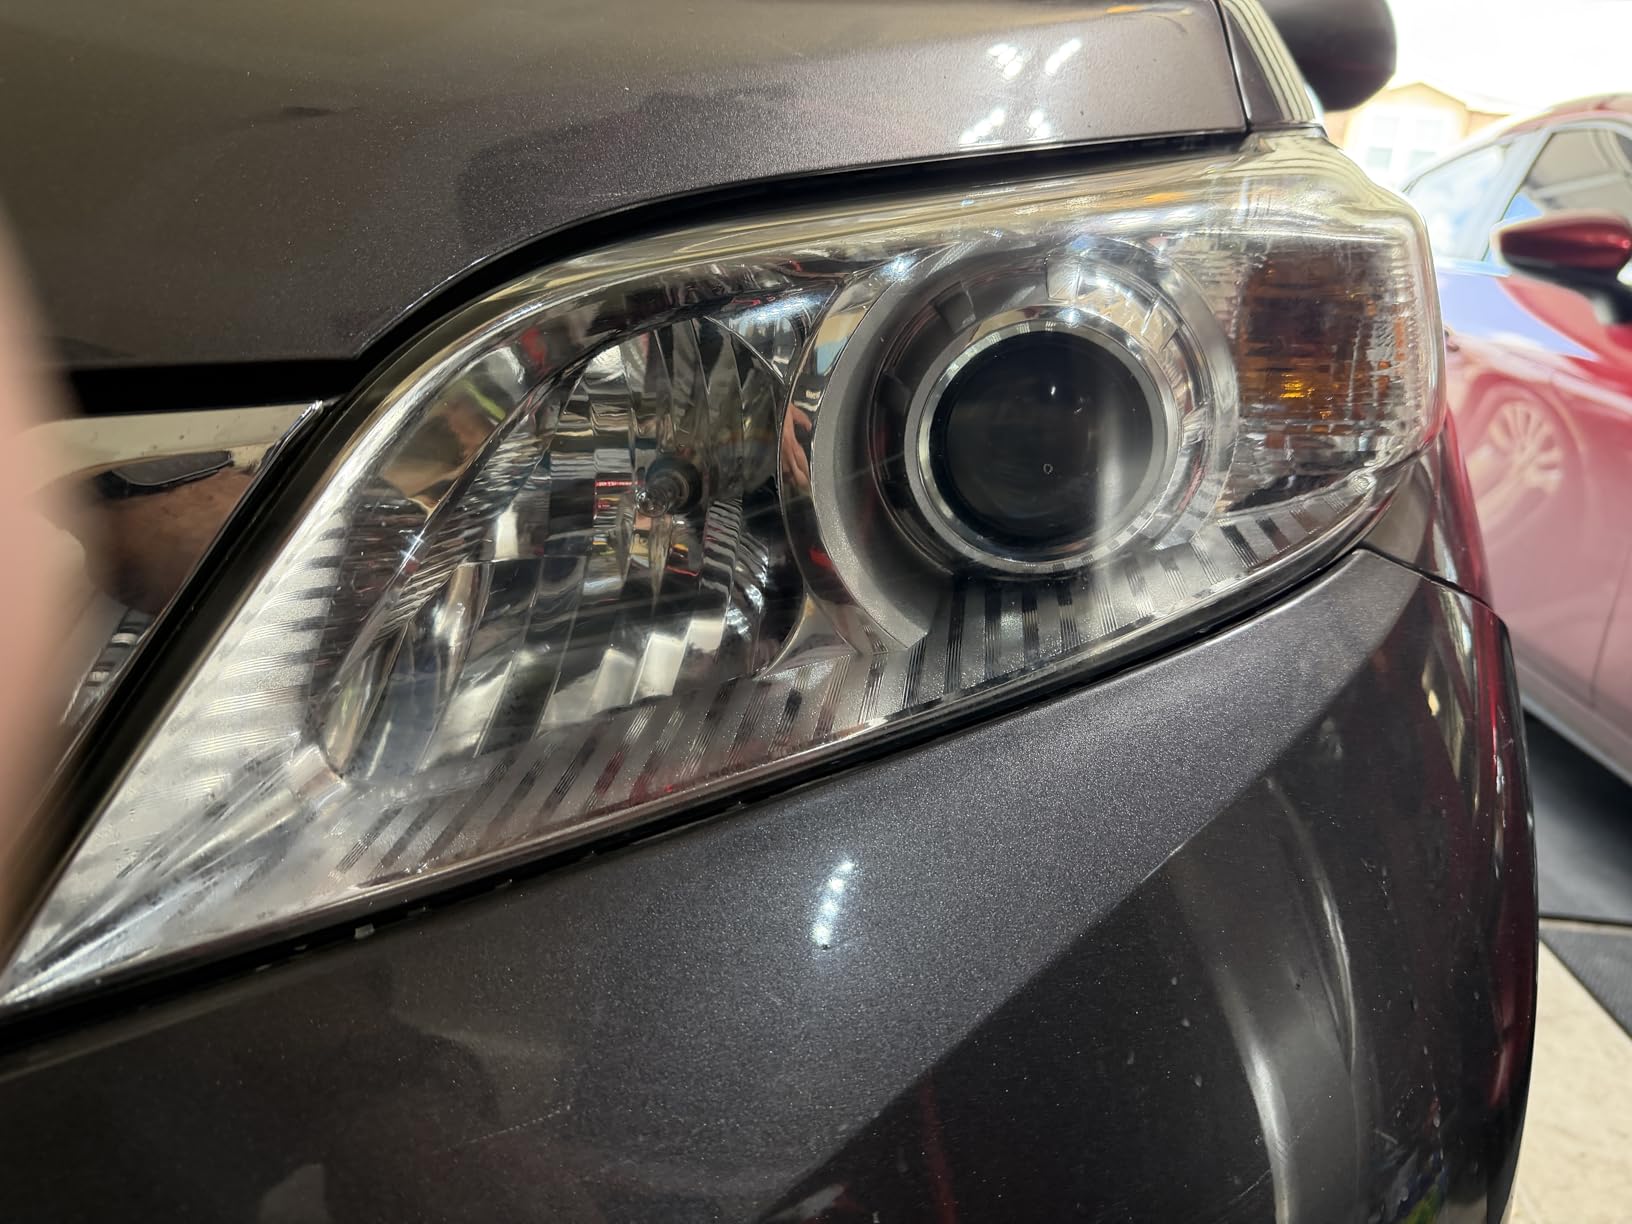
Who the Turtle Wax kit suits
A first-timer with mildly cloudy lenses and an afternoon to spare. You get restore and protect in one box, no power tools, and a finish clearly better than you started with.
It also suits owners who want to handle fog lights and tail lights at the same time, since the pad and compound work on any plastic lens.
Who the Turtle Wax kit does not suit
Heavy oxidation. The included pad does not have the cutting power to level a chalky lens, and attempting it anyway risks scratching a surface that needed sanding.
It also does not suit high-UV climates wanting one treatment that holds for years. Expect to repeat this job sooner than with a ceramic or film option.
10. Rain-X 610153 Headlight Restoration Kit – Best Three-Stage Correction
Rain-X 610153 Headlight Restoration Kit – Car Light Lens Cleaner/Restorer with Sanding & Polishing Drill Attachments & Sealant Wipe, Removes Scratches & Oxidation- All in 1 Long Lasting Formula
Sanding and polishing drill attachments plus sealant wipe
3.97 x 2.5 x 9.34 in
4.2 oz
Works at 1500 to 2000 RPM
Pros
- Three sanding stages give dramatic clarity on bad lenses
- Everything but a drill and tape is in the box
- Typical job runs 20 minutes to 2 hours
- Sealant wipe applies easily and leaves lenses looking new
Cons
- Sanding discs can leave colored residue or streaks
- Buffing compound splatters onto paint and glass
- Drill discs may not clear fine spiderweb haze alone
- Sealant needs an 8 hour no-moisture window to cure
The Rain-X 610153 is built around drill attachments rather than discs alone, with sanding and polishing heads plus a sealant wipe in the box. You supply a drill and some tape; everything else is there.
Owners with genuinely bad headlights report some of the most striking results in the group, typically inside two hours including cure time. Several mention bystanders assuming the lenses had just been replaced.
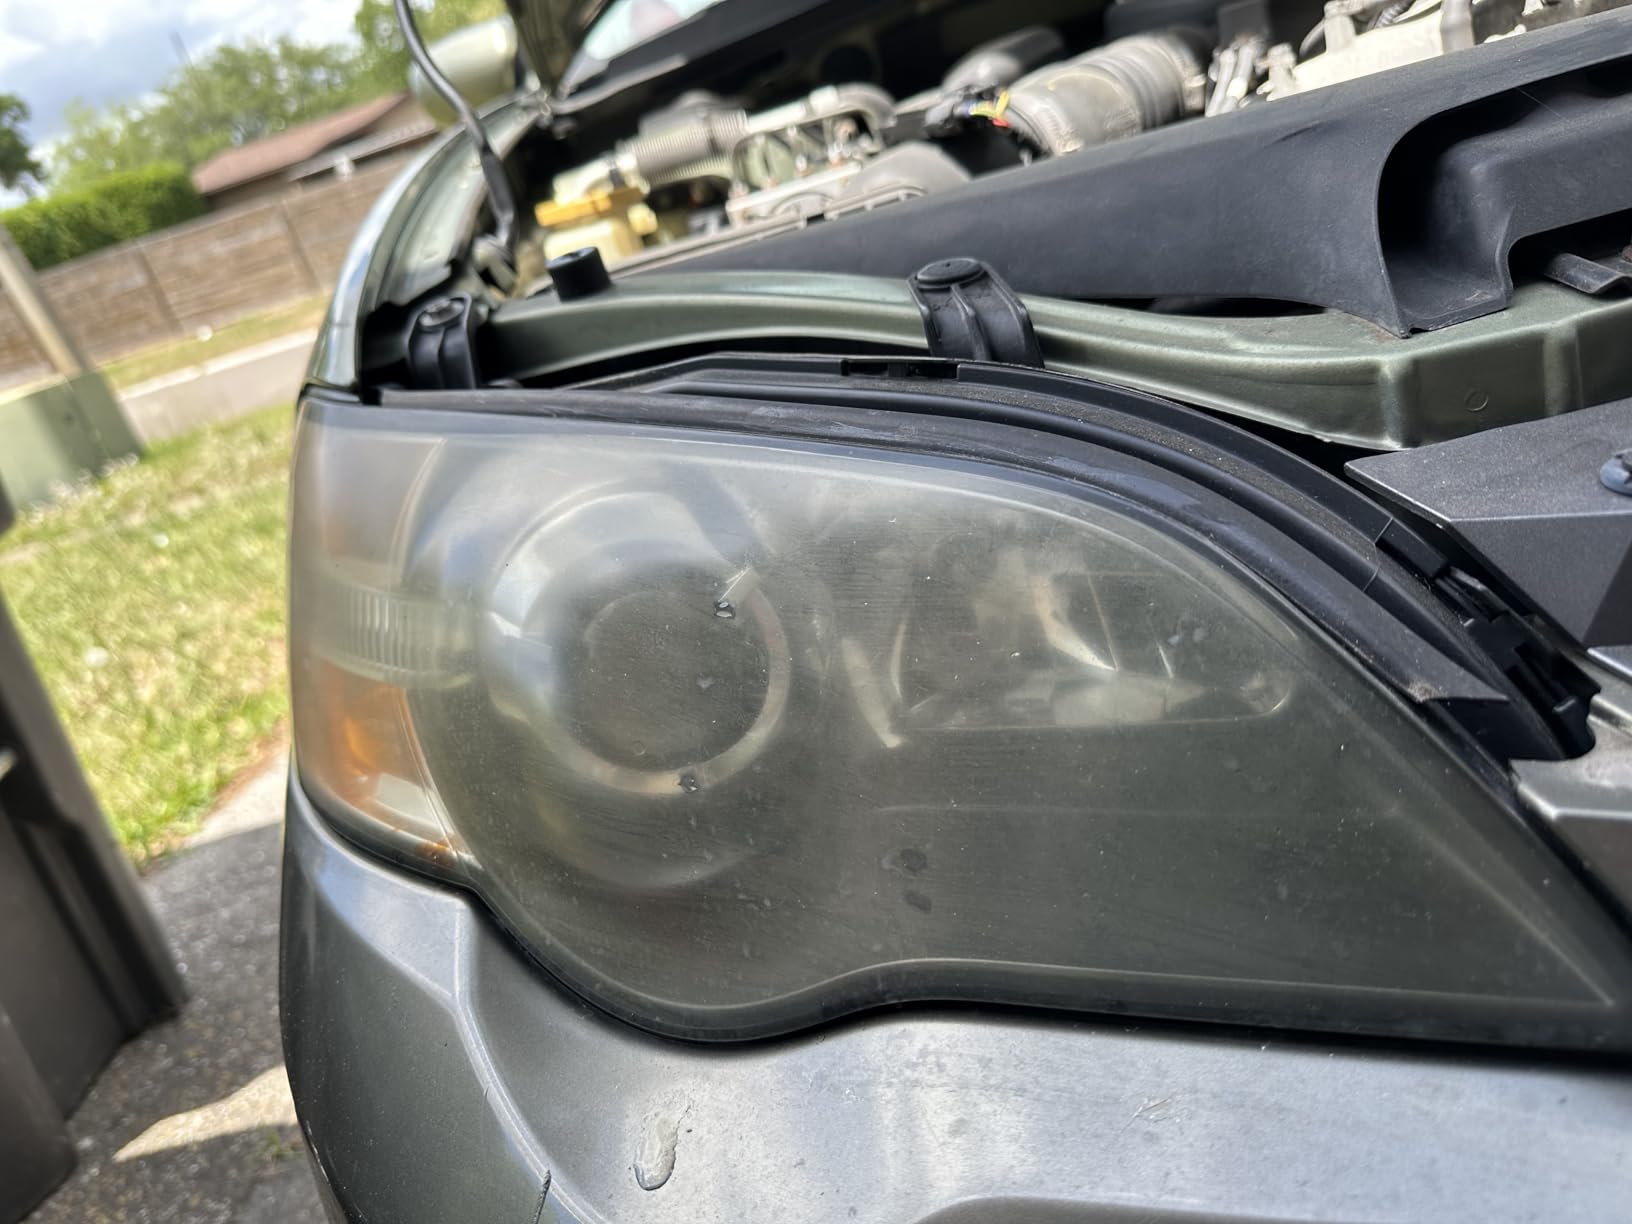
Run it at roughly 1500 to 2000 RPM and keep the pad moving. The sealant wipe needs several hours to cure, so keep moisture and touch off the lens for that window or the finish marks.
The mess is the honest drawback. Compound splatters onto paint and windscreens and is hard to remove, and some owners have seen coloured residue from the discs that needed extra hand work.
Who the Rain-X kit suits
Owners of badly yellowed lenses who want the deepest correction without buying a machine polisher. A household drill on low speed handles all three stages.
It also suits anyone who has already tried a wipe kit and been disappointed, since the three-stage progression reaches a result wipes cannot.
Who the Rain-X kit does not suit
A vehicle with paintwork you care about and no room to mask. Compound lands on bumper trim and glass, and cleaning it off takes far longer than protecting it.
It does not suit anyone needing the lens the same evening, given the 8 hour cure window. Some owners follow up with a separate finer polish when spiderweb haze survives the discs.
Do You Need to Sand? Judge by Oxidation Severity
The sanding question decides which kit you need, and getting it wrong is the expensive mistake. Sanding a lightly hazed lens works, but you remove more material than necessary for a result you could have had in ten minutes.
Light haze with no yellow tint. Run your hand across the lens. If it feels smooth and only looks dull, a wipe kit such as Clear Lights Tech or a hand treatment like Meguiar’s is enough.
Moderate yellowing with a slightly rough texture. Now you want sanding discs plus a sealant. The 3M 39008 and 39195 handle this band, and SYLVANIA reaches it if the surface is still smooth.
Heavy yellowing, chalky, pitted or peeling. This band genuinely requires a drill system with graded cutting discs. The 3M 39195 starting at 500 grit, or the Rain-X with three sanding stages, are built for it.
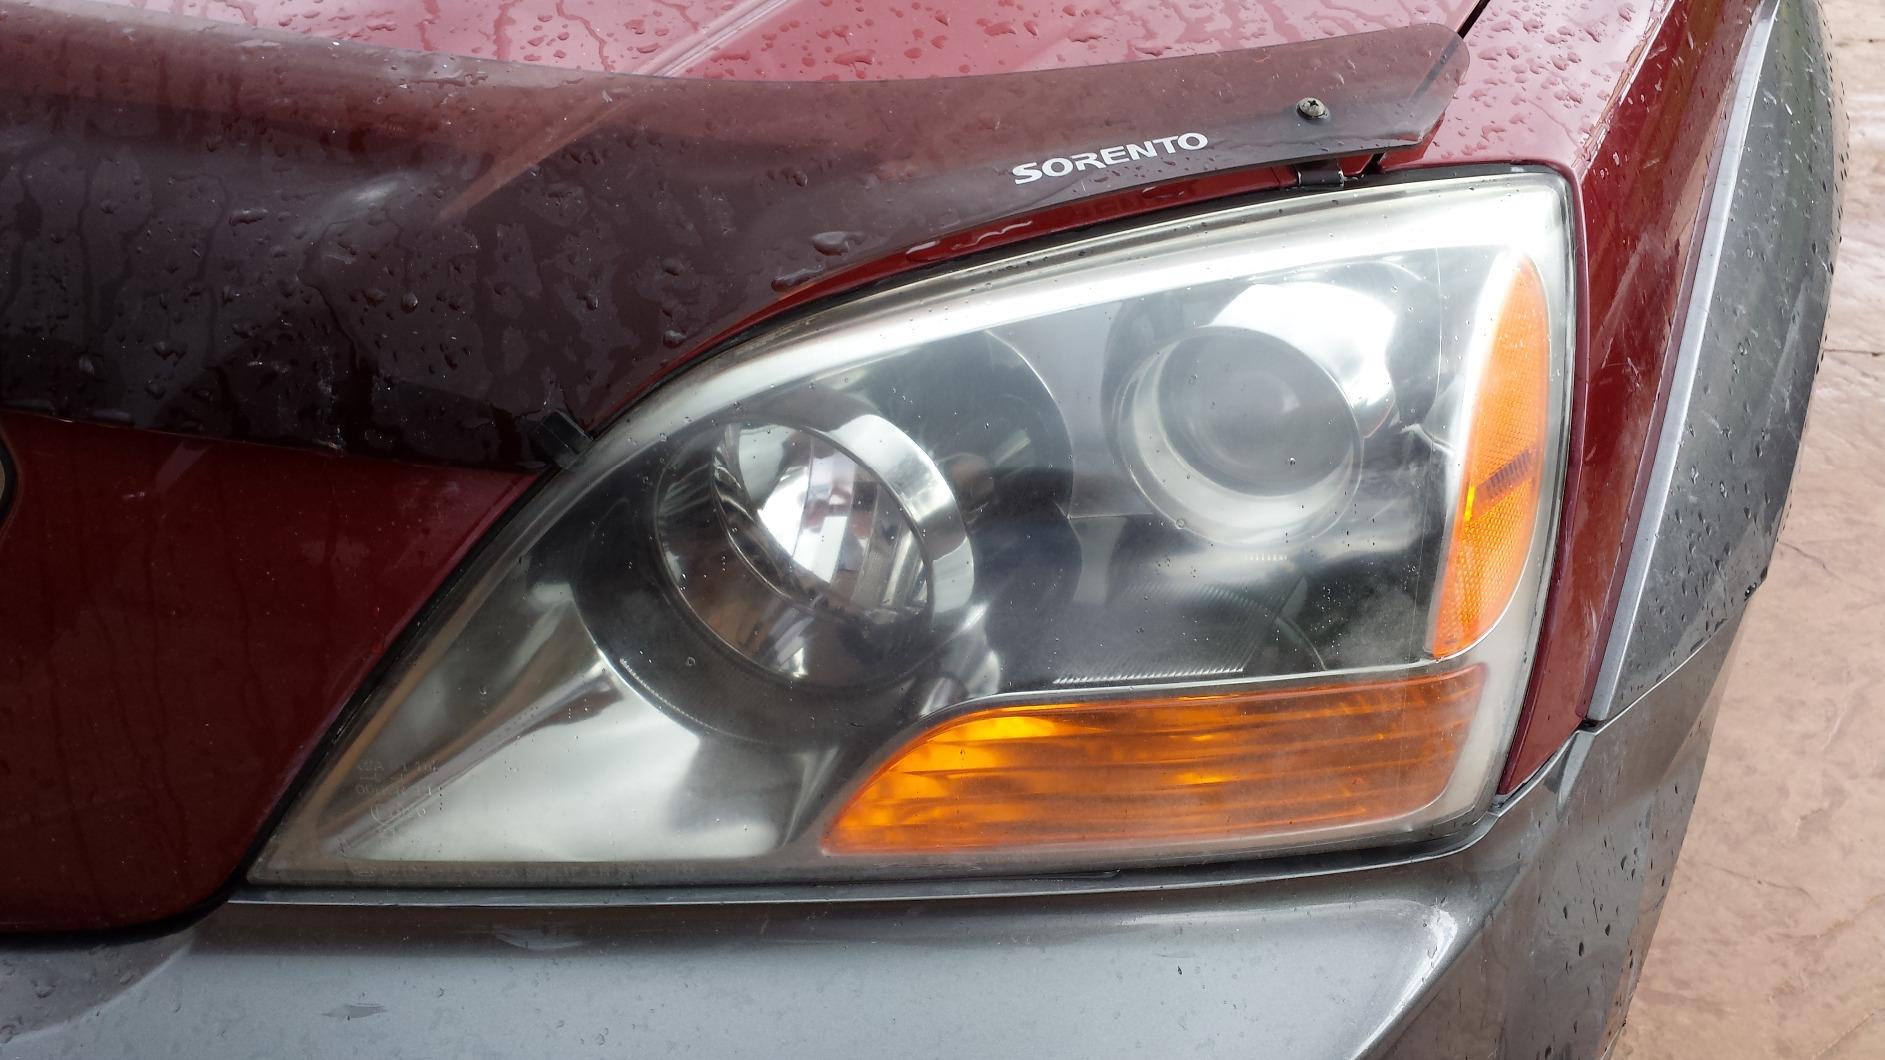
One test before you buy: check whether the lens still beads water. If it sheets off, the surface is heavily oxidized. If it beads, the UV layer is mostly intact and a polish will do the job.
How to Restore Faded Headlights Step by Step
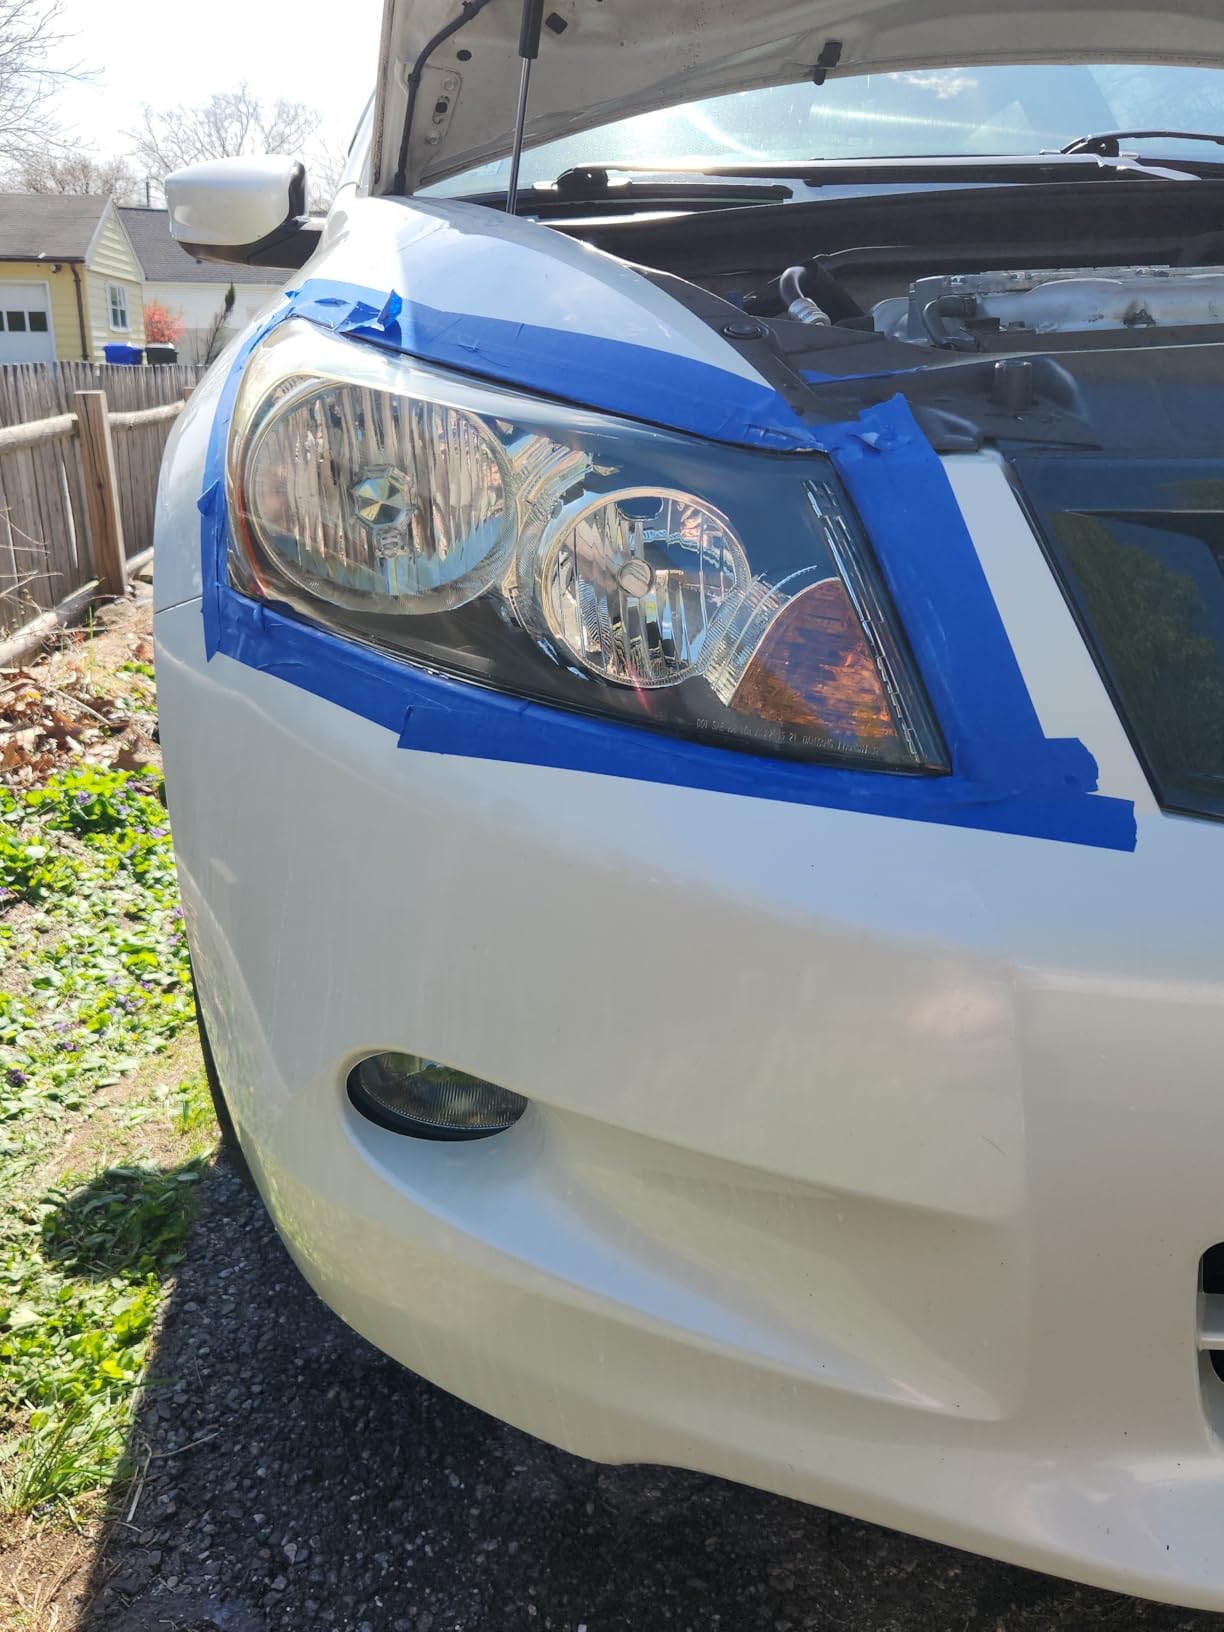
Every drill-based kit here follows the same logic, and order matters more than product. Mask first, cut second, refine third, clean fourth, protect last. If you would rather practise the process on a cheaper project first, our beginner electronics kits roundups cover the same step-by-step discipline.
- Wash and decontaminate. Wash the lens with car shampoo and dry it properly. Any grit left behind becomes a scratch the moment a disc touches it.
- Mask the surrounding paint. Tape the bumper, grille and bodywork before anything else, which is why the 3M 39195 ships tape.
- Wet sand from coarse to fine. Use 500 grit only for badly oxidized lenses, then 1000, then 2000, finishing at 3000. Keep water running the whole time and never skip a grit, because a 500 grit scratch left under 3000 grit becomes a deep swirl that scatters light.
- Polish out the sanding marks. Work the compound on a foam pad until the haze is gone and the lens reads as clear from every angle, not just head on.
- Clean and dry completely. Water trapped under a ceramic coating shows up as haze the first time you drive at night in rain.
- Seal the lens. Apply the UV sealant or ceramic coating and allow the stated cure time. The Rain-X seal needs about 8 hours free of moisture and touch.
The most common failure is heat. Detailers warn repeatedly against running a drill fast or holding it in one spot, because polycarbonate softens and a spinning disc melts a flat patch that polishing cannot remove.
How Long Does Headlight Restoration Actually Last?
The honest answer is that nothing here is permanent, and the range across this category is enormous. Detailers report most spray sealants lasting a few weeks to a couple of months in real sun, while properly applied ceramic or film protection lasts years.
A wipe-only system such as Clear Lights Tech refreshes a mildly hazy lens and needs repeating within a season. The Turtle Wax sealant sits in the same short band, and reviewers single out its durability as the weak point.
Thin hand-applied clear coats, including the SYLVANIA coat, sit in the middle. The Meguiar’s coating is the best specified here at up to 12 months against re-oxidation, though owners still plan an annual refresh.
A chemically bonded ceramic layer such as the CERAKOTE step is the strongest protection a kit can deliver, with owners reporting clarity holding after months of direct sun. Headlight protection film sits outside all of this, lasting years by physically blocking UV.
How to Pick the Right Headlight Restoration Kit
Start with severity, because it decides everything else. Match the kit to the band your lens sits in rather than buying the most capable option available, because overkill on a lightly hazed lens wastes an afternoon.
Second, decide honestly whether you will use a drill. Hand-only kits finish in under an hour with zero risk of melting the lens. Drill kits deliver far deeper correction and are the only realistic answer for pitting. Nothing in between does both.
Third, check what protection ships in the box. The 3M 39008 includes no sealant at all, which makes it the bare correction tool of this group. Kits with clear coat wipes or a ceramic step save a second purchase, and protective spray is what always runs out first.
Fourth, count the consumables. The 3M 39194 ships two refining discs, fine for two lenses and thin for four. The Mothers NuLens covers roughly four headlights with its disc and polish supply, and the Meguiar’s volume covers two or three vehicles.
Finally, confirm the lens material. Every kit here is built for plastic polycarbonate lenses, and several list headlights, tail lights, fog lights and directional signals explicitly. Acrylic and glass need a different approach, so do not assume a plastic kit transfers.
If you enjoy kit-based projects in general, we also put together the best beginner soldering kits, the best beginner robotics kits and the best kids engineering kits using the same hands-on approach.
Frequently Asked Questions
What is the best way to restore faded headlights?
The best way to restore faded headlights is to wash and mask the lens, wet sand with grit progression from 500 up to 3000 without skipping steps, polish out the sanding marks, then seal with a UV protective coating. Severity decides the method: light haze needs only a wipe or hand polish, while heavy yellowing or pitting needs drill-assisted sanding.
Do any headlight restoration kits really work?
Yes, most of them work when the kit matches the severity of the oxidation. Wipe kits succeed on lightly hazy lenses and fail on chalky ones, while sanding kits with a 500 grit start handle serious yellowing and pitting. The most common complaints are about how quickly results fade, not about whether the lens became clear.
How can I permanently restore faded plastic headlights?
No restoration is truly permanent, because UV damage is ongoing and the factory UV coating does not return. You get the longest life from a chemically bonded ceramic coating applied after a full sand and polish, and the longest life of all from headlight protection film, which blocks UV physically rather than slowing the damage.
What is the number one headlight restoration kit?
The CERAKOTE Ceramic Headlight Restoration Kit is the number one pick overall, with a 4.6 rating across more than 74,000 reviews. It combines oxidation-removing wipes, a hand sanding kit and a chemically bonded ceramic coating in one box, needs no power tools, and takes roughly 30 minutes to 1.5 hours per vehicle.
Is it worth getting PPF on headlights?
For a vehicle you plan to keep, yes. Headlight protection film blocks UV physically and lasts for years, while a restored lens with sealant protection typically needs work again within months. Detailers on forums consistently recommend film over clear coat when the goal is long-term protection rather than a one-off improvement.
How long do headlight restoration kits last?
Expect weeks to months rather than years. Wipe-only and thin sealant systems often last a season or two in real sun, hand-applied coatings are commonly specified at up to 12 months, and a properly applied ceramic layer is the most durable option a kit can deliver. Keeping the lens clean matters as much as the product you chose.
Should you clear coat headlights after restoration?
Yes, always. Restoration removes the factory UV coating along with the yellowing, so the bare lens oxidizes faster than it did before. Seal the lens with a UV blocking coat, ceramic coating or clear coat as the final step, and allow the full cure time stated on the product before the lens gets wet or touched.
How long does 2k clear coat last on headlights?
A quality 2K clear coat is the strongest protection you can apply yourself and outlasts most wipe sealants, but it is not permanent. UV exposure eventually yellows any coating on a headlight, so expect several years of good protection rather than a decade, and professional film installation still outlasts it.
Our Verdict on the Best Headlight Restoration Kits in 2026
The CERAKOTE Ceramic Headlight Restoration Kit wins because it is the only kit solving all three parts of the job in one box: removing oxidation, correcting the surface, and sealing the lens with a coating that bonds rather than sits on top. No power tools, a 4.6 rating across more than 74,000 reviews, and roughly 30 minutes to 1.5 hours per vehicle.
If you need deeper correction, take the 3M 39008 for raw sanding power and add your own sealant, or the 3M 39195 if you want the masking tape and clear coat wipes included. For a fully hand-based job, the SYLVANIA kit is the most complete and the Meguiar’s two-step the fastest.
One rule covers the rest: match the kit to the severity of the oxidation before matching anything else. Light haze needs no abrasives and heavy yellowing needs a real 500 grit start. Check the water test first, pick the band, and you will not waste a Sunday.