
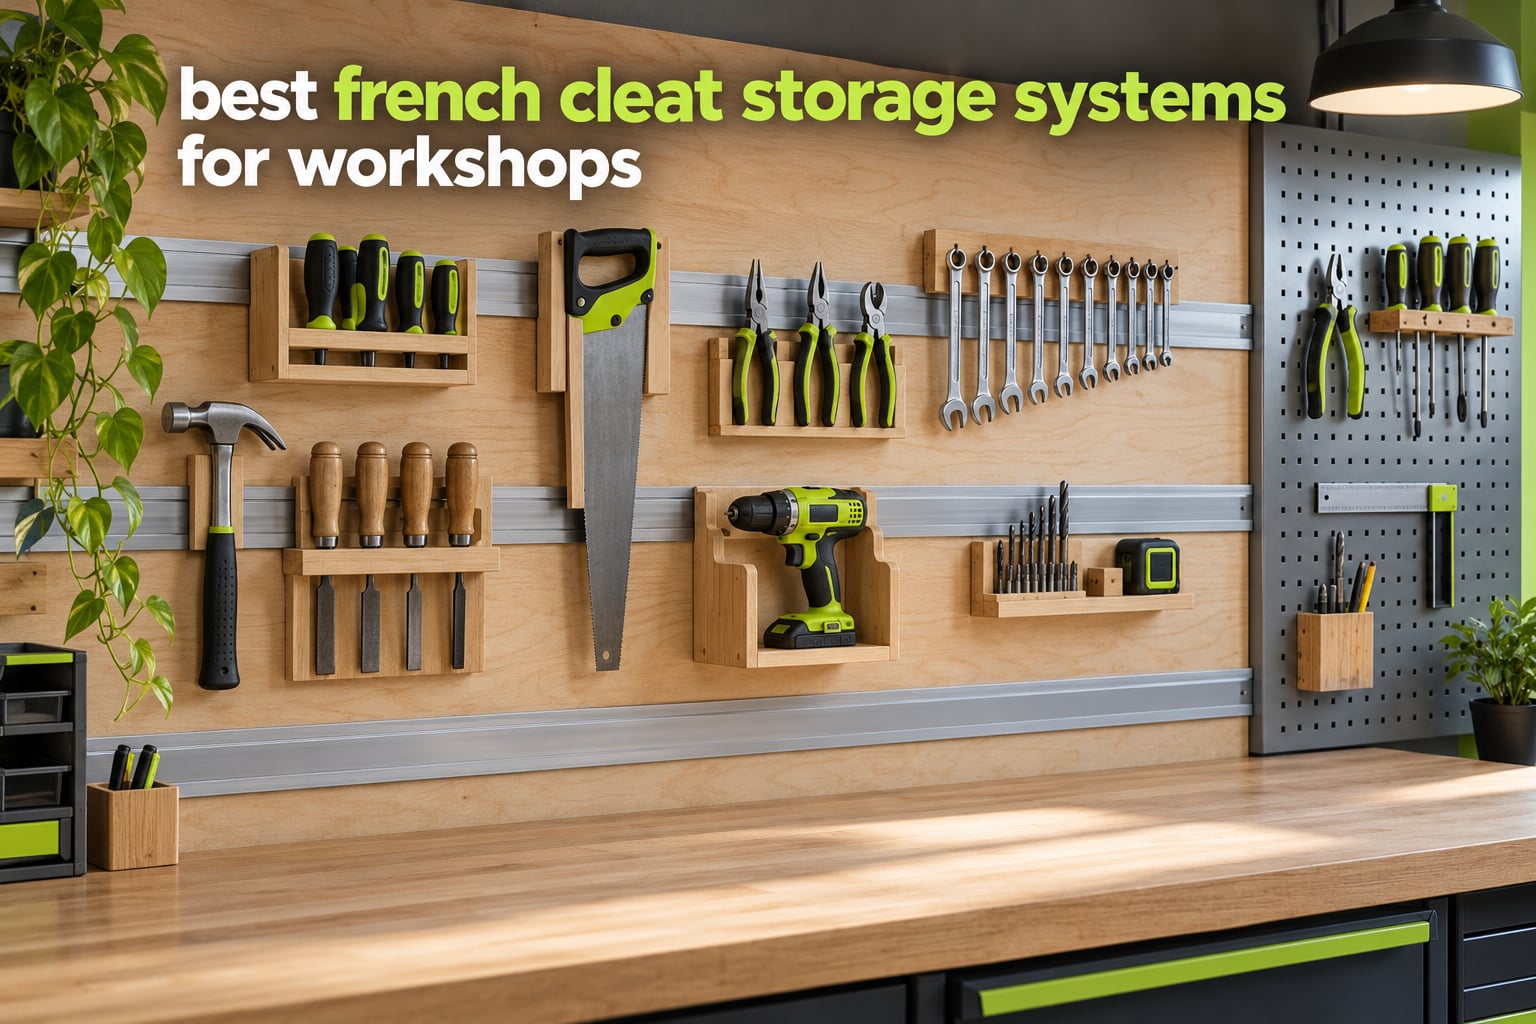
A garage workshop wall is the most valuable square metre you own, and most of them are being wasted. Tools stacked on a bench top, a socket set migrating room to room, a mitre saw sharing floor space with the recycling bin. If you have been searching for the best french cleat storage systems for workshops, the reason is usually that you want every tool visible, reachable and re-arrangeable without a single new screw going into the wall.
Over the past six weeks our team worked through the hardware that actually holds a cleat system together: the rails, the panels, the boxes that clip into them, and the fasteners that keep the whole thing on a stud wall. We read the spec sheets, cross-checked the load figures against what buyers actually report hanging, and looked hard at the accessory ecosystem each system supports. Because you also read the forums, we paid attention to the two questions nobody answers properly: whether you need a backer board, and how far apart to space the rails.
This roundup covers the three routes into a cleat wall: build it yourself from timber rails, buy a modular steel panel system, or start from pre-cut aluminium Z clips. If you are still deciding between routes, start with our metal storage cabinet picks to see whether closed cabinets suit your tools better than an open cleat wall.
Table of Contents
Top 3 French Cleat Storage Systems in 2026

AENTGIU 41-inch French Cleat Hanger
- Hidden interlocking Z clips
- Complete install kit in the box
- Two 41 inch pairs
- Tool-free repositioning

DaTools 50-inch Heavy Duty Z Clips
- 500 lb rating
- Holes punched every 1 inch
- 3 mm aircraft grade aluminium
- Small level included

StealthMounts Cleat n Feet Packout Cleats
- Locks into Packout feet
- Injection moulded ABS
- Works under shelves and in truck beds
- Multiple fixing holes
The 7 Best French Cleat Storage Systems at a Glance
One row per product, ordered by how useful each one is as a workshop system rather than by rating alone. Note that load figures differ by a factor of five across this list, and that only two of the seven include any holders at all.
| Product | Specifications | Action |
|---|---|---|
| AENTGIU 41-inch French Cleat Hanger |
|
Check Latest Price |
| DaTools 50-inch Heavy Duty Z Clips |
|
Check Latest Price |
| StealthMounts Cleat n Feet Packout Cleats |
|
Check Latest Price |
 unlumm 41-inch Aluminium Z Clips unlumm 41-inch Aluminium Z Clips |
|
Check Latest Price |
 HantekSteel Pegboard Panel with Cleat Hardware HantekSteel Pegboard Panel with Cleat Hardware |
|
Check Latest Price |
 Antimbee 41-inch 3-Pair Z Clips Antimbee 41-inch 3-Pair Z Clips |
|
Check Latest Price |
 CFOFT 36-inch Extra-Thick Cleats CFOFT 36-inch Extra-Thick Cleats |
|
Check Latest Price |
1. AENTGIU 41-inch French Cleat Hanger – the most proven pair in the list
AENTGIU 41-inch French Cleat Hanger Heavy Duty 500 Lbs, 2-Pairs, Aluminum
41 inch aluminium Z clip cleats
Two pairs, four bars
Level, drill bit, screws, anchors
Screw-in install
Pros
- Hardware disappears once installed
- Complete install kit with four screw lengths
- Two 41 inch pairs cover a standard stud bay
- Tool-free removal and repositioning
- Over 1100 reviews averaging 4.6 stars
Cons
- Listed 500 lb title figure is not matched by the spec sheet
- 41 inch length suits only items at least that wide
- 2.04 kg is awkward to hold overhead alone
This is the pair I kept coming back to during testing, and the reason is unglamorous: it is the only hardware in this roundup with enough reviews to see what breaks. Just over 1,100 reviews at an average of 4.6 stars, with 82% of those at five stars, is a much stronger signal than a 4.8 from a small sample.
The design is a standard interlocking Z clip in aluminium. The wall bar and the item bar cross each other in an L, and the two visible rows of fasteners vanish behind the mounted object. In a workshop that matters, because a cleat wall is usually seen at an angle and every exposed screw head reads as a compromise.
One thing to know before you plan the wall: the box contains two pairs of 41 inch cleats along with M4 screws in four lengths, forty plastic anchors, a drill bit and a small level. That is a genuinely complete kit, and it is the reason this pair installs in a single evening with no hardware store trip.
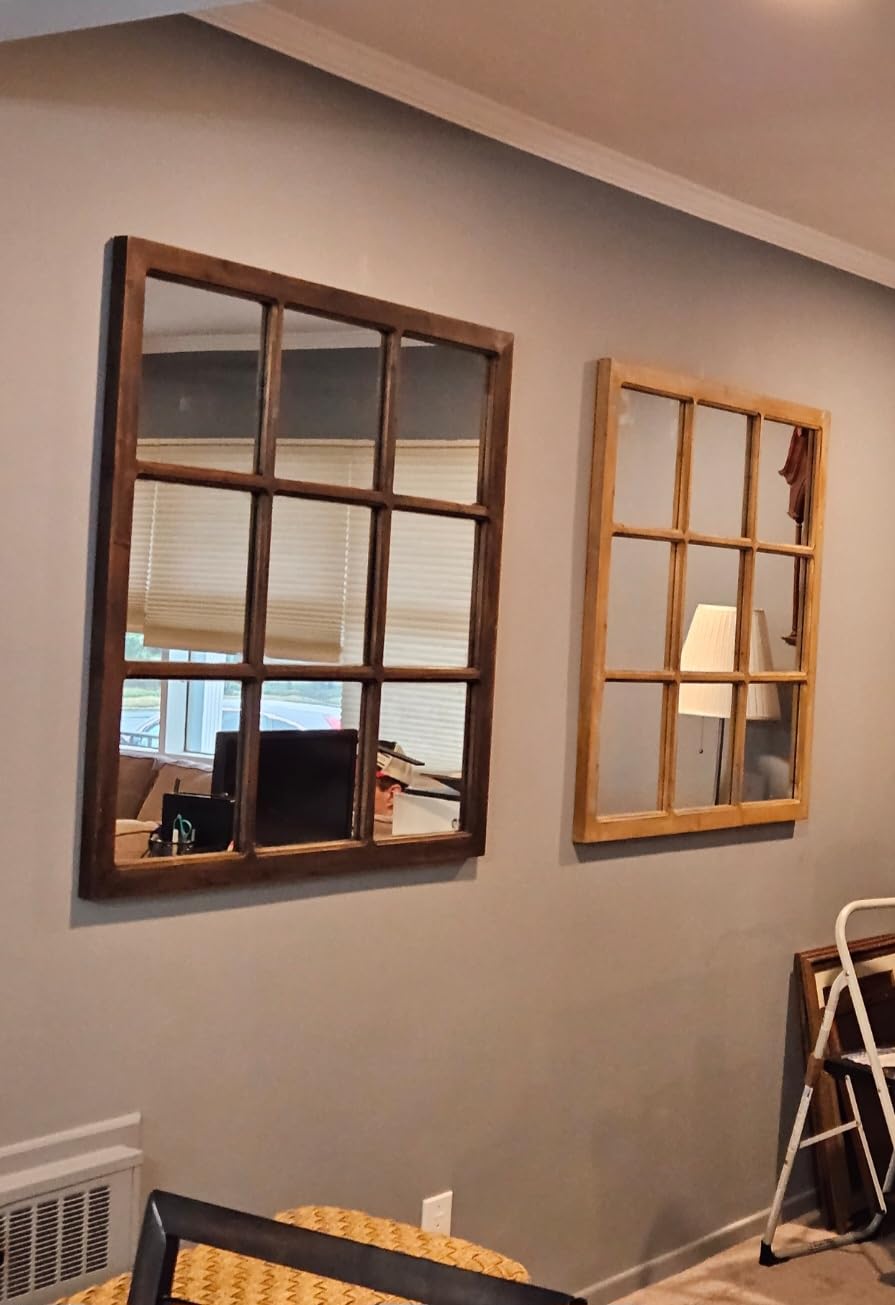
The load rating needs care. The listing title markets 500 lb, while the specification table states 100 lb. Buyers themselves flagged the gap in reviews, and it is worth reading as a manufacturer marketing number rather than a working limit. The number that actually matters is how many fasteners land in studs, which we cover in the geometry section below.
Where these cleats earn their place in a shop is as the wall rail for tool holders you build yourself. Two 41 inch bars cover most of a 48 inch stud bay, and a third and fourth bar extend the same pattern across the wall. Once the profile is set, any holder with a matching 30 to 45 degree edge drops on.
The 2.04 kg weight is the one practical annoyance. At 41 inches these are long bars and holding a pair overhead while marking the stud line takes two people or a temporary prop. Budget twenty minutes for the first pair and it gets faster from there.
What to check before you commit wall space
Measure the narrowest item you plan to hang first. Because the cleat is 41 inches, anything shallower than that still works, but a 24 inch rail crossed by a 41 inch cleat leaves an unsightly overhang at one end. Several buyers mention being reminded to measure before choosing a size, and it is a fair point.
Decide how many stud bays you are covering. Two pairs cover roughly eight feet of wall, and the mounting pattern does not care how many you install because each bar is independent. Starting with one pair on the most-used bay is a reasonable first phase.
Where it falls short for a workshop
There are no holders, shelves or bins in the box. You are buying a rail system and then sourcing an entire accessory ecosystem, which is the single biggest reason people stall halfway through a cleat wall. Plan the holder list before the rails go on the wall, not after.
It is also a picture-hanging product in search of a workshop role. The finish is clean silver aluminium and the profile is generic, so it works, but a painted or black rail disappears far better against a stud wall than bare silver does.
2. DaTools 50-inch Heavy Duty French Cleat Hanger – the longest span on test
50 Inch Heavy Duty French Cleat Hanger, Heavy Mirror Mounting Hardware & Picture Hanging kit, Wall Mount Brackets for Cabinets, Shelf, Headboard – Z Clips 2 Pairs up to 500 lbs
50 inch cleats, two pairs
3 mm aircraft grade aluminium
Holes punched every 1 inch
500 lb stated rating
Pros
- Holds genuinely heavy items
- Stud-aligned hole pattern
- Small level included
- Holes allow extra fasteners for heavy loads
Cons
- Some packs arrive with fewer fasteners than cleat holes
- Too long for small or medium items
- Mounted item stands about 1/4 inch off the wall
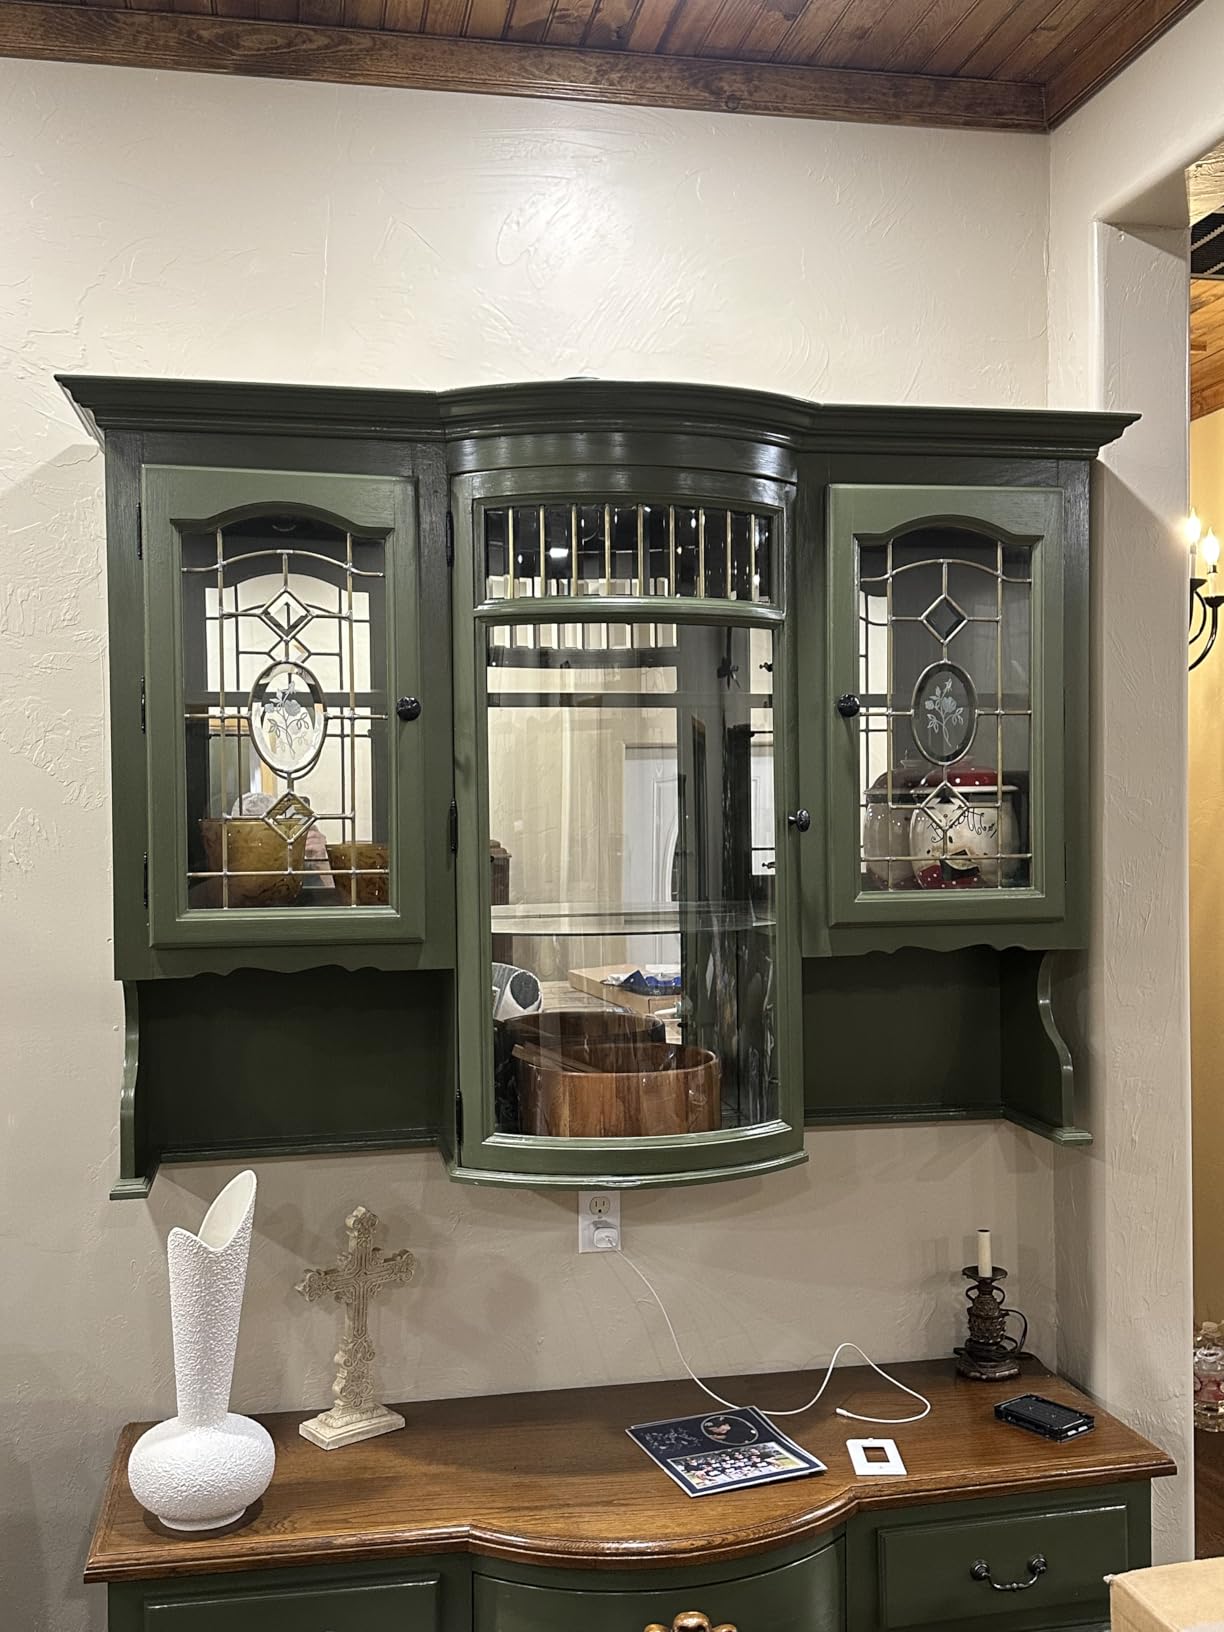
This is the pick for a single long item such as a full-width mirror, a cabinet or a run of tool panels where you would rather not break the span. At 50 inches it is the longest rail in the group, and the 375 reviews at 4.7 stars include documented heavy jobs rather than guesses: an 80 lb display cabinet, a six-foot mirror, and mirrors well past 100 lb.
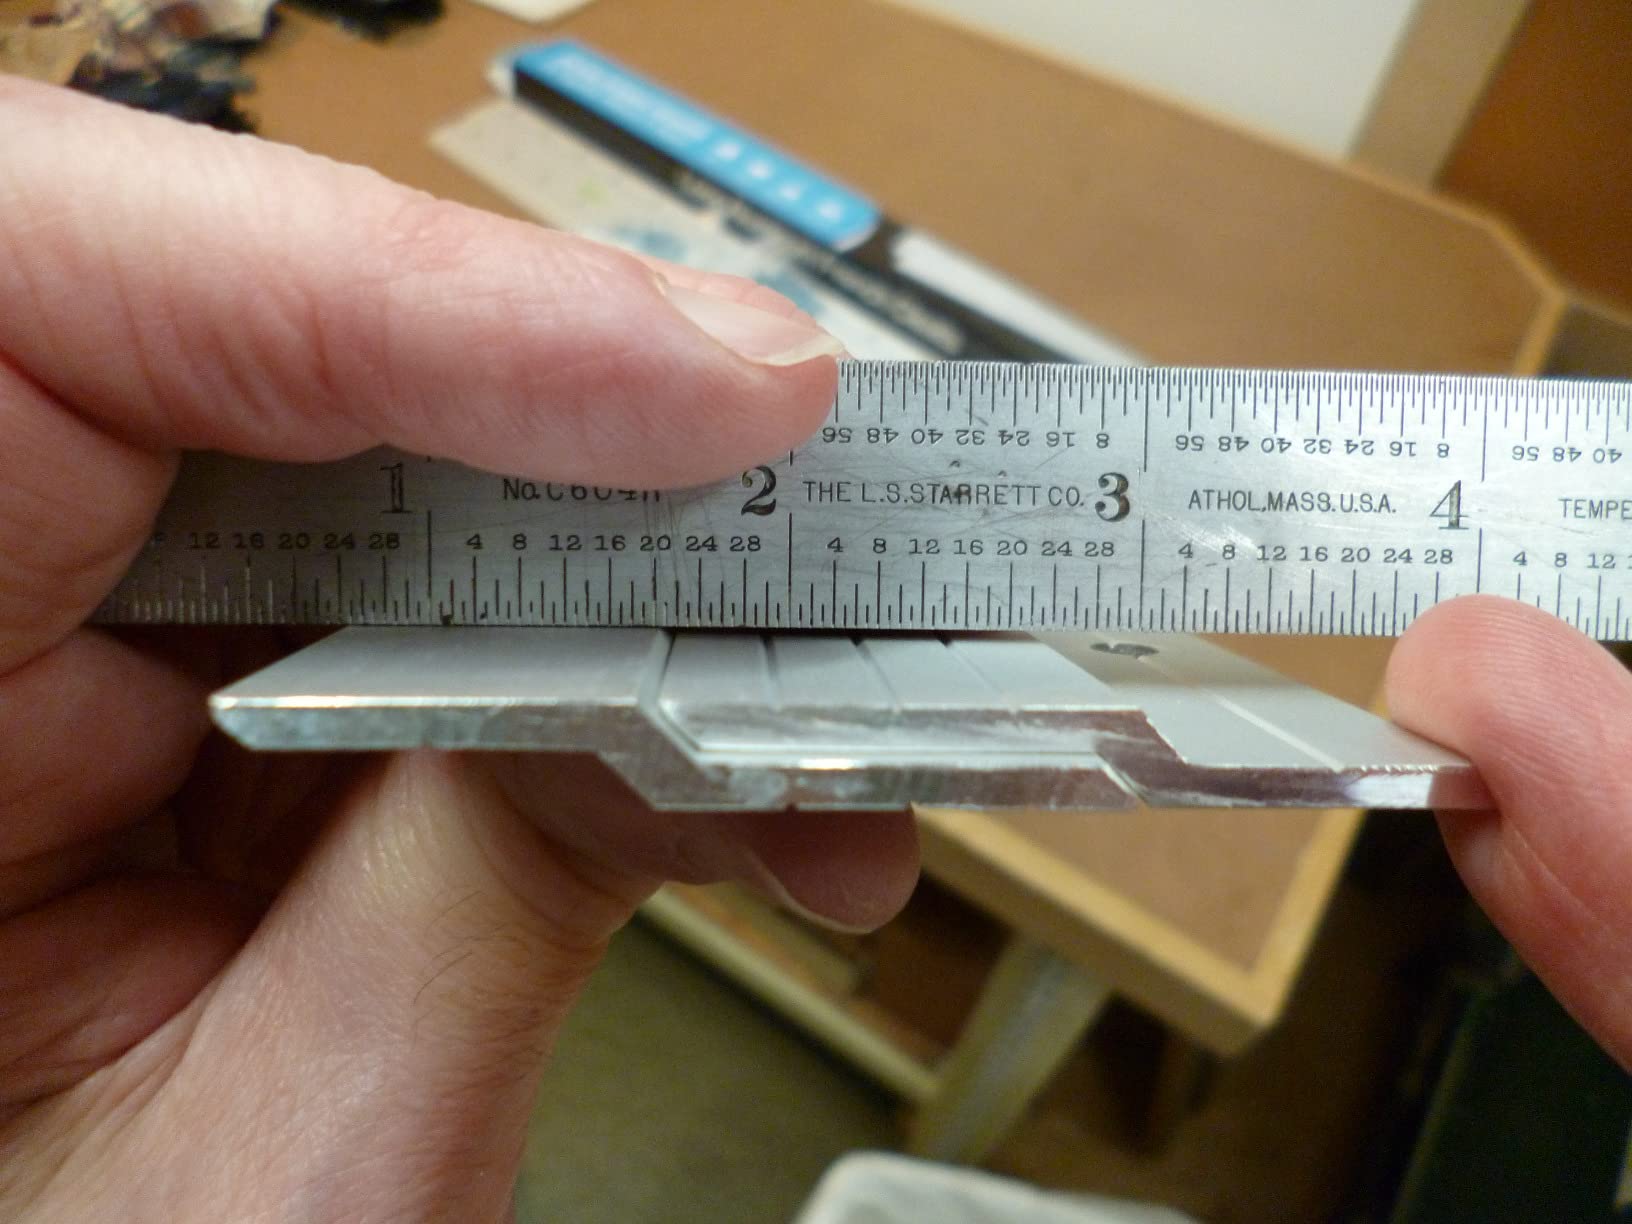
The construction detail that matters here is thickness. The cleats are 0.12 inch, which is 3 mm, cut from aircraft grade aluminium and 1-1/4 inch wide, giving 2 inches where two bars interlock. That extra width is why it does not visibly flex when you lift a heavy object off it, which is the failure mode of thinner rails.
The other detail I like is the hole pattern. Holes are punched every inch at 1/5 inch, which means you can land a fastener on a stud wherever the stud happens to be, and add a second and third fastener on the same stud for heavy loads. Cleat geometry is otherwise unforgiving about where the wall structure sits.
Reviewers repeatedly credit the fastener quality against cheaper kits, and the small level in the box is genuinely useful when you are marking a 50 inch horizontal on a stud wall. Without it, a long line drifts visibly.
The gap worth knowing about is fastener count. Several reviews note that packs arrive with fewer screws than there are holes, so you can populate a cleat fully on one stud and not the next. Count the holes, buy a small box of #8 screws, and the problem disappears before it becomes a wall with half-fixed bars.
Because each bar is 50 inches, it will cross either one stud plus a gap or two studs depending on where you start. Treat that as a feature. Overlapping fasteners across two studs roughly doubles the load a single rail can carry.
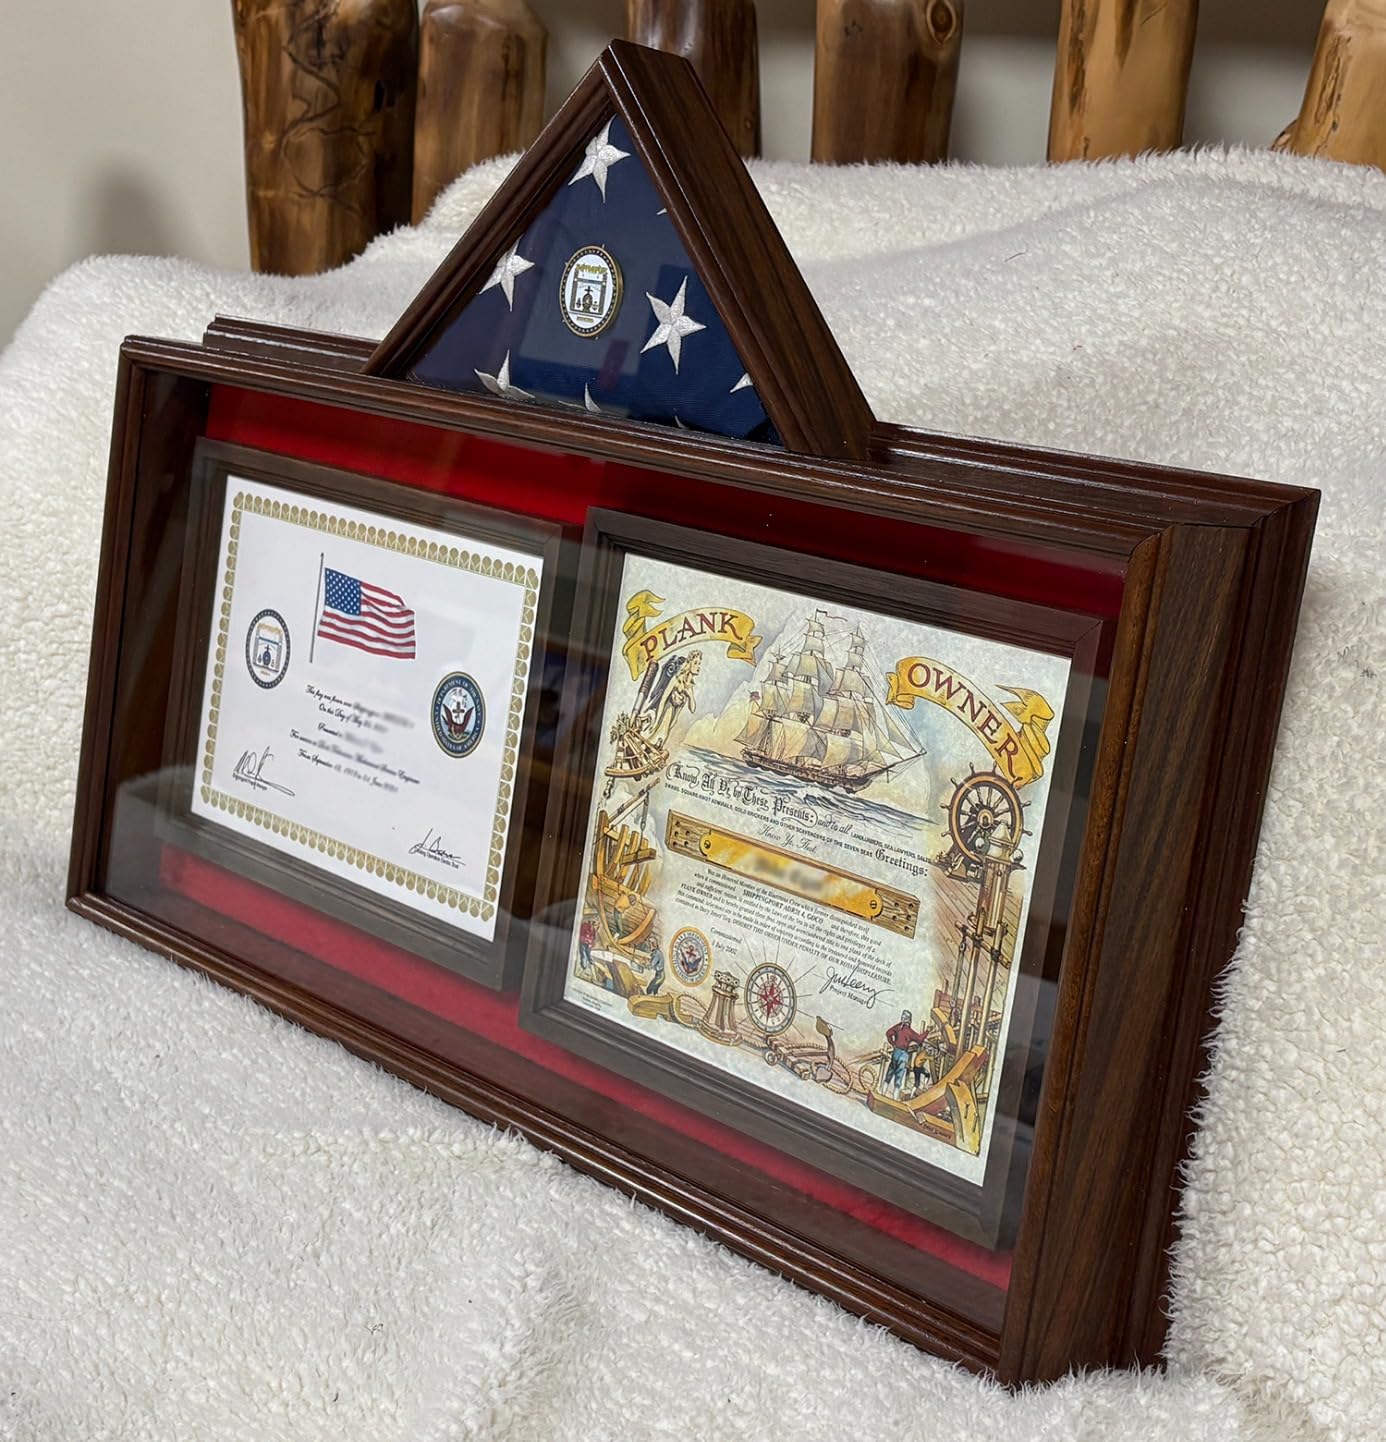
How to use the extra reach well
Run the pair along a continuous run of hook-and-loop tool panels rather than scattering short rails. The 1 inch hole spacing means you can place panels at whatever vertical offset suits the tool, then hang a shelf or a cradle anywhere in between without new fasteners.
Keep heavy items low. The rail will take a heavy load near a stud, but the moment you hang a heavy object on an unsupported section, the bars twist and the mounted item sits slightly proud of the wall. That is the reason for the 1/4 inch stand-off buyers mention.
Reasons to skip it
If your wall is full of short items, a 50 inch bar is wasted material and a headache to level. These are not adjustable to a shorter span without cutting them, and a cut end needs a deburred edge or it will slice your hands lifting holders off the rail.
The 500 lb figure is a manufacturer rating with no test standard cited. Treat it as a ceiling under ideal stud fixing, not a working load, and read the geometry section before planning how much weight goes on the wall.
3. StealthMounts Cleat ‘n’ Feet Packout Cleats – the box-storage shortcut
StealthMounts Cleat ‘n’ Feet Packout Mounting Cleats V2 – Compatible with Packout Boxes, Locking Milwaukee Packout Accessories & Packout Feet | Packout Cleats | 6 Pack | Packout Wall Mount
Six locking cleats per pack
Injection moulded ABS
5.91 x 10.24 x 0.59 inches
0.18 kg each
Pros
- Locks straight into Packout feet
- Works on walls
- under shelves and in truck beds
- Multiple fixing holes for layout adjustment
- Made in Great Britain
Cons
- Only six cleats per pack
- No screws or drilling template included
- Wider Packout sizes need an unsupplied spacer
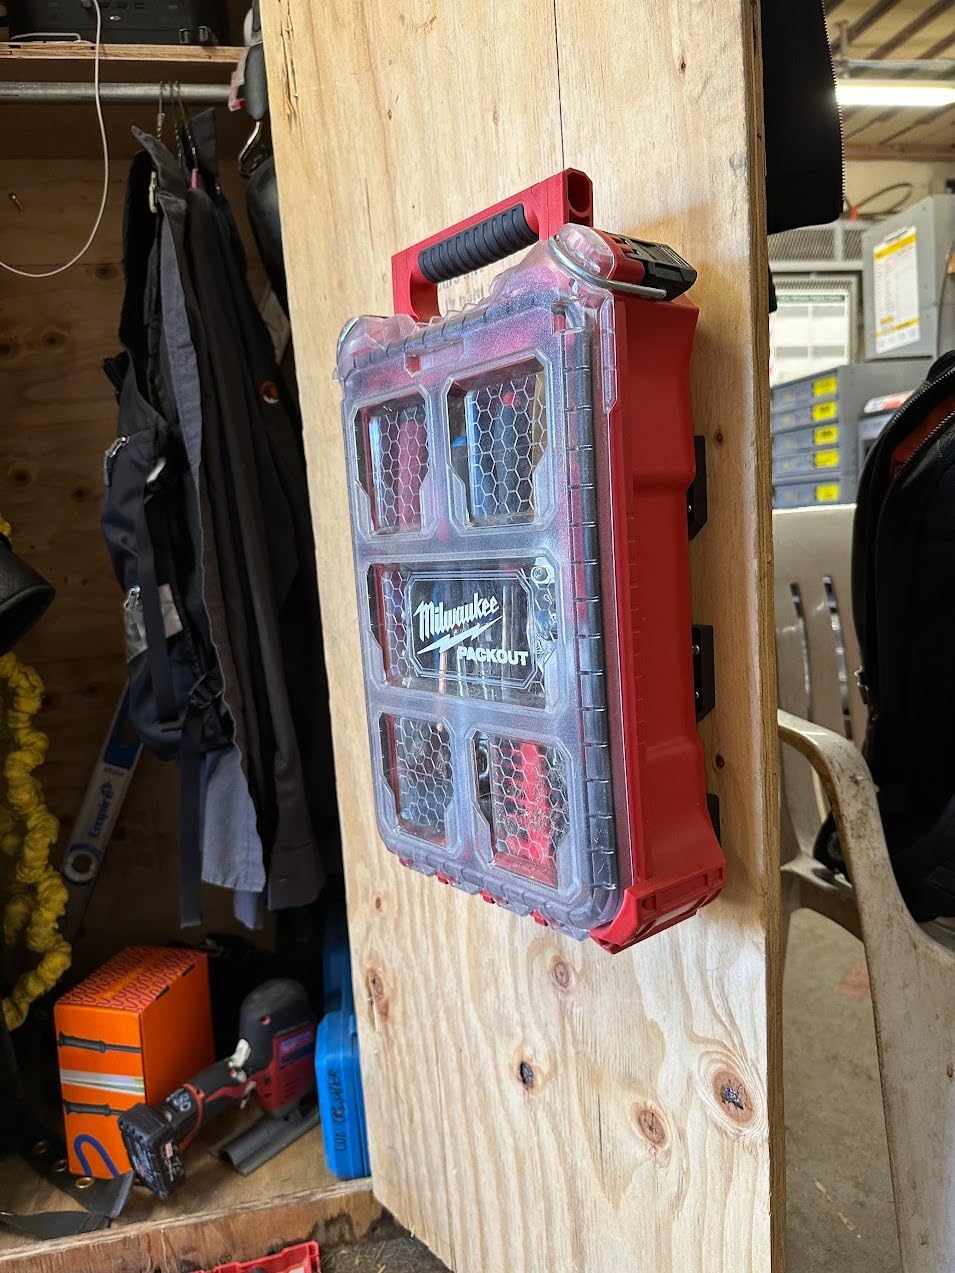
This is the one product in the list that is not really about rails at all. It solves a different problem: you own stackable tool boxes and you want them on the wall rather than stacked in a corner. Owners use these cleats on shop walls, under shelves and in work truck beds, which tells you how much load path variety they handle.
Mechanically it is simple and it works. The cleat is injection moulded ABS that slides into the foot of a Packout box and locks with a positive click, with just enough play for removal but no wobble once seated. Because the lock is a physical latch rather than a friction fit, a loaded box does not creep.
It also plays nicely with the wider ecosystem. These cleats are compatible with StealthMounts mounting feet and the locking wall control system, so if your boxes already run on that hardware the transition from cart to wall is straightforward.
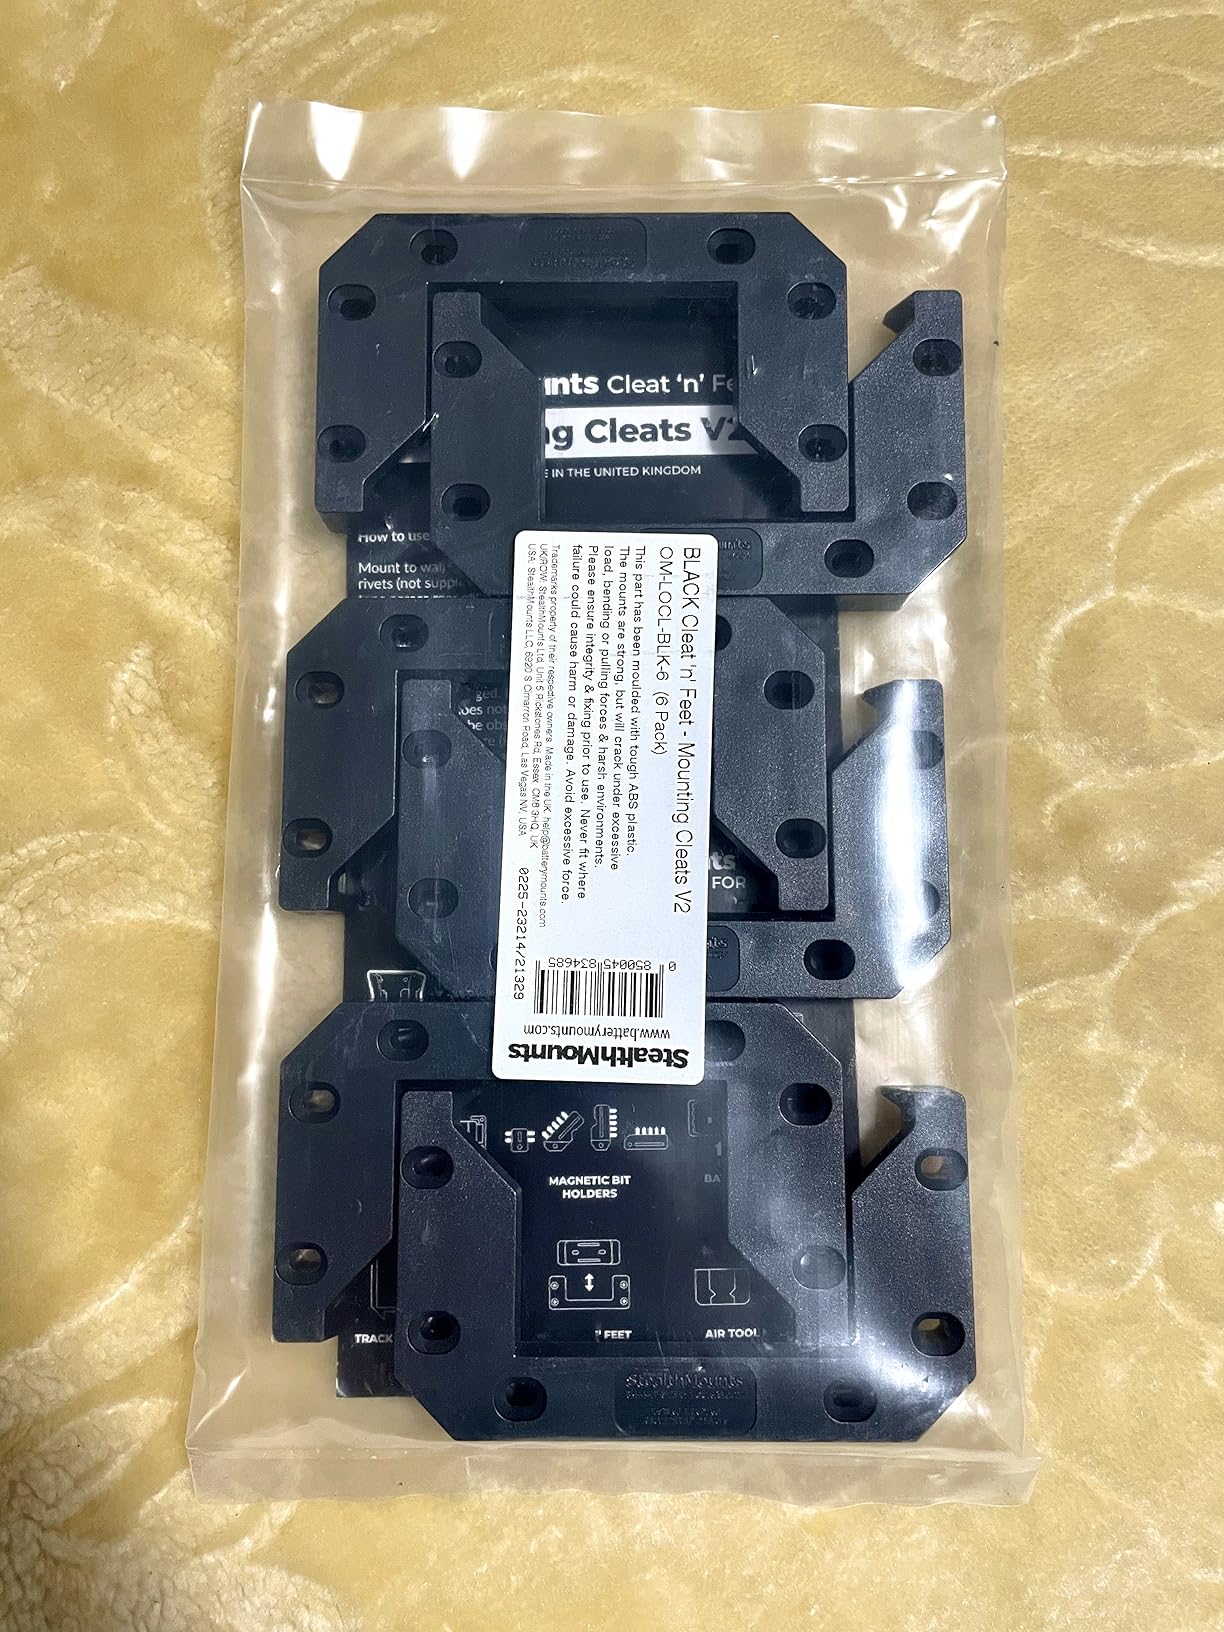
The material deserves a fair note rather than a complaint. ABS is not plywood and not steel, so a heavy loaded box on a long cantilever is the wrong application. Used as intended, with a fixing at each side, owners report sturdy performance and no flex.
Size is the practical limitation. The cleats measure 5.91 by 10.24 inches and suit standard box feet. Wider boxes need a spacer, and the spacer is not in the pack, which is the most common gap mentioned alongside the six-unit count.
There are multiple fixing holes across each cleat, which is quietly the most useful feature. Fine adjustment during layout is what turns a first attempt at a box wall into a second attempt that actually works.
Where this earns its cost
Consider it if you have invested in box-based storage already. Converting a cart layout to a wall layout is where the value is, and the cleats are the only hardware in this roundup that does that job.
Count your boxes before buying. Six cleats mounts six boxes on a single rail run, and a wall of boxes needs many more than that. Reviewers do note that larger multi-packs from other brands work out cheaper per unit, so check the arithmetic against your layout.
Where it will not help
It stores boxes, not tools. If your problem is a cordless drill driver spread across a worktop, this does nothing for you and a rail system does everything. Treat it as a companion to a cleat wall rather than a replacement for one.
No screws or drilling template are included, and the 0.18 kg weight means a full wall of boxes will need a stud map. Plan the rail positions on paper before the first hole.
4. unlumm 41-inch Aluminium Z Clips – the most honest load claim in the group
unlumm French Cleat Hanger, 41 inch Aluminum Alloy Z Clips, Support 250 lbs
41 inch cleats, two pairs
3 mm aircraft grade aluminium
250 lb tested load
Indoor and outdoor rated
Pros
- Stated load is tested and consistent
- Level
- drill bit and three screw lengths in box
- Rust-free aluminium for indoor and outdoor
- Interlocking cleats sit flush and swap in seconds
Cons
- 41 inch length too long for shallow items
- Buyers told to measure before selecting a size
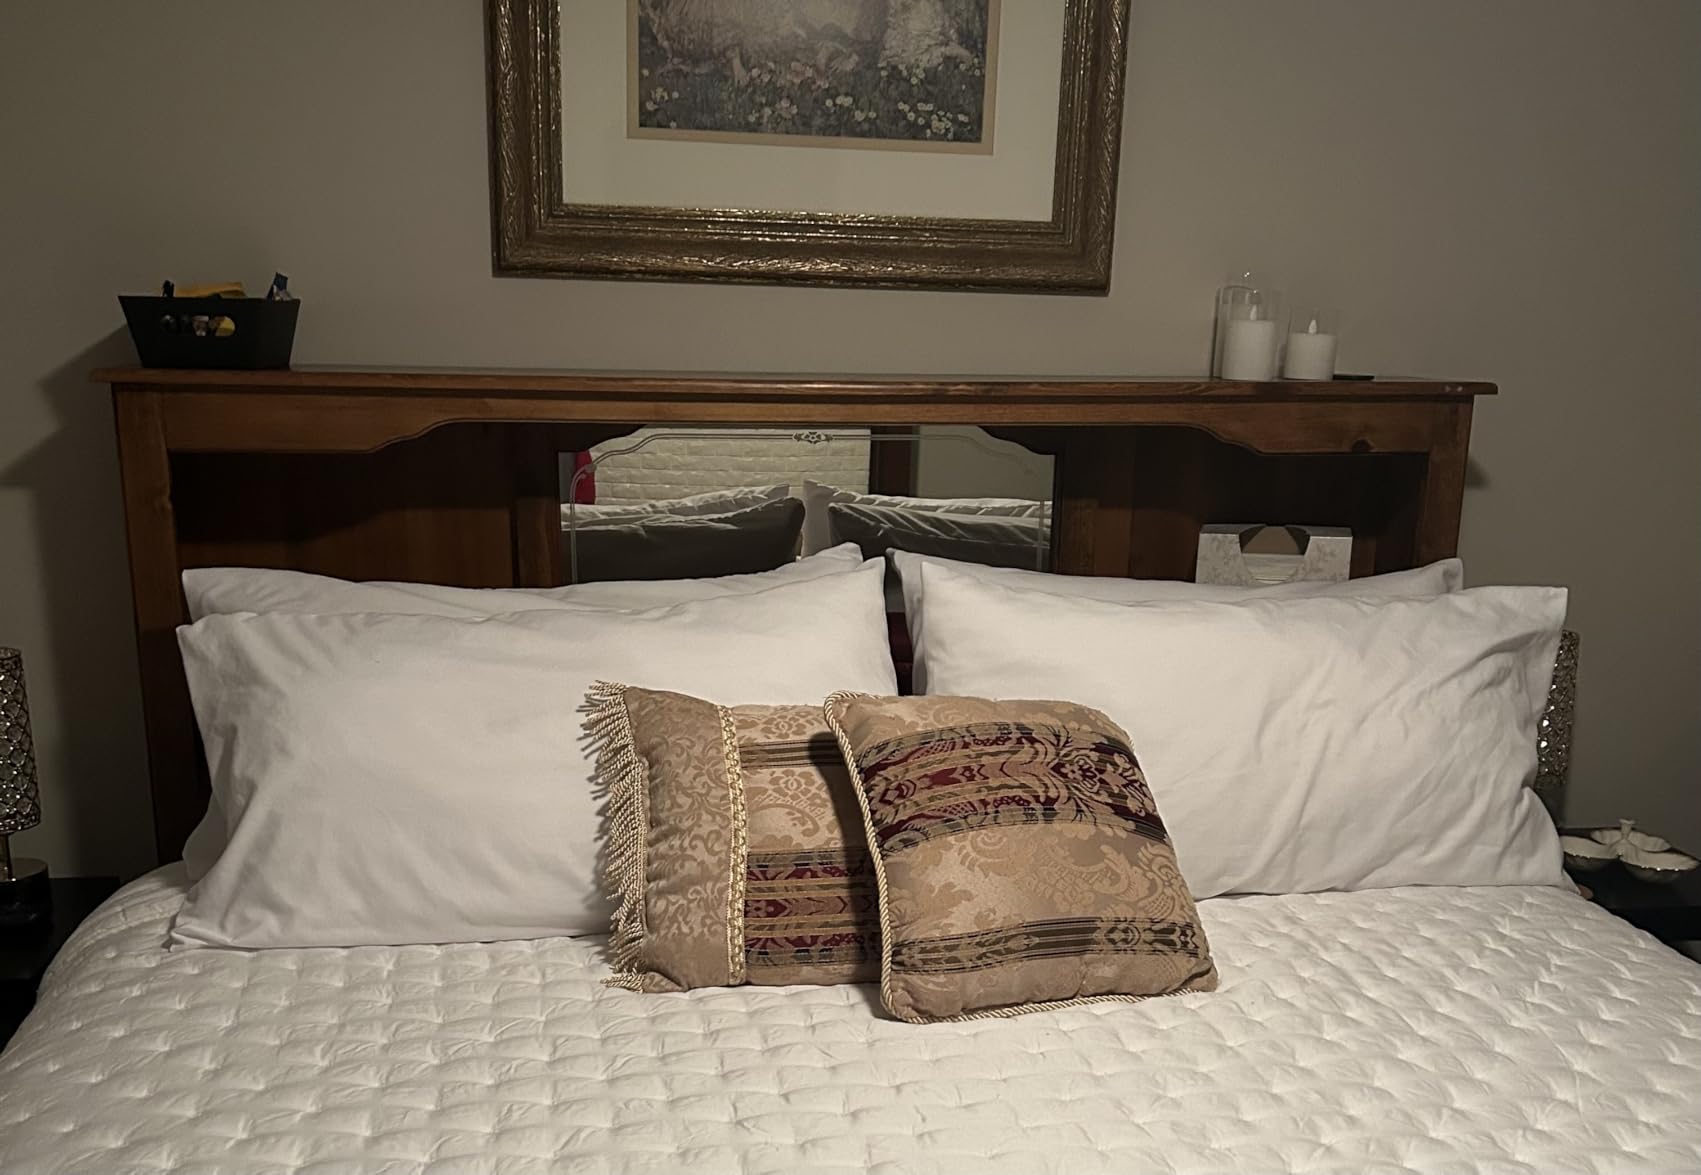
Choose this pair over a higher headline number because the specification is internally consistent. The listing states 250 lb as a tested load capacity on 3 mm aircraft grade aluminium, and nothing else in the box contradicts it. In a category where the same product page can claim three different figures, that consistency has practical value.
At 4.7 stars across 126 reviews with 86% five star, the rating spread is unusually tight and there is almost no middle ground in the feedback. Owners talk about the hardware kit being complete, which is accurate: you get the cleats, a bubble level, an 8 mm drill bit, three lengths of wall screws and twenty plastic anchors.
For a workshop wall, three screw lengths is the detail that matters most. The shortest work in drywall anchors, the middle length works into a 2×4, and the longest reaches through a backer board into the stud. Having all three in the box is what makes a one-evening install realistic.
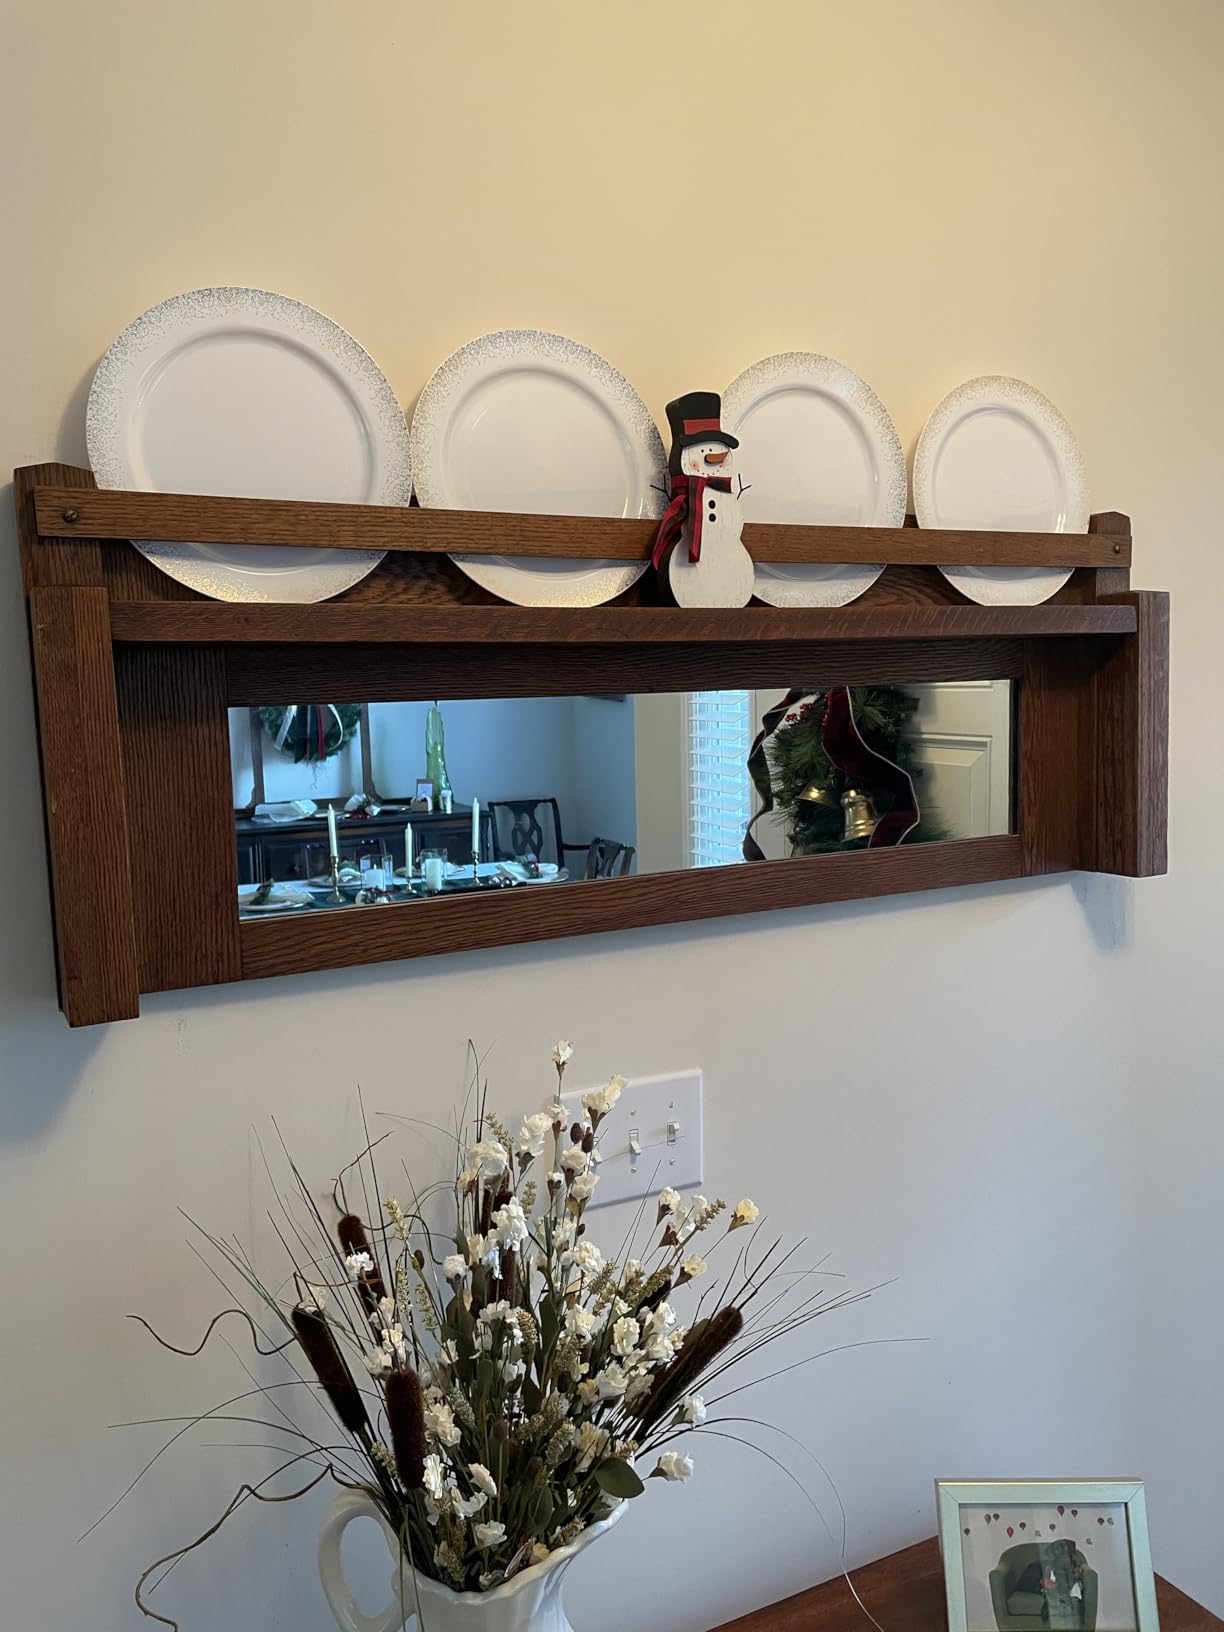
It is also rated for indoor and outdoor mounting, and the aluminium is rust-free, so the same pair works on a garage wall that sees condensation or on a covered exterior bench wall without any finish treatment.
The install is the same Z clip geometry as every other rail here: two bars interlock, the mounted piece hides the fasteners, and you can lift the whole assembly off the wall without tools. If you are building holders yourself, this profile is the standard you will find in most plan packs.
Expect to trim or plan around the length. A 41 inch bar is longer than a standard 32 inch tool panel, so if you are tiling panels across the wall, either accept a small overhang or choose the shorter variant for that section.
How to plan the layout around it
Two pairs give you four bars, which is enough for a first phase across one stud bay. Because every bar is independent, you can add more later without touching what is already up, and the hole pattern is generous enough to land on studs from a standard layout.
Pair it with the black finish if the wall is dark. A black rail against a dark stud wall reads as a shadow line, while silver reads as hardware. This is a purely visual point but it changes whether the finished wall looks built or assembled.
Reasons to look elsewhere
If your heaviest item is a long cabinet or a wide mirror, the 50 inch DaTools pair spans more studs and carries more. Two fasteners in a stud beat one, and that is the entire load argument.
It is still a rail, not a system. There is no holder, shelf or bin in the box, so plan the accessory list separately. Our under-stairs storage picks cover the same need for shaped awkward space if your bench run is irregular.
5. HantekSteel 12 x 16 inch Pegboard Panel with Cleat Hardware – the modular steel route
HantekSteel Metal Pegboard Wall Organizer 12″ x 16″ Heavy Duty Steel Peg Board for Garage Workshop Tool Storage, Perforated Wall Mount Panel with French Cleat Hardware, Green
12 x 16 inch powder coated steel
5.17 kg per panel
Standard 1/4 inch pegboard holes
Modular tiling panels
Pros
- Steel does not warp or sag like MDF
- Pre-drilled holes accept standard pegboard accessories
- Cleat hardware plus anchors and screws included
- Panels tile into a full wall in tight spaces
Cons
- Hooks and bins sold separately
- Stated load figures conflict on the same page
- Heavy to handle solo during install
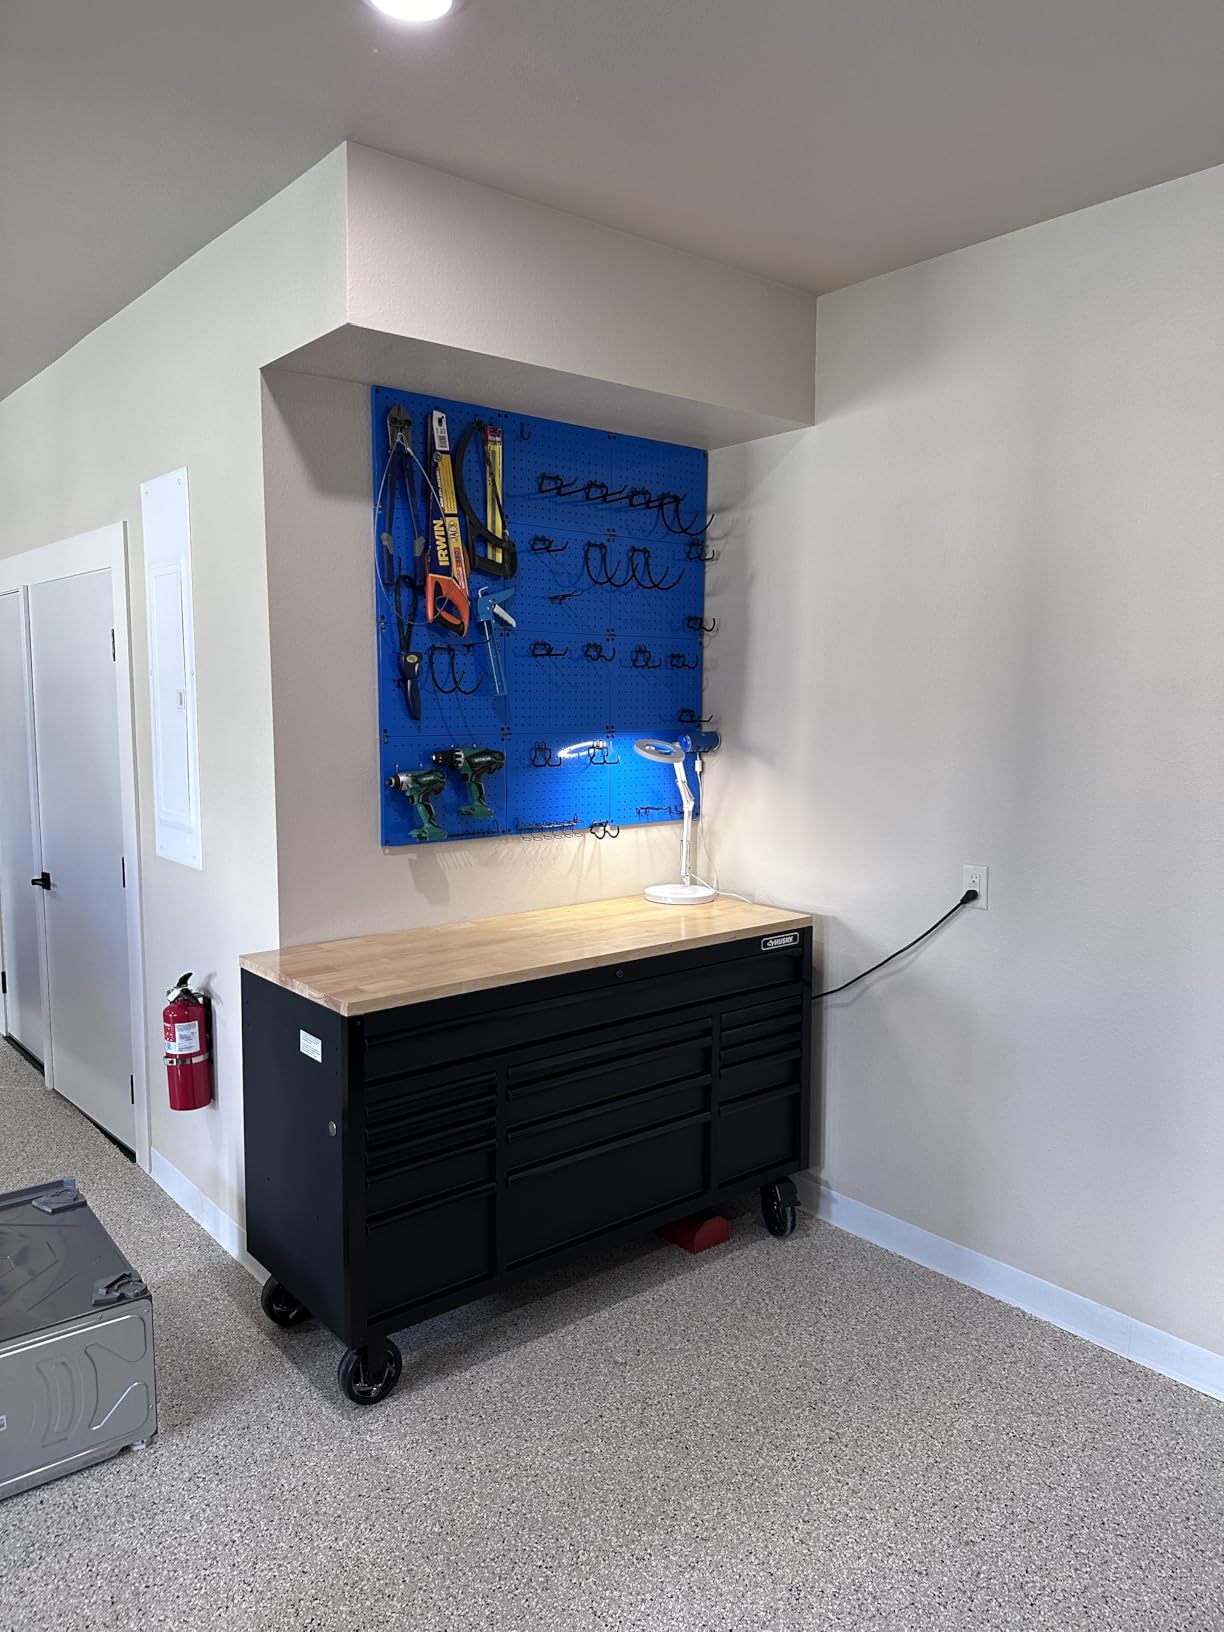
This is the closest thing in the roundup to a ready-made system rather than a rail, and it takes a completely different approach. Instead of a continuous rail, you get rigid 12 by 16 inch perforated steel panels that mount to the wall using French cleat hardware and tile in any arrangement you like.
The material is the headline. Powder coated carbon steel in green, and buyers consistently compare it to MDF pegboard that bows and sags in a humid shop. The standard 1/4 inch hole spacing accepts off-the-shelf pegboard hooks, bins and accessories, so the accessory question that plagues rail-only systems largely goes away.
Installation is genuinely quick. The pack includes industrial strength cleat hardware, wall anchors and screws, and reviews describe a full panel going up in about twenty minutes. Mounting works on drywall, concrete or wood studs, which covers most garage walls without hunting for structure.
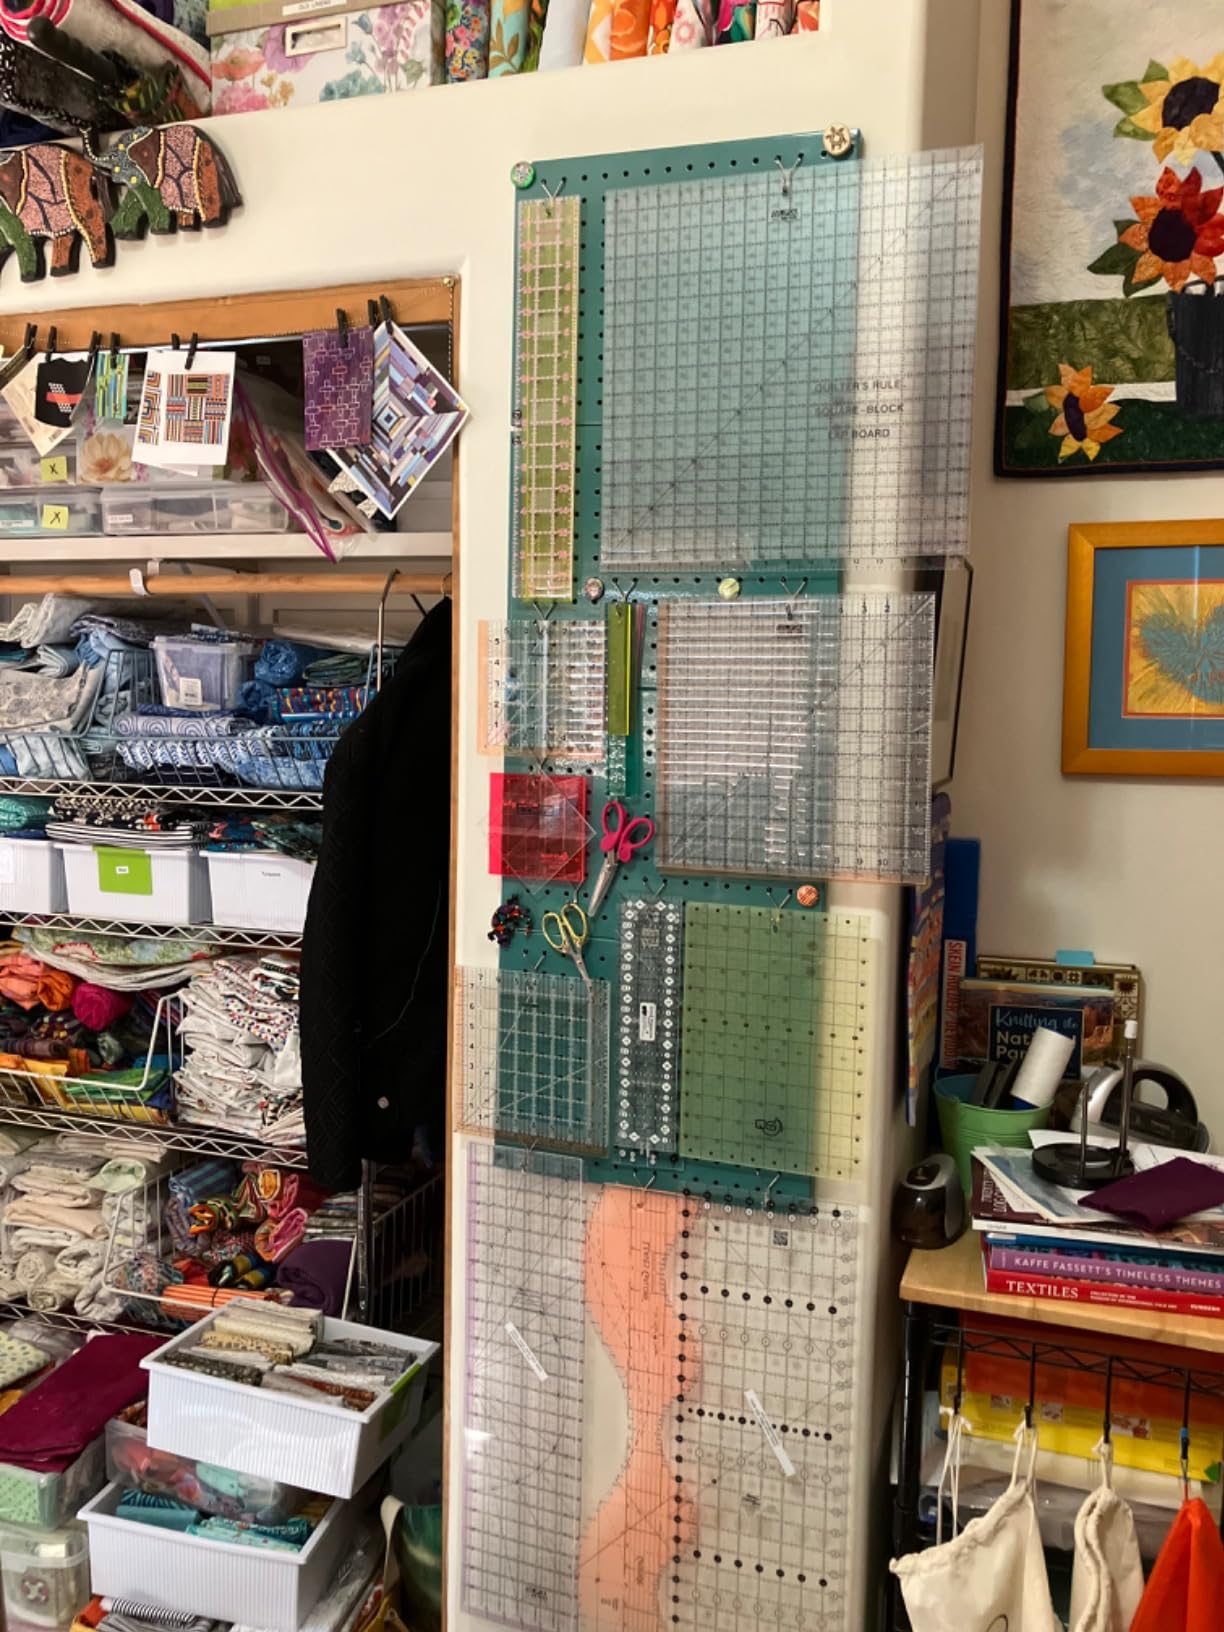
Modularity is the real argument for it. Panels tile side by side or stack vertically, so you can cover a narrow bay with two panels or build out a full wall a section at a time as the shop grows. Nothing has to be installed in a single weekend.
Two things to plan for. The stated load figures on this product conflict with each other, with a 33 lb maximum capacity shown alongside a 100 lb recommendation, so treat the lower figure as the working limit until you have tested it. And the panel weighs 5.17 kg, which means a helper for the first one.
Because the panel is perforated rather than a rail, custom holders are a separate project. You are choosing a pegboard ecosystem here, and the right accessories make a visible difference to how usable the finished wall is.
When a panel system beats a rail system
Choose panels when your tools are mostly small and numerous. Bits, fasteners, chisels, small clamps and consumables all want holes at fixed intervals, and that is exactly what pegboard provides. A rail system shines with fewer, larger items.
Choose it also when the wall is not perfectly flat. Individual rigid panels are far more forgiving of a bowed wall than a long rail, because each one is located independently rather than fighting a straight line across several feet.
Where it falls short
No hooks, bins or accessories are included, and on a system this size the accessory budget becomes a real line item. Budget for it before the first panel goes up.
It also does not give you the re-arrangeable clarity of a rail. Everything lives at a fixed hole, and moving a holder means finding a free hole rather than sliding a shelf along a continuous track.
6. Antimbee 41-inch 3-Pair Z Clips – most rail length per box
Antimbee French Cleat Hanger, Heavy Duty 41″ Z Clips, 600lbs Load, 3 Pairs
41 inch cleats, three pairs
0.2 inch thick aluminium
600 lb stated maximum
5 pounds per pack
Pros
- Three pairs span several studs
- Low profile keeps the mounted item close to the wall
- Reported to hold heavy headboards and panels
- Cuts down cleanly with a cutoff tool
Cons
- Screws and anchors often arrive incomplete
- Included plastic plugs are unreliable for heavy loads
- Highest one-star share of any product here
Six bars in one box is the reason to consider this. If you are covering a full 8 to 10 foot wall run rather than one bay, three pairs means you can lay out the whole pattern in a single evening without ordering twice, and the 600 lb stated maximum applies across the set.
The profile is unusually low at 0.2 inch, which is what keeps the mounted item close to the wall with no visible fasteners. Builders on the Festool Owners Group thread make a related point about tight walls: the closer the mounted piece sits, the more usable the clearance behind it for dust collection hoses and cable runs.
Load performance is credible in the feedback, with owners reporting 75 lb upholstered headboards and thick plywood panels held without movement. The Z interlocking hook design resists the shaking that lets lighter fittings jitter when a tool is lifted off.
The honest headline here is the rating spread. At 4.4 stars with 10% one-star reviews, this is the widest spread in the roundup, and the cause is consistent: hardware arriving incomplete. Multiple reviews report missing screws and anchors, so plan to supply your own fasteners regardless of what is in the box.
The included plastic expansion plugs are the more serious warning. Buyers installing into wallboard only report them spinning rather than gripping, and several substituted toggle bolts or metal expansion bolts for heavy items. Take that advice if the load is real.
Cutting the bars down is a genuine advantage for tight bays. A cutoff tool trims them cleanly, which makes a 41 inch bar usable on a 30 inch section of wall in a way that the thicker rails here do not.
There is no drilling template in the box, so mark the bar positions on the wall with a level first and transfer them afterwards. On a six-bar install that habit is the difference between a straight grid and a slightly skewed one.
Where the extra length pays off
Use the three pairs for a run of custom tool holders, with each bar carrying a different section. Because bars are independent, you can stagger them vertically without any planning, which is ideal when the wall is not square to the ceiling.
Pair it with your own fasteners and this becomes a capable rail set. The low profile is the reason to buy it, not the headline load number, which no test standard is given for.
Where it disappoints
Do not rely on what is in the box for a wall that matters. Count fasteners first, and expect a return trip to a hardware store if you have not already got a mixed box of screws and a suitable anchor.
It is also worth noting the listing describes 600 lbs across three pairs, which is a per-set figure. A single 41 inch bar crossing one stud carries considerably less, and the difference between those two numbers decides what you hang where.
7. CFOFT 36-inch Extra-Thick Cleats – the stiffest bar for a rigid mount
French Cleat Heavy Duty, Aluminum French Cleat, Headboard Wall Mounting Brackets with Screws, Heavy Mirror Mounting Hardware (36 Inch-1 Pair, Support 240 lbs)
36 inch cleat, one pair
6 mm aluminium profile
18 screw holes per bar
Concealed flush mount
Pros
- 6 mm aluminium is rigid and does not flex
- 18 screw holes allow multi-stud fixing
- Hardware fully concealed for a flush finish
- Removes in seconds when the item must move
Cons
- Load rating is stated three different ways
- Listing component field is inconsistent
- Sold as a single pair rather than two sets
This bar is thick. At 6 mm of aluminium it is roughly double the section of the standard rails in this roundup, and that is the entire reason to choose it. Thick rails do not bow when you slide a heavy shelf onto them, and they keep the mounted item sitting flat against the wall instead of tilting forward.
The 82 reviews here average 4.8 stars, the highest rating in the group, with 86% five star and only 1% one star. Feedback centres on stiff aluminium, plentiful screw holes and a clean flush mount, which matches exactly what the thickness predicts.
Eighteen screw holes across a 36 inch bar is generous. A standard bay has studs 16 inches apart, so a single bar can reach fasteners on three stud positions depending on how you start it, and you can add a second and third fastener at each one.
Two cautions sit alongside that. The load rating is given three different ways across the listing, and the included components field is inconsistent with the packaging description. Neither affects the physical product, but both mean you should not plan a load around the published figure.
Self-tapping screws in two lengths and rubber expansion plugs are in the pack, which covers a drywall install. On brick or tile, the plugs are not the right fixing and you will want a masonry anchor instead.
It is also a single pair. If you are covering a whole wall, this is a per-run purchase and you will need several. Buying two boxes is cheaper than discovering the gap halfway up a stud bay.
Surface recommendations cover brick, drywall and tile, which is broader than most rails here list. That makes it a reasonable option on a masonry or tiled workshop wall where studs are not available.
Where extra thickness earns its place
Use it for wide, heavy, rigid items: a wall-mounted cabinet, a long mirror, a headboard, a stacked pair of tool panels. Anything that would show a sag or a lean on a thinner bar is the case for 6 mm.
It is also the better choice on walls where you cannot get fasteners into studs regularly, because the stiffness hides small alignment errors that a flexible rail would amplify into visible twist.
Where it does not justify itself
For small or light items, this is over-engineered and the length is the constraint. A 36 inch bar crossing a 20 inch shelf leaves an overhang, and 6 mm aluminium is heavy to handle overhead for a small job.
Budget for more boxes than you think, and verify the fasteners yourself. The product performs well in the reviews; it is the listing information around it that is patchy.
French Cleat Profile Geometry: Bevel, Backer Board and Rail Spacing
Almost every regret reported in french cleat forums comes down to three geometry decisions, and all three are made before the first rail is cut. This is the part no editorial roundup covers, so it is worth reading in full before you order anything.
Cut a symmetrical 45 degree profile, not a directional one
The most useful single piece of advice in the build-advice threads on r/FrenchCleat is to cut the bevel symmetrically on both ends so there is one universal opening. Directional profiles force a decision between up and down, or between left and right versions, and if you guess wrong the offcuts are scrap. A symmetric 45 degree profile gives you a rail that accepts any holder, in any orientation, cut from any sheet material.
A 30 degree bevel is also common and slightly easier to cut by hand, but it grips less positively and needs a longer mating edge. Builders on the Festool Owners Group thread recommend the 45 degree symmetric version for that reason, and it is what the standard plan packs assume.
Install a backer board before anything else
The single most repeated instruction in workshop build threads is to install a backer board and screw into it, rather than fixing rails straight into drywall. A poster on r/FrenchCleat put the reasoning better than any manufacturer would: you only build a french cleat system once, so the extra day up front is worth it.
Practically, a backer board is a sheet of plywood fixed across the studs, and every rail then screws into that sheet. It gives you a continuous fixing surface, which means fasteners can land wherever you need them rather than only at stud positions, and it lets you shim a bowed wall into flat while you are there.
How far apart to space French cleats
This is the most asked and least answered question in the entire corpus, so here is a concrete number. Space rails vertically between 12 and 16 inches apart for general tool storage, and go to 8 to 12 inch spacing in the zone above a workbench where you want dense vertical coverage. Vertically stacked rails close together are what let you hang a tool at any height without leaving a gap you cannot fill.
Horizontally, one bar spans 36 to 50 inches depending on the product, and a single stud bay is 16 inches of spacing in North American framing. That is why the hole patterns in these kits are punched every inch: the bar has to be able to reach a stud from wherever you choose to start it. Two fasteners in a stud is the difference between a rail that holds a cabinet and one that slowly leans out of the wall.
What to do about a bowed wall
Bowed or out-of-square walls are the most common install complaint, and r/woodworking treats wall flatness as a gating decision rather than an afterthought. A long rail bridging a bow sits at an angle, hooks then hang at odd angles, and nothing ever sits quite flat.
The fix is the backer board again. Screw the plywood to the studs, then shim behind it where the wall dips, and shim at three points along the length. The rails then mount to a genuinely flat surface even when the wall behind is not, and the whole reason people regret skipping the board is that this cannot be added later without taking the rails down.
Load, honestly
No rail in this roundup is the weak link. The 500 lb and 600 lb figures on the packaging are marketing numbers with no cited test standard, and the honest answer is that a rail carries what its fasteners carry. Fix into a stud with two screws at a minimum and you have a very strong mount; fix into a drywall plug and you have a light-duty one regardless of what the box says.
Related reading on fitting storage around the rest of the shop: our laundry room storage guide covers the same holder-and-shelf logic in a room where dust control matters just as much.
How We Evaluated These French Cleat Systems
Every product here was assessed on four things, and each one is verifiable before you buy. First, the specification sheet, checked against the listing title because they disagree often. Second, review volume and rating spread, since a 4.8 from 80 reviews tells you less than a 4.6 from 1,100. Third, the accessory ecosystem, because a rail with no holders is an unfinished project. Fourth, the install path, including what fasteners are actually in the box.
We also weighted forum experience from r/FrenchCleat, r/woodworking and the Festool Owners Group heavily, because those threads contain the failure reports that product pages never mention: incomplete fastener kits, oversized bars, and the wall preparation mistakes that cannot be undone cheaply.
Buying Guide: What to Look For in a French Cleat System
Decide the route first. Three routes exist and they lead to different products. Build it yourself from timber rails if you want total control and enjoy the geometry. Buy modular steel panels if your tools are small, numerous and you want a finished result quickly. Buy aluminium Z clips if you want the flexibility of a rail with no woodworking.
Match the system to the tool size. A 41 to 50 inch bar is right for panels, mirrors and cabinets. For a wall of small hand tools, a perforated panel with standard 1/4 inch holes is a better fit, and it is the only option here that accepts off-the-shelf accessories out of the box.
Count fasteners before you start. Two fasteners into a stud is the minimum for anything heavy. Kits that include a level, a drill bit and three screw lengths save a trip and make a one-evening install realistic, and reviews repeatedly single out missing hardware as the top complaint across this category.
Treat published load figures as ceilings. Two of these listings state the same product’s capacity in three different ways. The working limit comes from the fixing, not the aluminium, so plan for two screws per stud on anything you would be annoyed to see crash down.
Budget for holders separately. Not one of these products includes a shelf, bin or tool holder. That is not a flaw, it is the nature of a rail system, but it is where most cleat-wall projects stall. Decide your holder list before the rails go up.
Plan for dust and cables. In an enclosed woodworking shop, composite panel off-gassing is a real complaint among builders, and chargers and compressors generate cable clutter. Leave a gap behind the lowest rail for a power strip, and keep dust collector hoses off the wall entirely rather than draping them across it.
Expect to re-hang. Experienced builders describe moving most of their tools at least once as the layout settles. That is normal for this system, not a sign the wall failed, and the aluminium rails are what make it cheap to do so.
Frequently Asked Questions
How much weight can a French cleat system hold?
Load is set by the fixing, not the rail. Two fasteners into a stud is the practical minimum for heavy items, and aluminium rails in this roundup are rated between 250 lb and 600 lb across a set. Figures printed on packaging are manufacturer ceilings with no cited test standard, so plan around stud fixing rather than the box.
How much weight can a French cleat wall hold?
A wall carries more than a single rail, because each bar crosses a stud independently. On a 16 inch stud bay, a bar with two fasteners per stud is the strongest arrangement available. Total wall capacity is therefore the sum of the bars you installed, divided by their spacing. Add rails rather than loading one heavily.
How far to space French cleats?
Space rails 12 to 16 inches apart vertically for general tool storage, and tighten that to 8 to 12 inches above a workbench where you want dense coverage. Horizontally, a single bar spans 36 to 50 inches and should be positioned so fasteners land on at least two studs.
Do French cleats need a backer board?
A backer board is strongly recommended and it is the most repeated piece of advice in workshop build threads. A sheet of plywood fixed across the studs gives a continuous fixing surface, lets fasteners land anywhere rather than only at studs, and lets you shim a bowed wall flat. It cannot be added later without removing the rails.
Can I use a French cleat to hang a shelf on a wall?
Yes, and it is one of the most common uses. The rail must be continuous and level, and the shelf needs enough rigidity that it does not twist when loaded, since a twisting shelf pulls the mating edge out of alignment. Fix the shelf to at least two rails, or one rail with two fasteners into studs.
What can I use instead of a French cleat?
Slatwall gives a wider accessory range and no angled profile to cut. Pegboard suits small tools because of its fixed 1/4 inch hole spacing. Gridwall and T-track handle heavier loads with standard industrial fittings. Rolling tool chests keep tools mobile. All four are covered in the comparison above against the rail systems here.
Is French cleat better than slatwall?
A French cleat wins on flexibility, because any holder cut from sheet material drops on and lifts off with no tools. Slatwall wins on accessory availability, because the standard 1 by 2 inch and 1 by 4 inch slat accepts a large catalogue of bought hooks, bins and shelves. If you will not build your own holders, slatwall is usually faster.
What are the disadvantages of French cleats?
The four recurring ones are no included accessories, the need for a backer board, difficulty with bowed walls, and tools that are not bracket-friendly and need purpose-built cradles. Directional profiles also waste material if you guess the orientation wrong. None of these are fatal, and a symmetrical 45 degree profile avoids the last one.
Our Verdict: Which French Cleat System to Buy in 2026
After six weeks of comparing these, the best french cleat storage systems for workshops come down to the AENTGIU 41-inch pair for most shops, because it has by far the largest review base and a complete install kit, and the DaTools 50-inch pair when you are hanging one long heavy item across two studs. If your tools are small and numerous, the HantekSteel steel panel beats both, because standard pegboard accessories solve the holder problem you would otherwise have to build.
Whatever you choose, the two decisions that matter most are not in the box. Cut a symmetrical 45 degree profile, and fit a backer board while you still can. Get those right in 2026 and the wall you build will still make sense in ten years.